Restoration of Pattern 12 Begins |
||
|
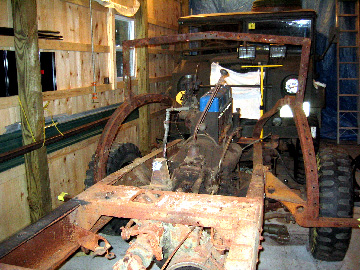
Truck finally in shop with body almost completely
removed
|
 |
|
|
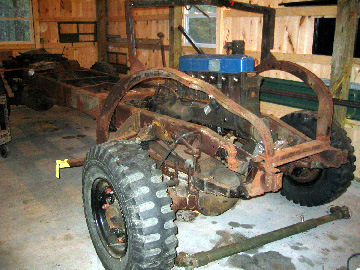
The pictures below were taken after the mid frame cross members had all been remove. This was necessary as the inner frame had significant rust and had been separated from the outer by rust. This meant drilling and then driving out many rivets. The frame at this point has been stripped most all of its components, de-greased and pressure washed. There was noting that could be called paint left. |
||
 |
 |
|
 |
|
|
|
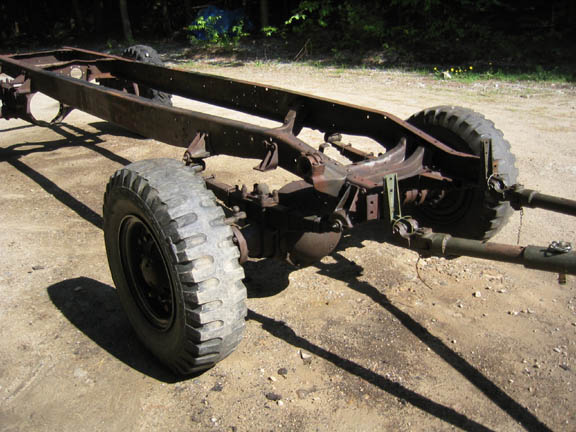
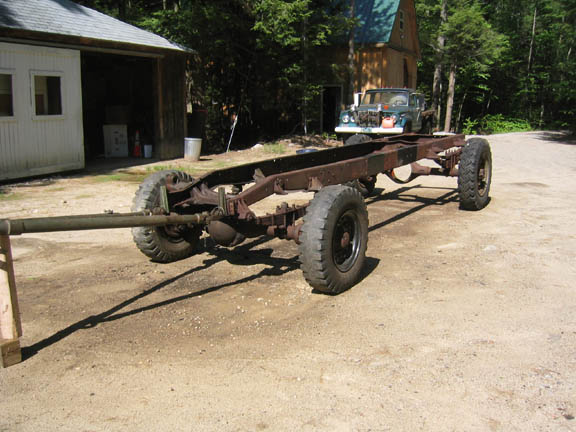
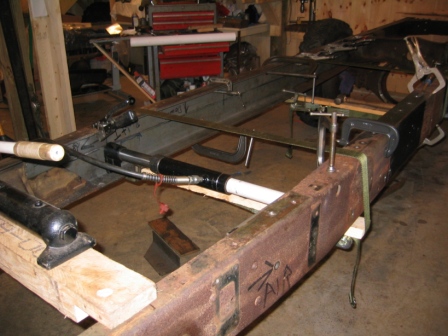
Below can be seen the new inner frame being fitted
|
||
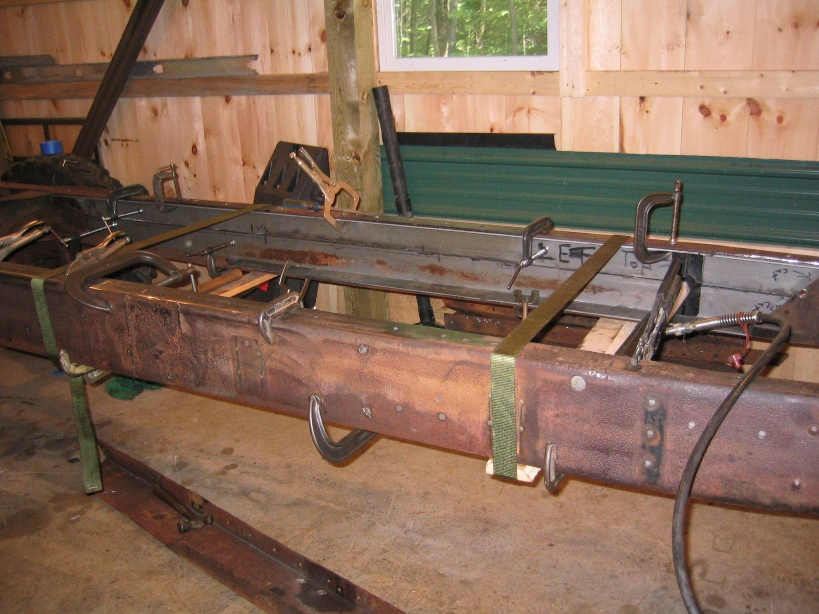 |
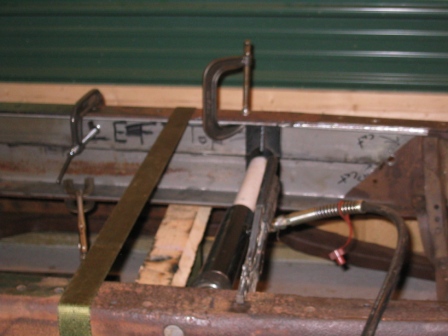
The new inner frame was fabricated by a local metal shop working from a drawing that I supplied. Unfortunately they did notice that the dimensions for the bends were to the outside not the inside of the bend. Result the channels were the thickness of the steel to large. The solution was to slice the channels at a slight angle from end to end. This allowed the two section to be displace front to rear slightly which made for a tight fit inside the outer frame channel. Then cut was then mig welded | |
 |
 |
|
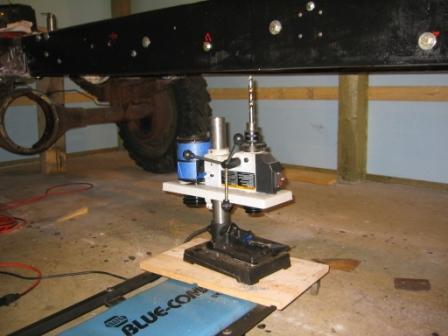 |
Once the inner frame rails were fitted then all of the rivet holes had to be drilled through and sized for a drive fit of a grade 8 bolts. Bolts were used because of the difficulty in placing large rivets without the correct tools. CMP manual calls for bolts when riveting equipment is not available. | |
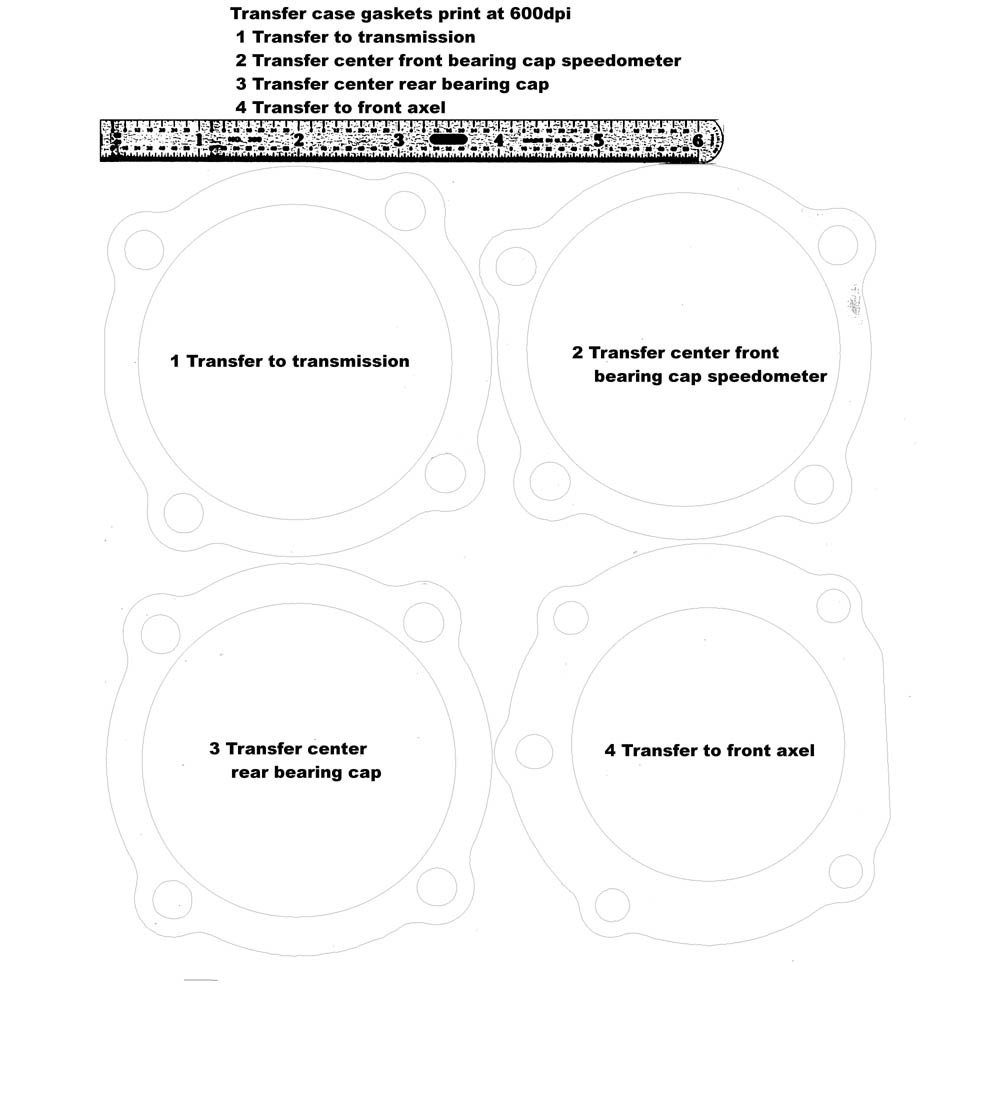
Experiment In Gasket Making for CMPs.After I had disassembled and cleaned the Transmission and Transfer Case, bagging and labeling all the parts and assemblies, scanned in the various shims and assemblies such one below that is the transfer case bearing cap to the transmission. Then using the sketch feature in Adobe Photo Shop I converted the image to a line drawing that can be printed. The next question is do the dimensions remain true and can the printer print on gasket material. Well the idea worked quite well and allowed for quickly making multiple gaskets. Below can be seen scan of transfer case gasket |
||
| Starting with a shim scanned in | Then using the trace feature of Adobe photo shop a line copy is made | Then the a number of gaskets are arranged on a single page for printing. (click the link for full size version) |
 |
||
