The engine in the truck was stuck when purchased. But with a little oil in cylinders and a 10" screw driver used as a lever used to lever the ring gear from the under side it was soon turning over. But that was not the end of the story.
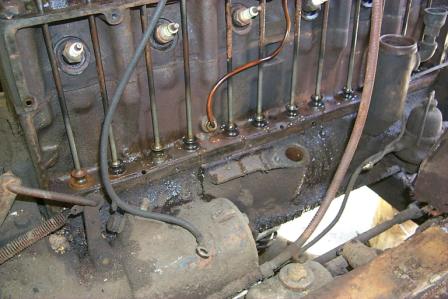
Below left -Removal of the side valve side cover revealed that there was a crack running along the side of the engine.
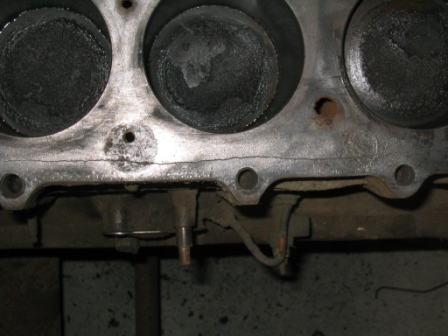
Below- When the head was removed the crack in the block became evident.
Clearly the last fall that the truck was in use the water was not drained from the cooling system
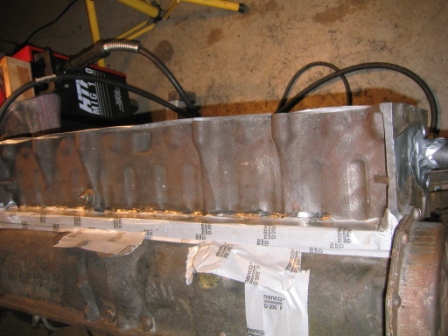
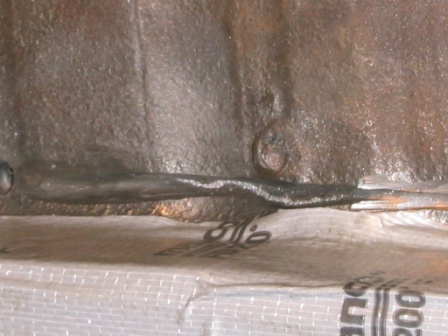
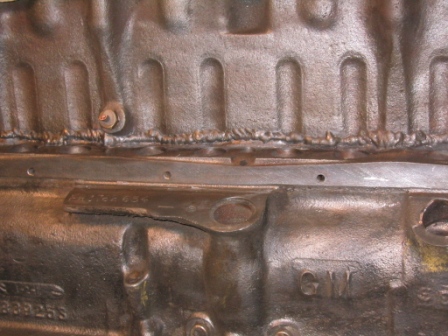
After V grinding out the cracks and drilling holes beyond the visible end of each crack an attempt was made at mig welding cracks. After that was done a vacuum presser check showed that all the welded cracks had been successfully sealed. The high temp duct tape was to protect the machined surfaces.
The block was vacuum tested for leaks, in this test the normal openings of the cooling system are sealed with layers of duct tape then a vacuum is pulled on system then the vacuum pump is turned off and you go over the block with a stethoscope to listen for leaks. This is a quick test that can be done without reassembly of engine as a pressure test would require. Though the block seams to not leak the strength of the block is in question what would happen under load.
Decided to replace the engine with a newer 216 engine. Still plan to reassemble the engine and run it on the test stand to see if it could go in to use.
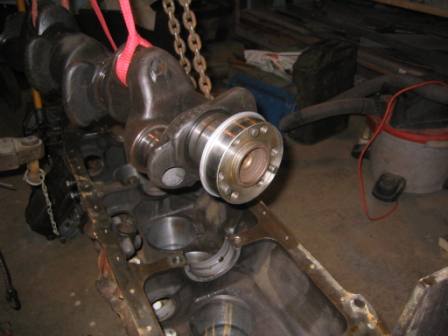
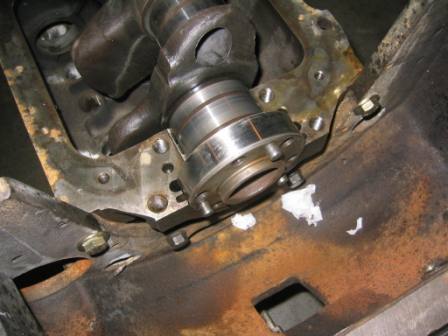
Below - After cleaning inspecting the new prospect begins re-assembly to try and solve the Chevy propensity to leak oil at the main seals a speedy-sleeve is fitted to the Crank. This provides a supper smooth stainless steel sealing surface.