Rip Van Winkle Lincoln
Body Work Continues Rocker Panel Structure
Page 3
Restoration of 1949 Lincoln Cosmopolitan Town Sedan
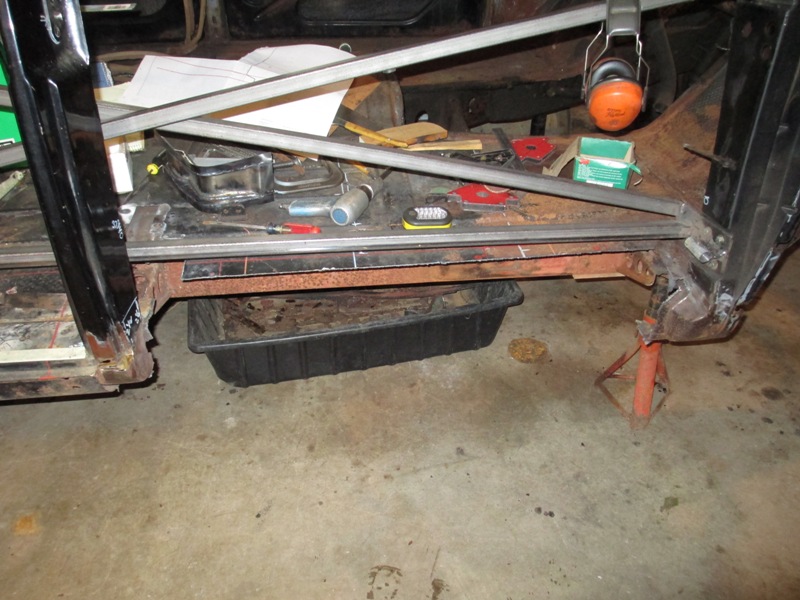
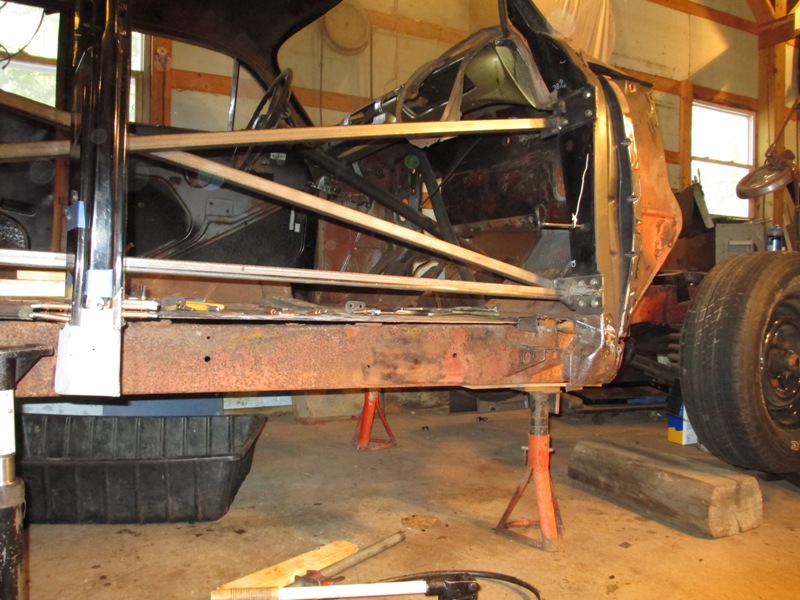
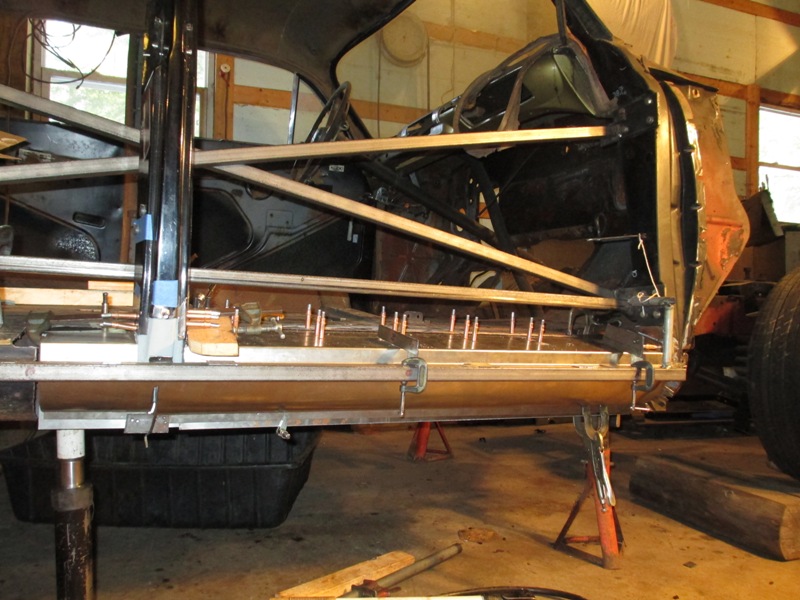
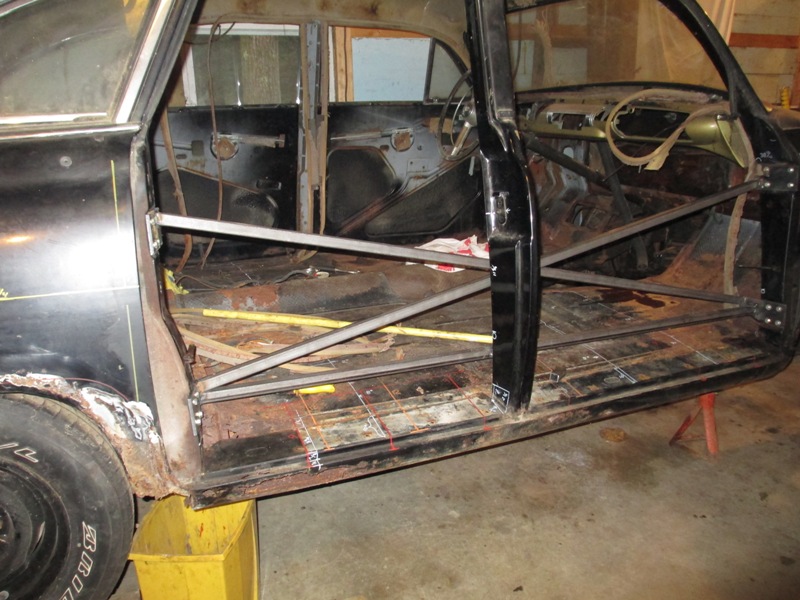
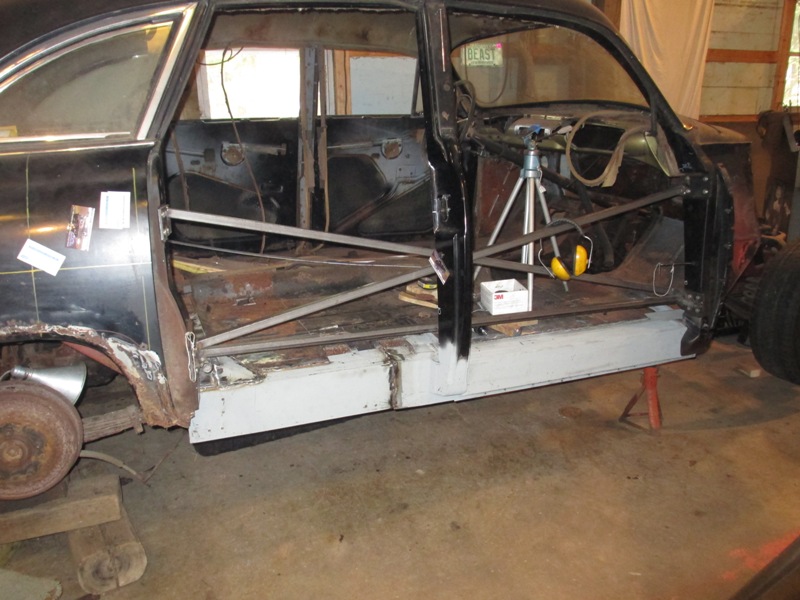
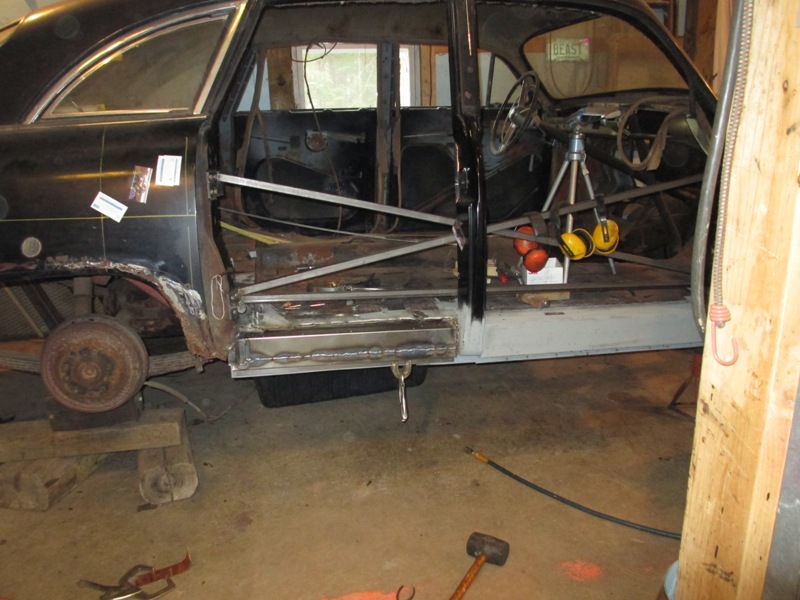
As has been mentioned before keeping everything in alignment
as work progress is a prime concern. Keeping the gap between doors and rocker
panels along with keeping the body straight as the old rocker panels are cut
away and the Hat Channel Support ends are replace is going to be key to the
success of all the effort in having new rocker panels were made. Earlier I had
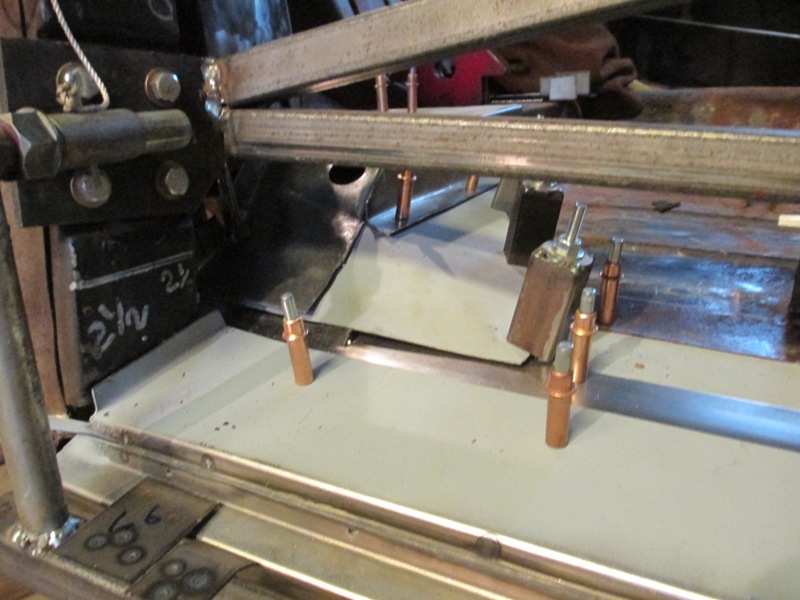
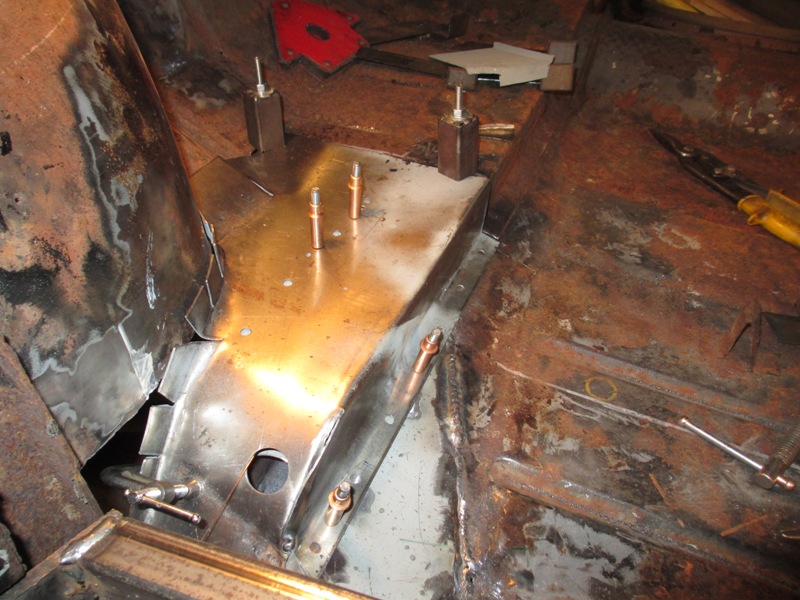
painted witness lines and measurements on the floor panels, so something more
was necessary. Fitting Jig, the pictures below show how this was done with tight
fitting slip tubes welded to the lower X bracing plates which are bolted to
the lower door hinge mounts of the body.
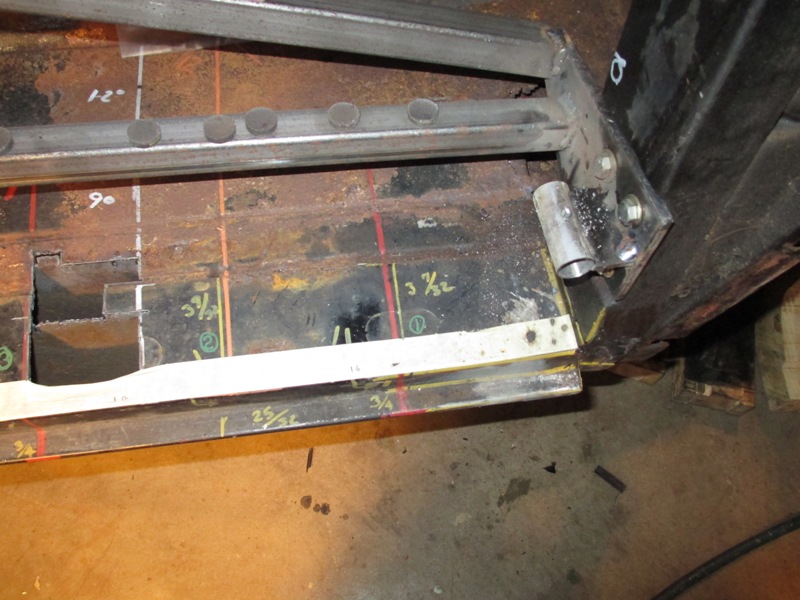
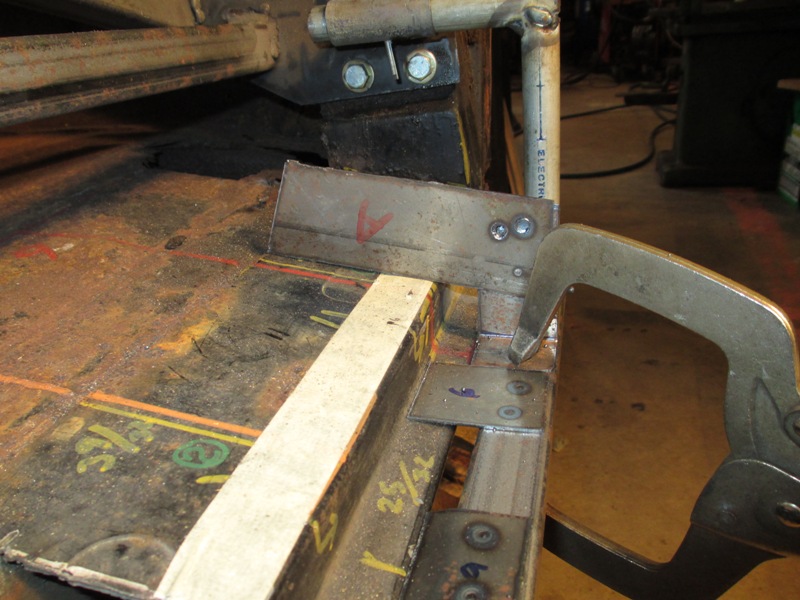
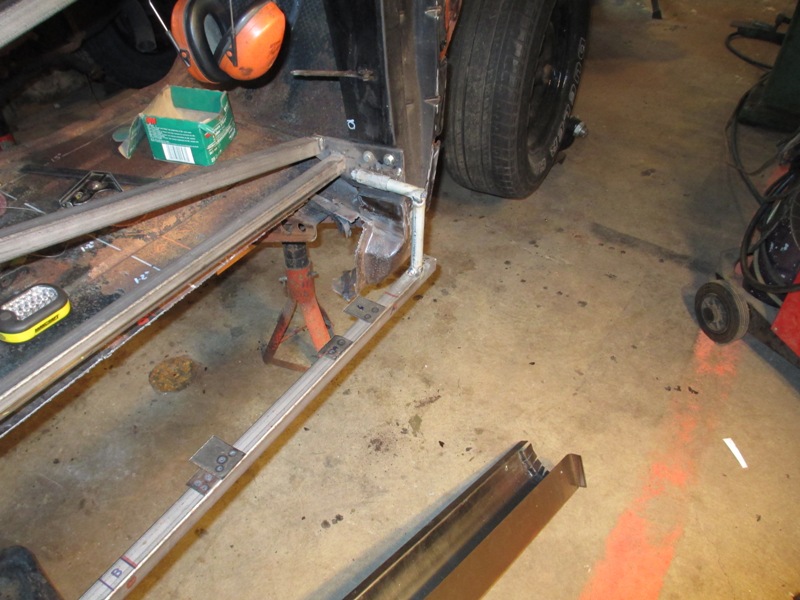
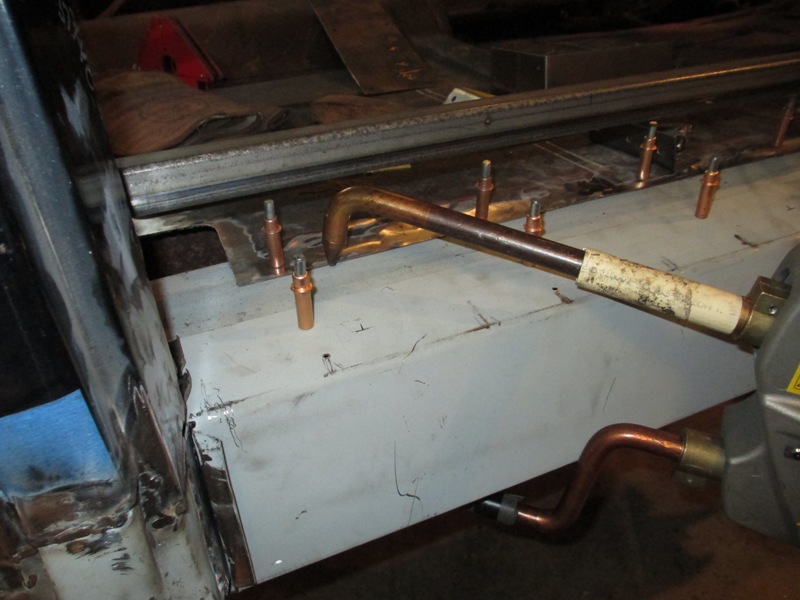
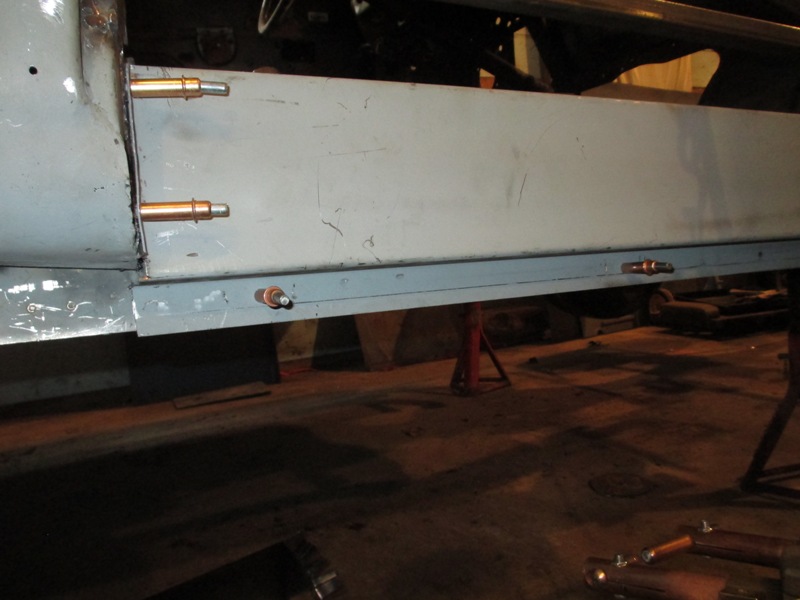
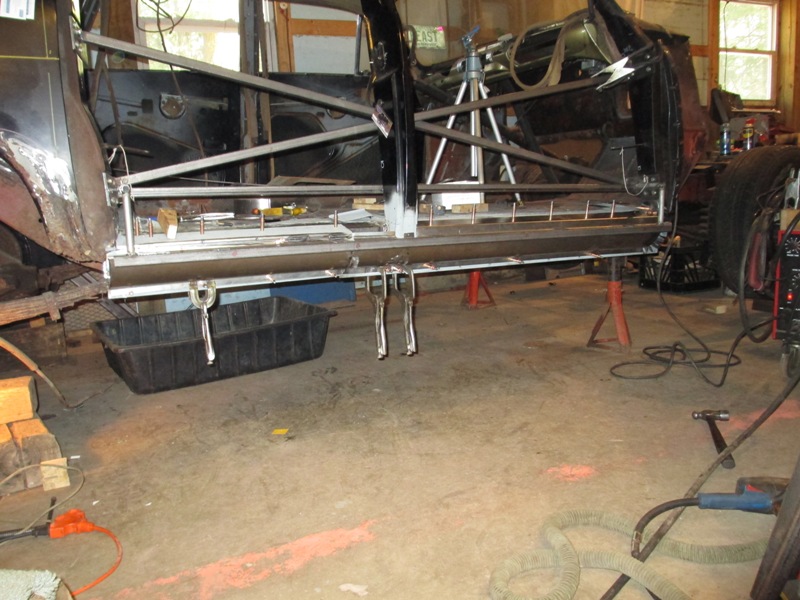
Then a pair of hangers hold a length of square tubing at the
level of the lip of the rocker panel. To this are spot welded several gauge
plates which line up with the step bend of the rocker panel and others just
touch the lower lip of the outer edge. The slip tubes and the hangers are a
tight fit so there is now play up and down or fore and aft. A hole is drilled
through each pair in the correct position with a cotter pin to lock. The whole
Fitting Jig gauge bar can be easily slid out and removed while the old rocker
panel. Then it can be put back in place to align the new outer rocker. With
the outer aligned and tacked in place the inner panels can be fitted working
inwards to the floor pan.
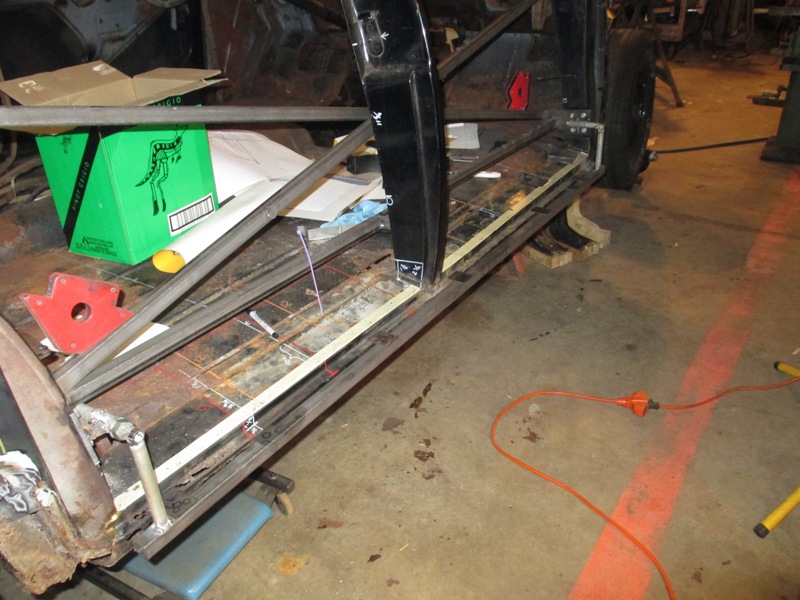
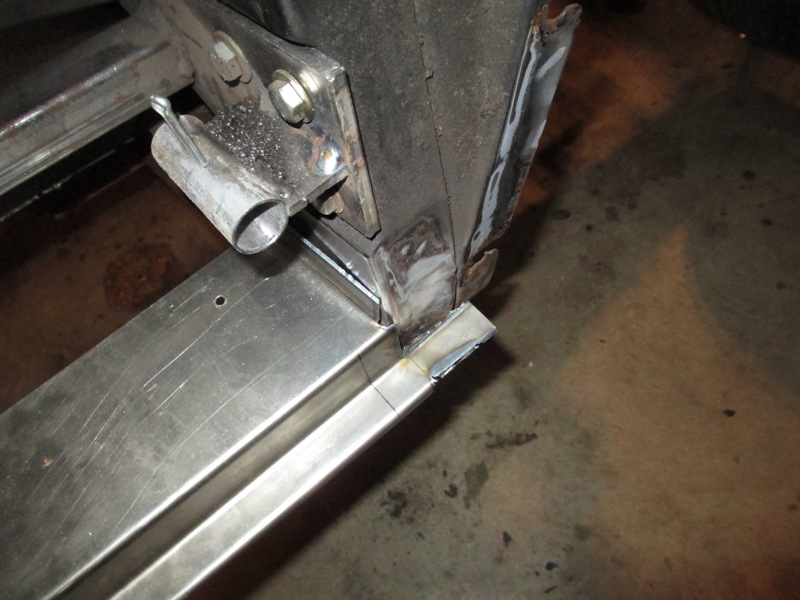
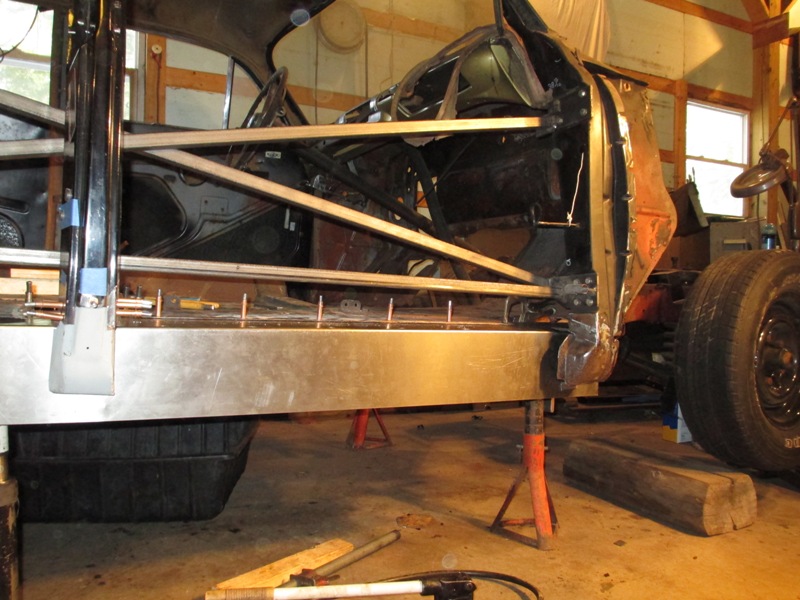
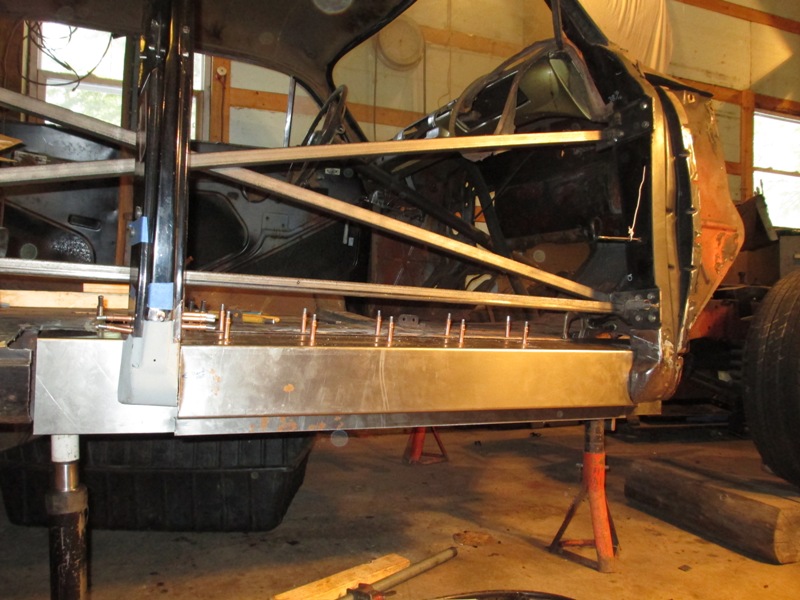
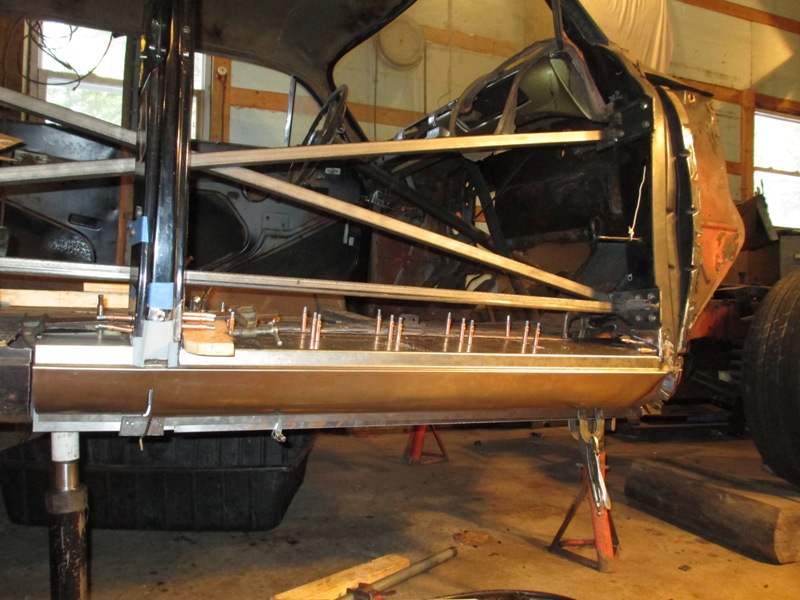
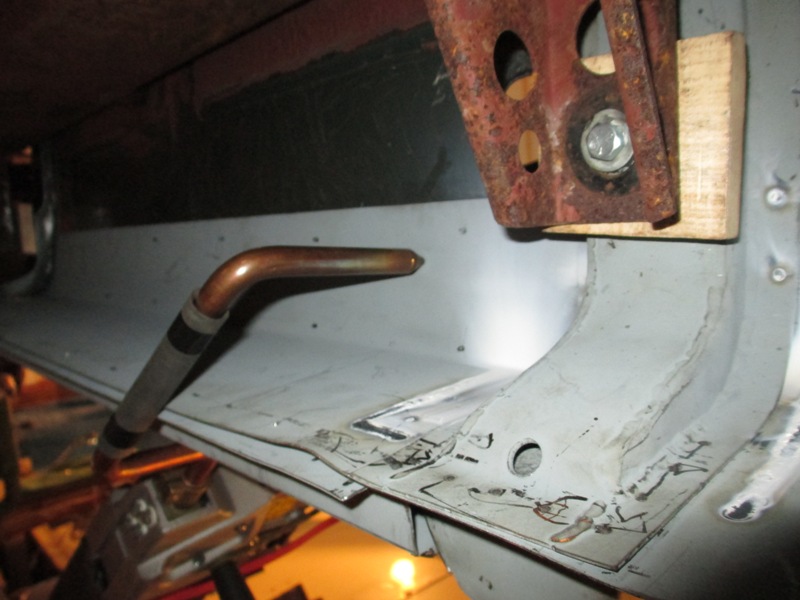
One thing that became clear as I started fitting the new outer
skin was that the angle of the door threshold was going to be very important
to the fit with the door. So some angle gauges were added to help with fitting
process. These had to be removable so their locations are marked on the gauge
bar but are clamped on instead of welded on there are four of them covering
the two door thresholds.
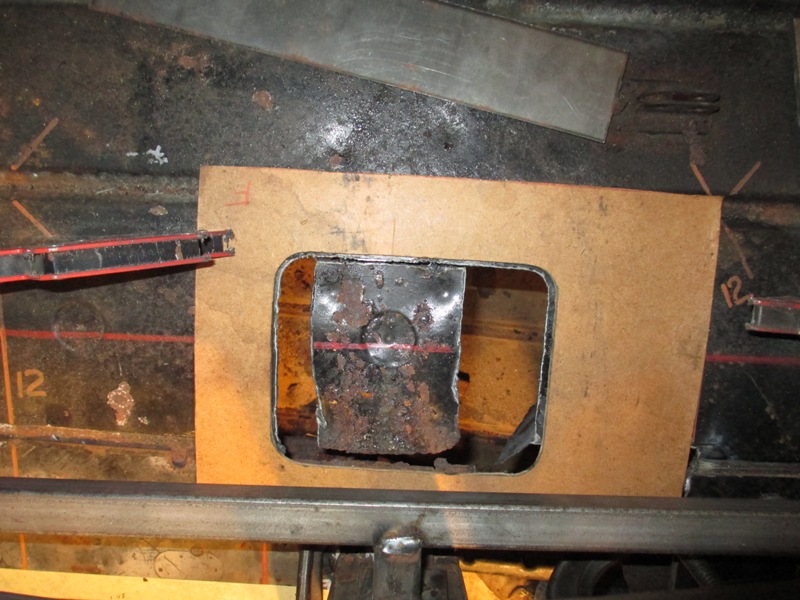
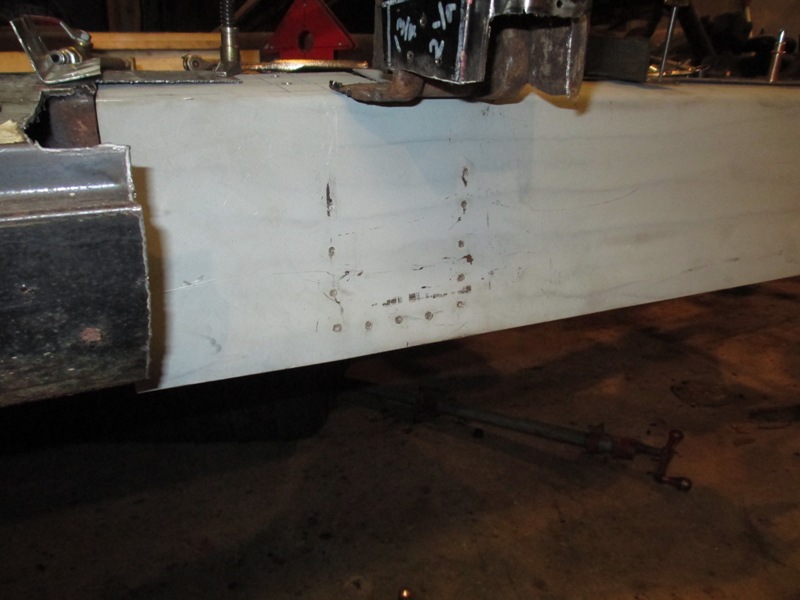
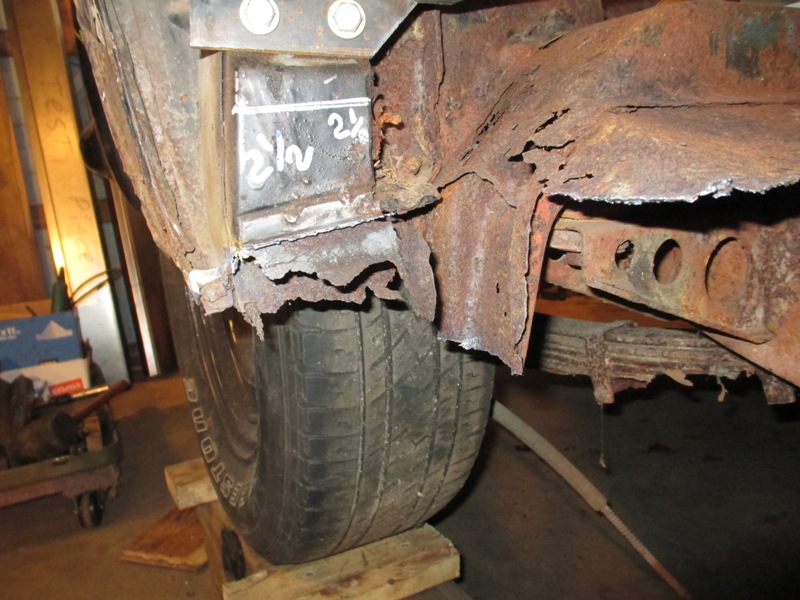
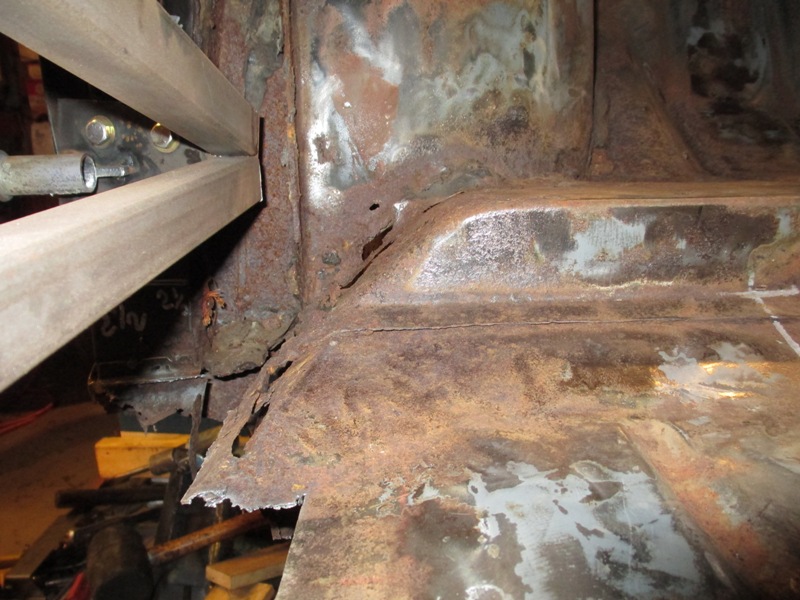
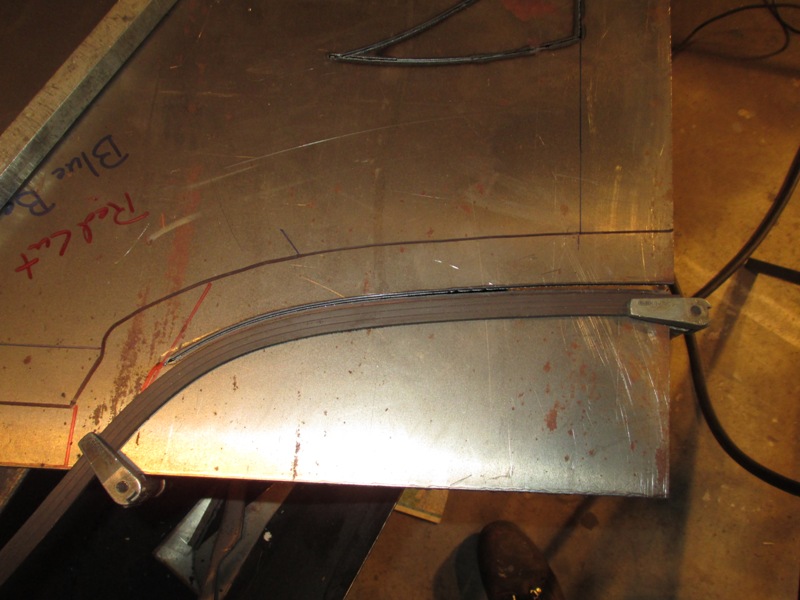
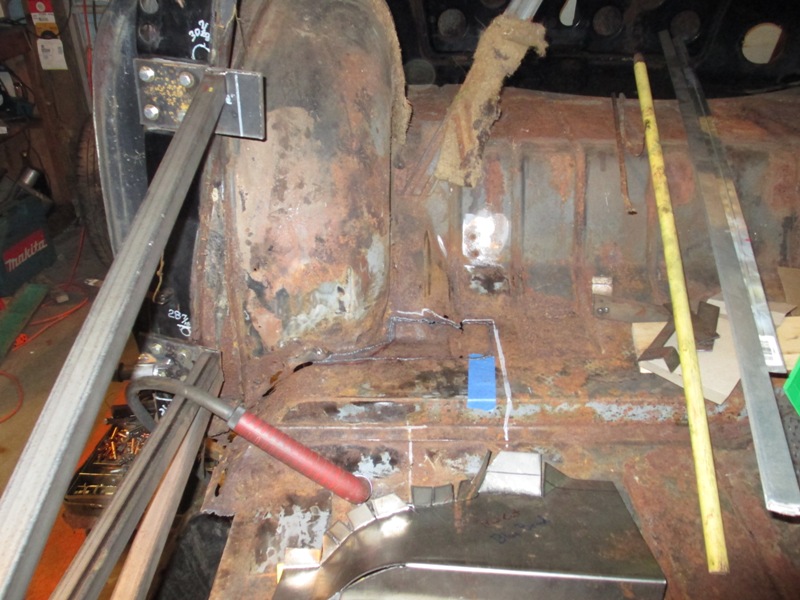
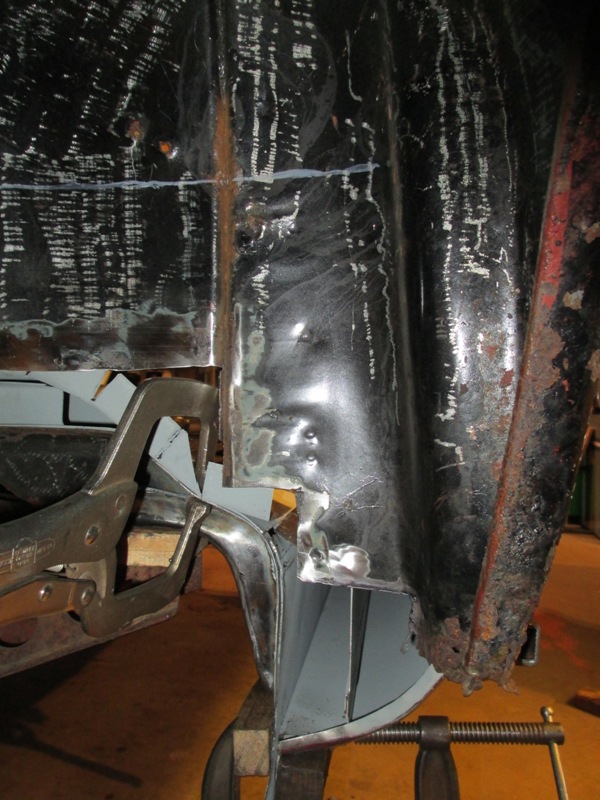
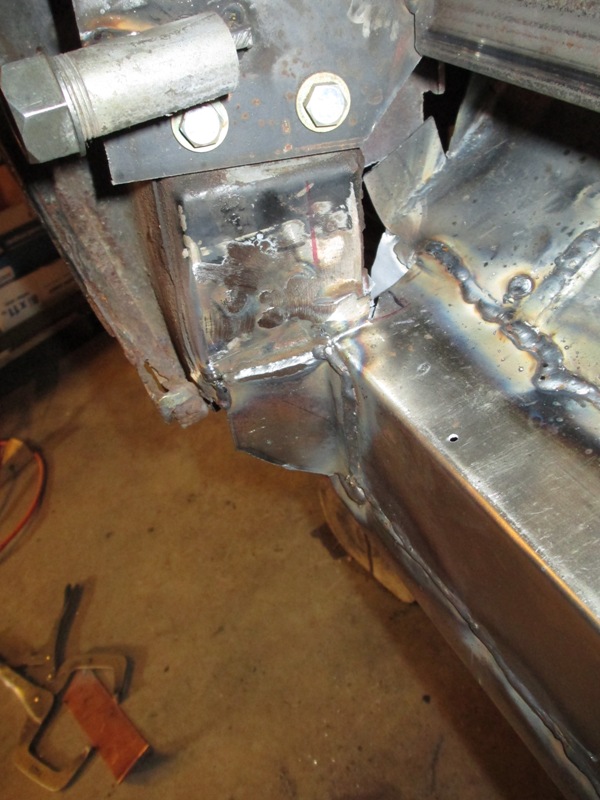
Started cutting out the 1st section of Rocker Panel decided to
remove just one door area at a time. What can be seen in the photos below is
center door post. As can be seen there are some rust holes areas that will have
to be cut out and replaced. Interestingly the joint between the door post and
the rocker panel had been brazed to fill the gap. Wonder how this is going to
change welding in this area?

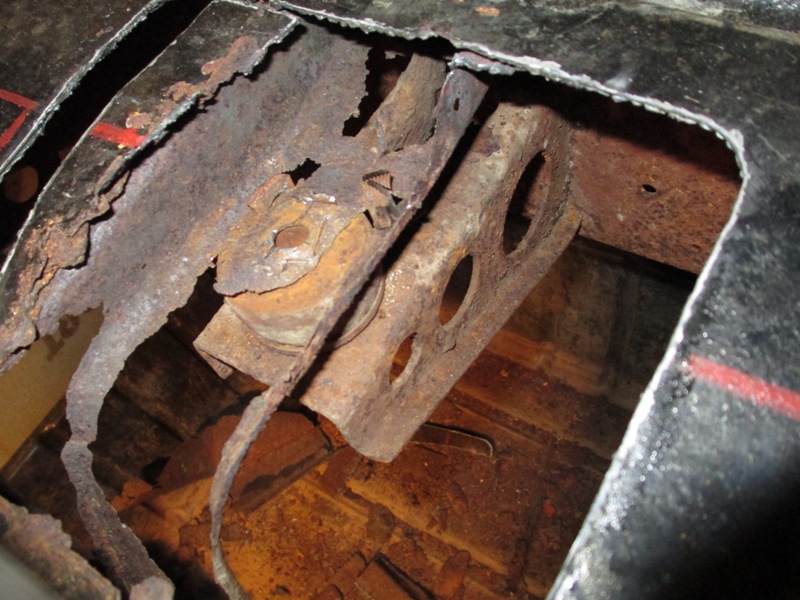
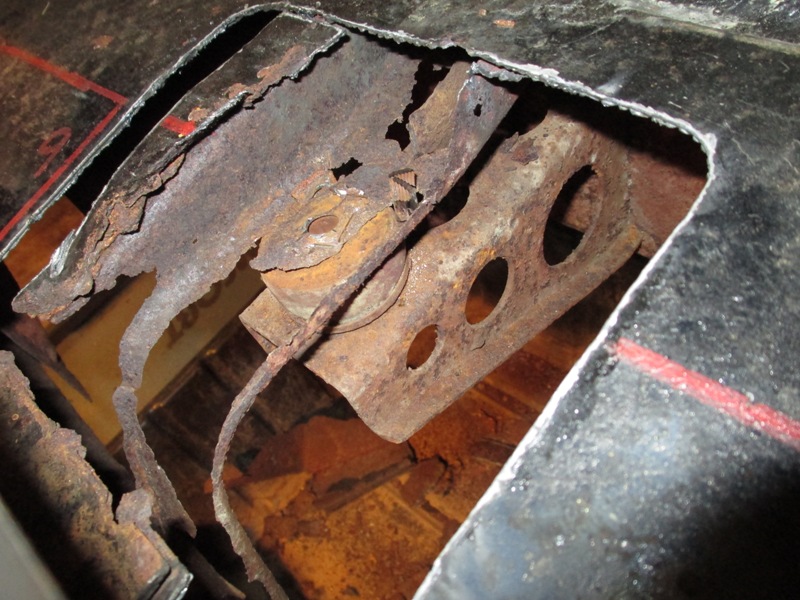
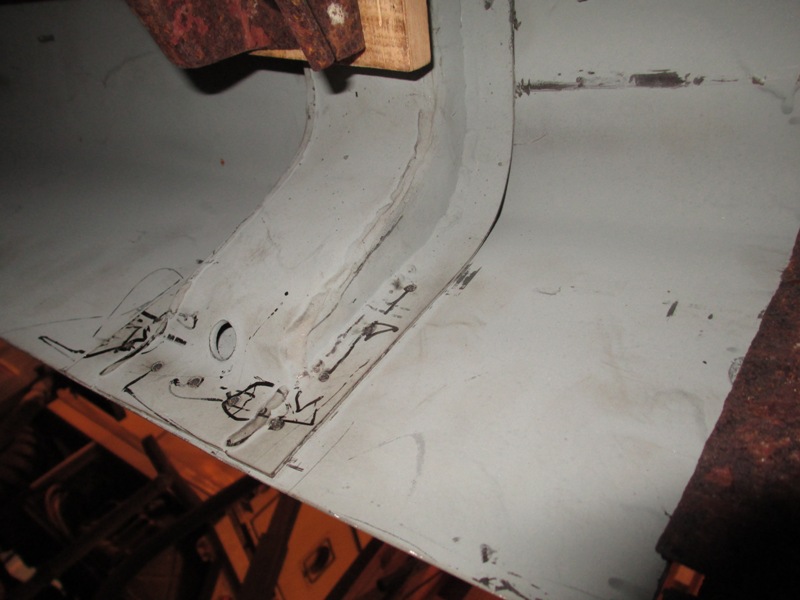
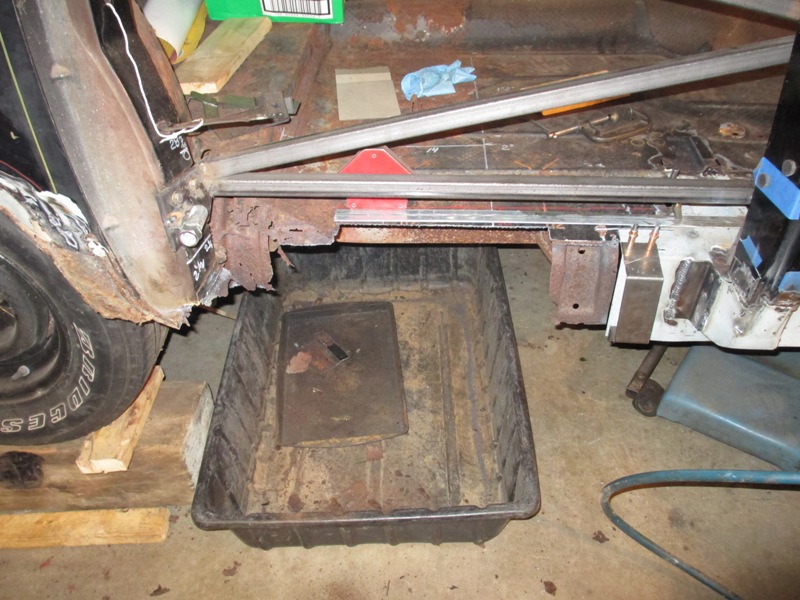
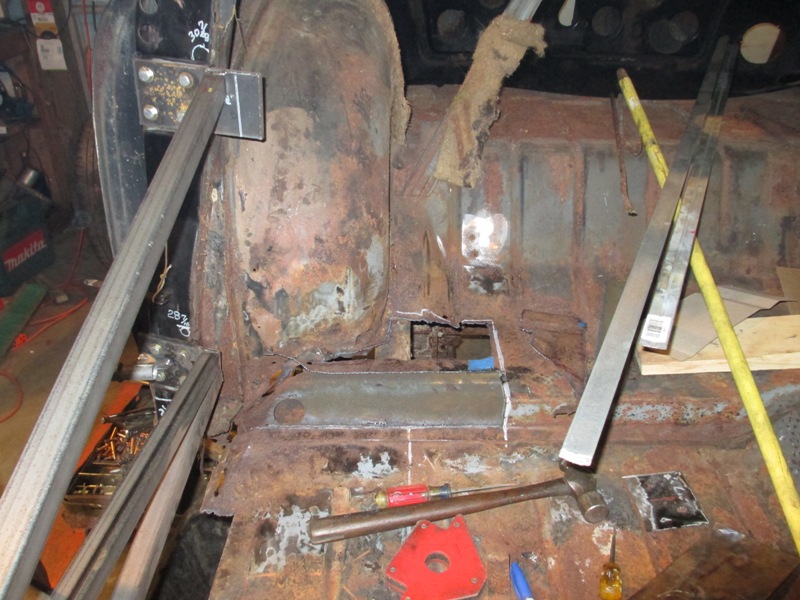
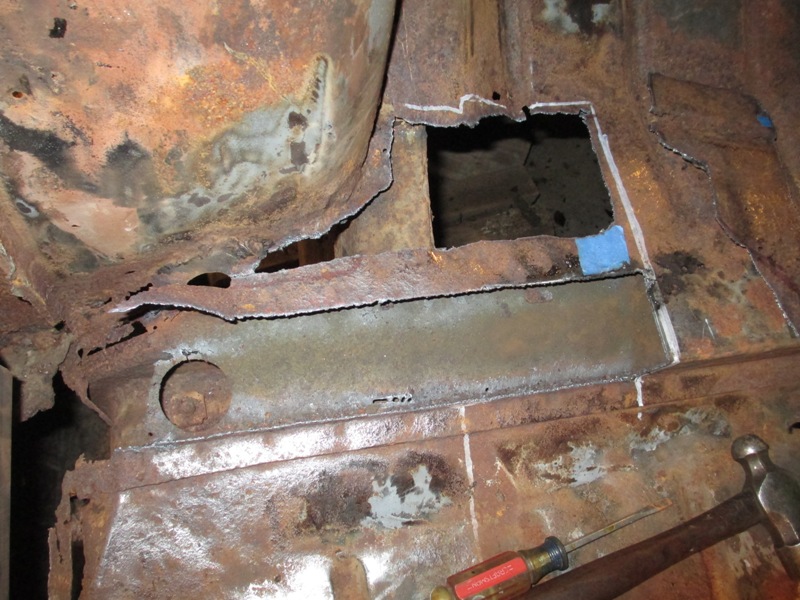
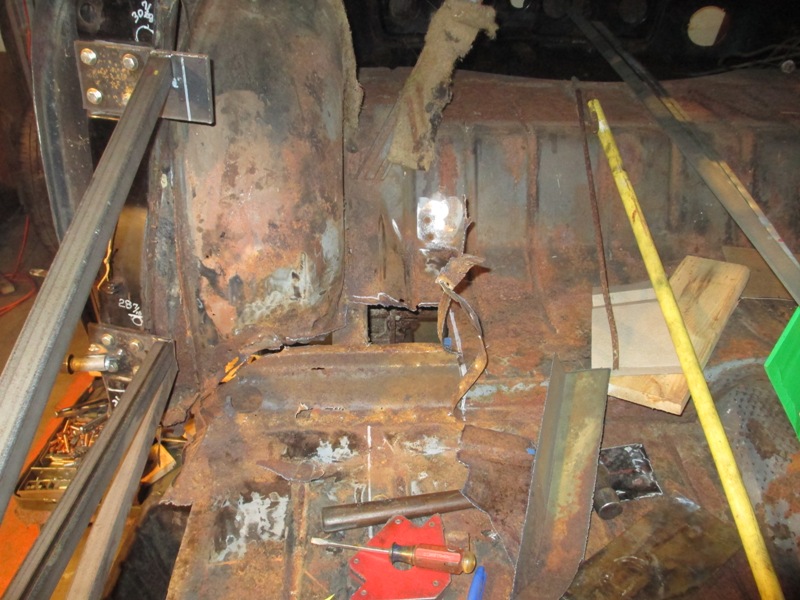
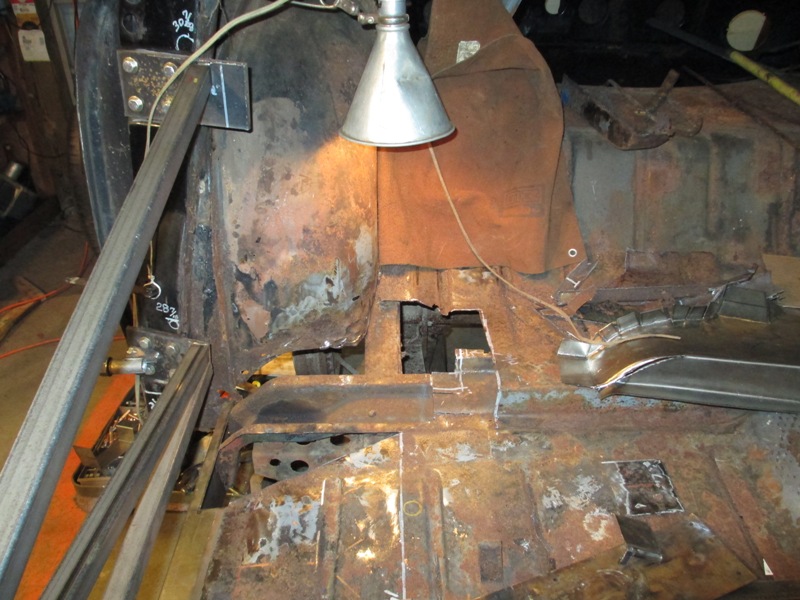
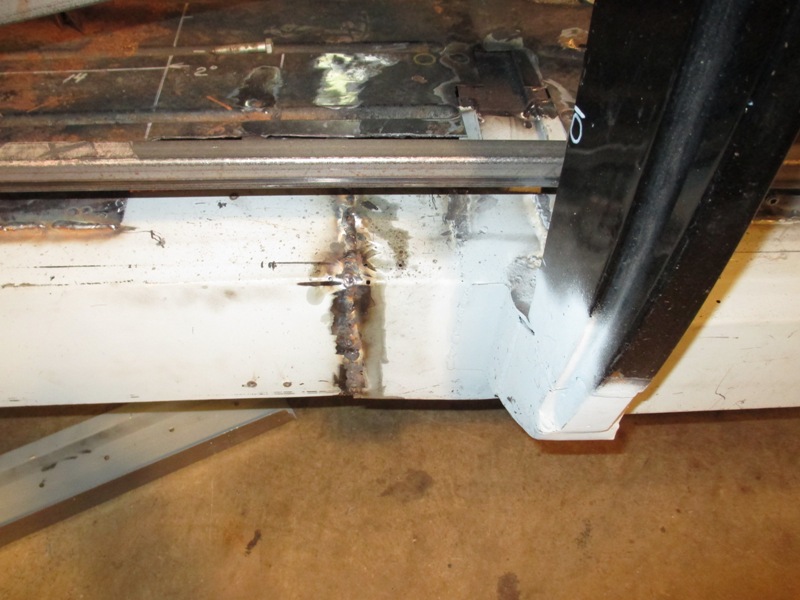
With 1st section of Rocker Panel gone the extent of the damage
to the Hat Channel at this location becomes really clear. I use a template with
curved corners to cut out the floor.
Adding a curve to the corners helps reduce cracking points when
the new she metal is welded in. Also using a standard size template means that
the template can then be used to cutout the repair panel the replacement panel
will be the two widths of the plasma cut which means the replacement panel fits
in the body panel hole cut with about 1/16ths gap almost perfect for MIG welding.
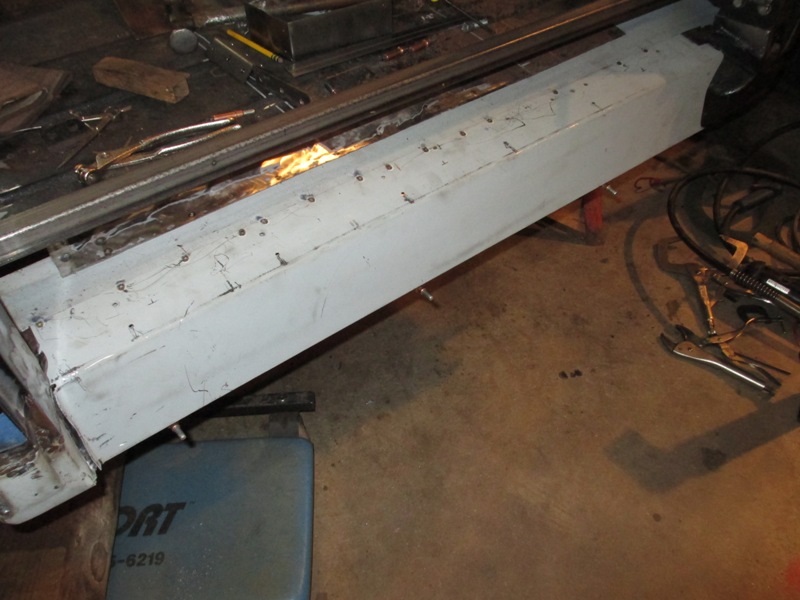
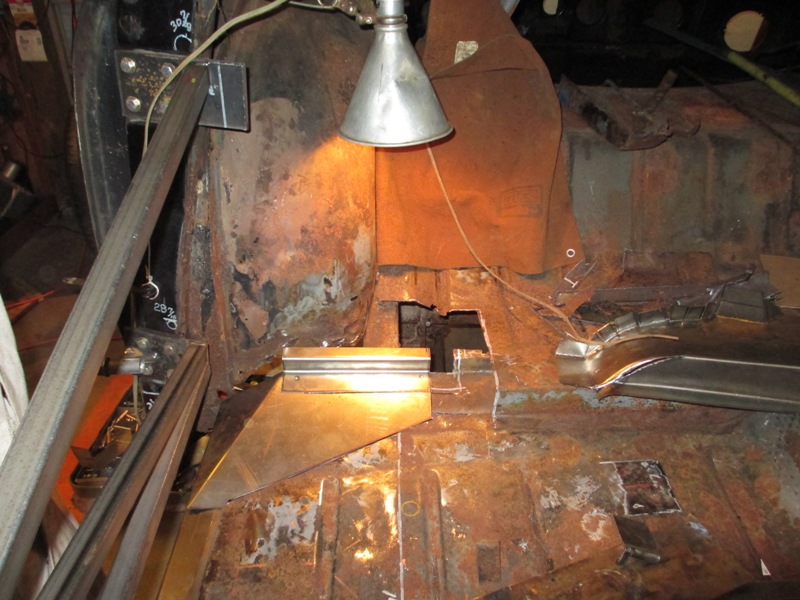
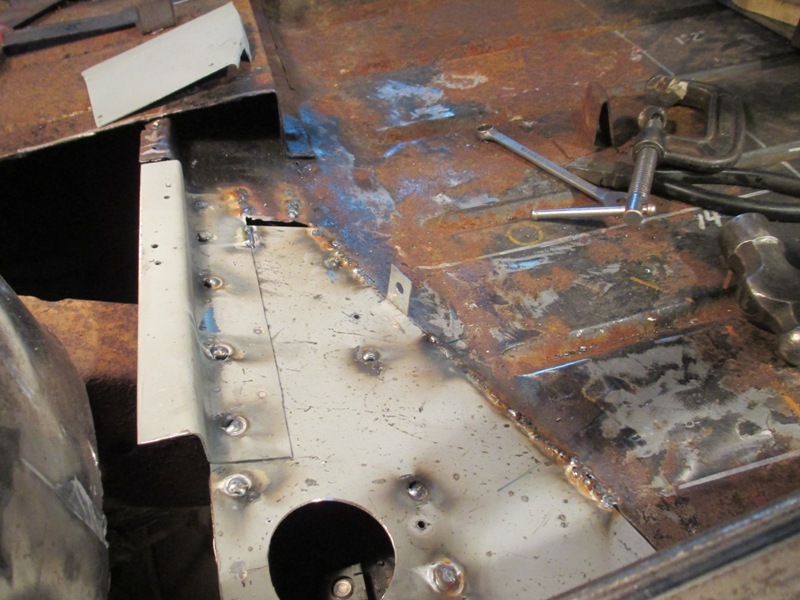
With everything located cutting out the structure of the rocker
panel could really start but this I'm still doing in sections so that I don't
loose the line of the car. One of the first things that was cut out was a long
section of the front right rocker assembly which revealed the true structure
of the rocker panel if I'd felt comfortable doing this up front doing the CAD
drawing of the structure would have been much easier.

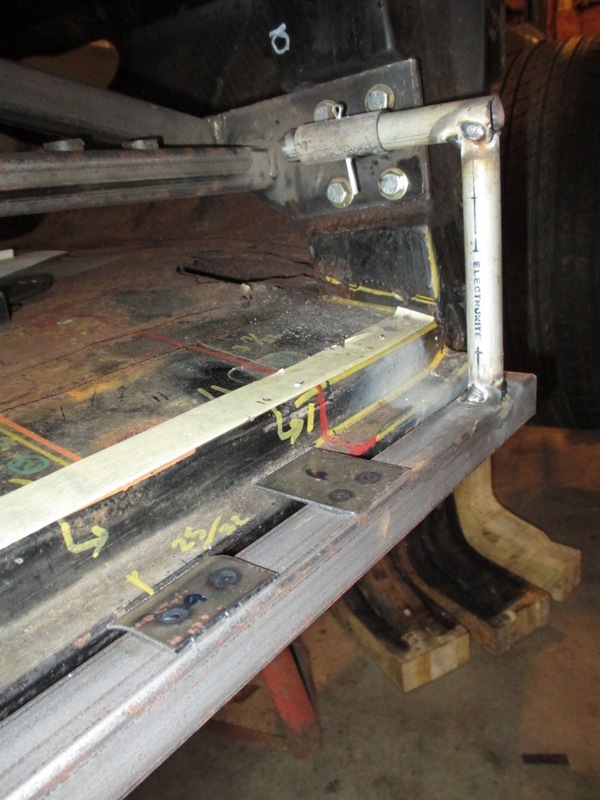
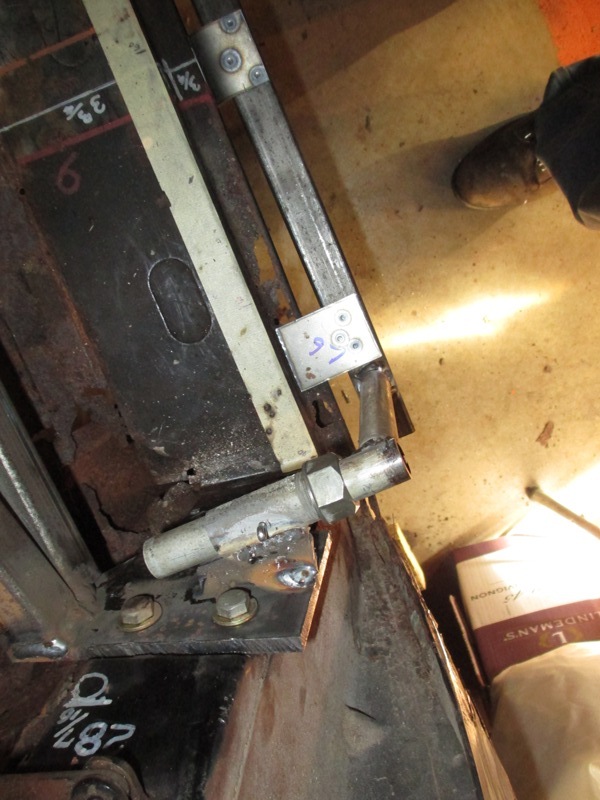
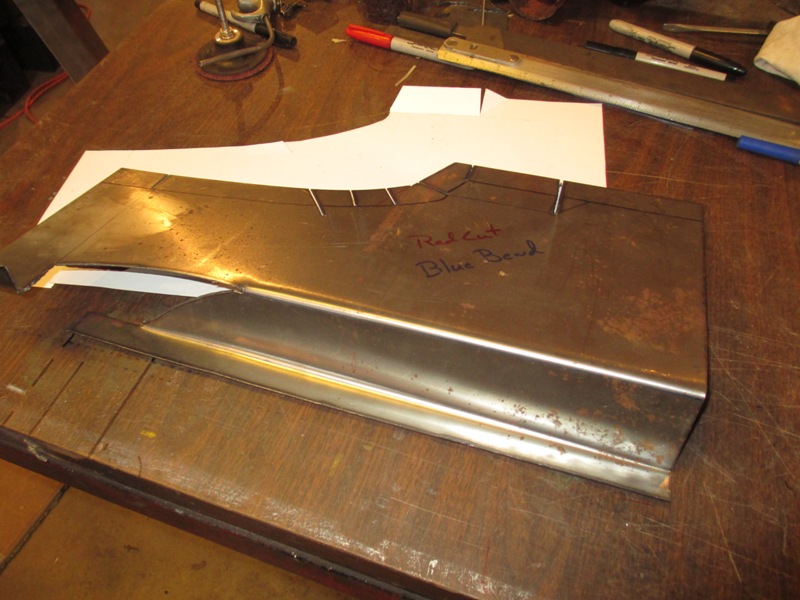
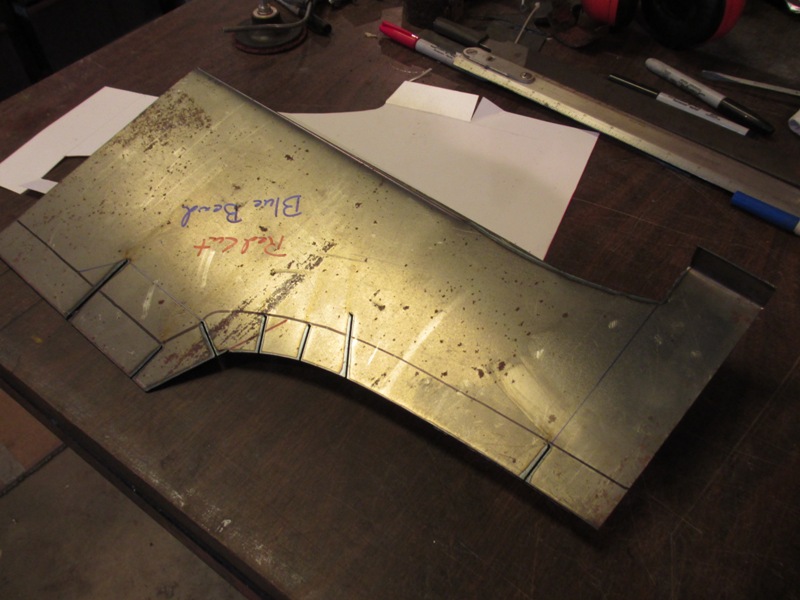
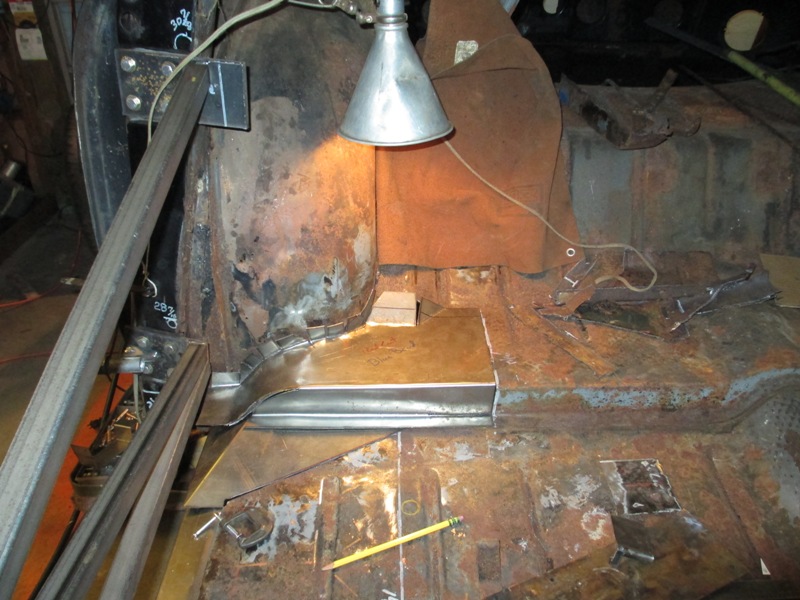
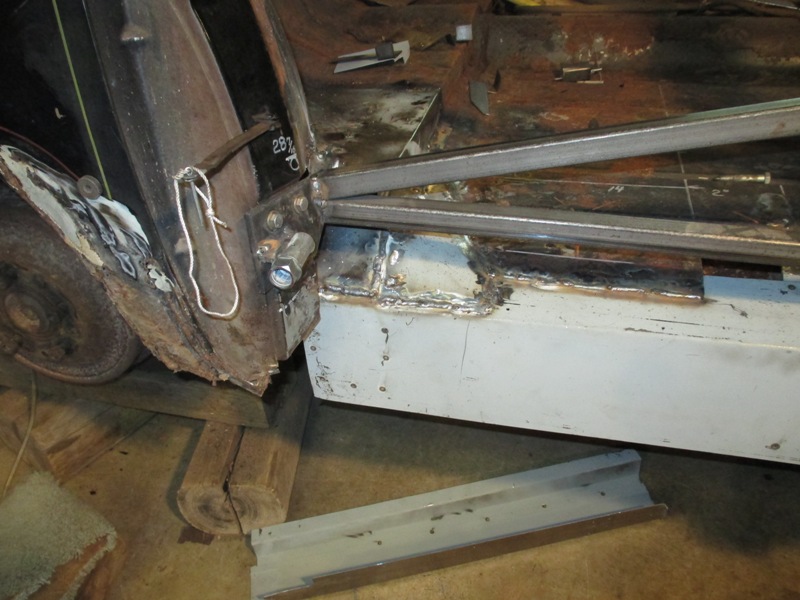
Now to installing the 3 parts to the rocker panel assembly, as
mention earlier this is being done in sections so that not all of the old structure
is removed at one time. What follows is the right front under door section.
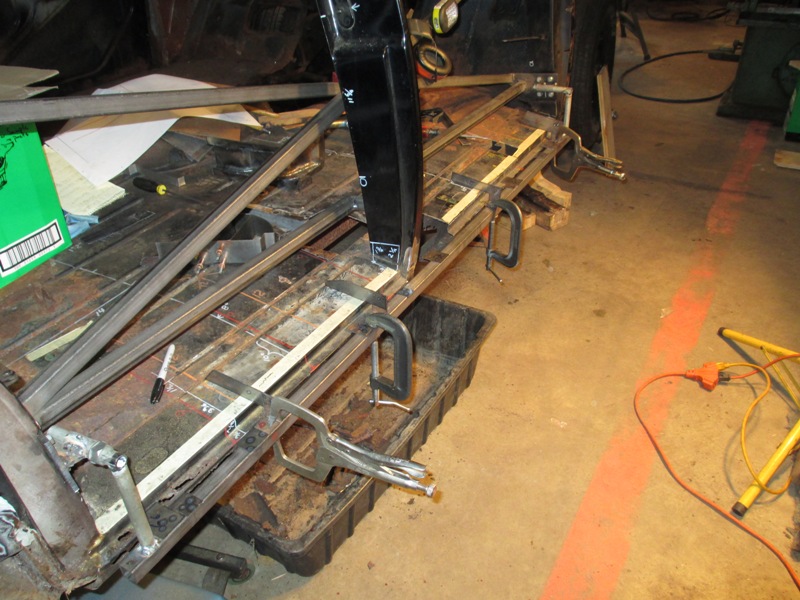
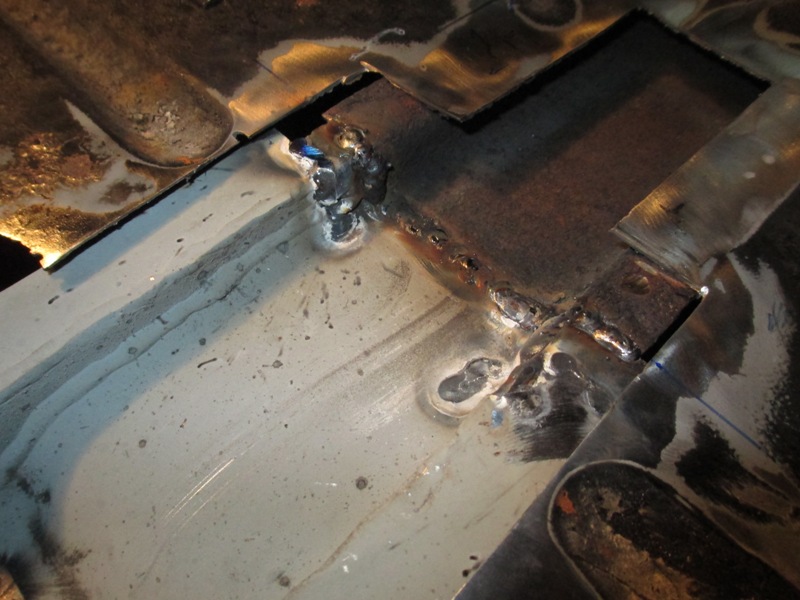
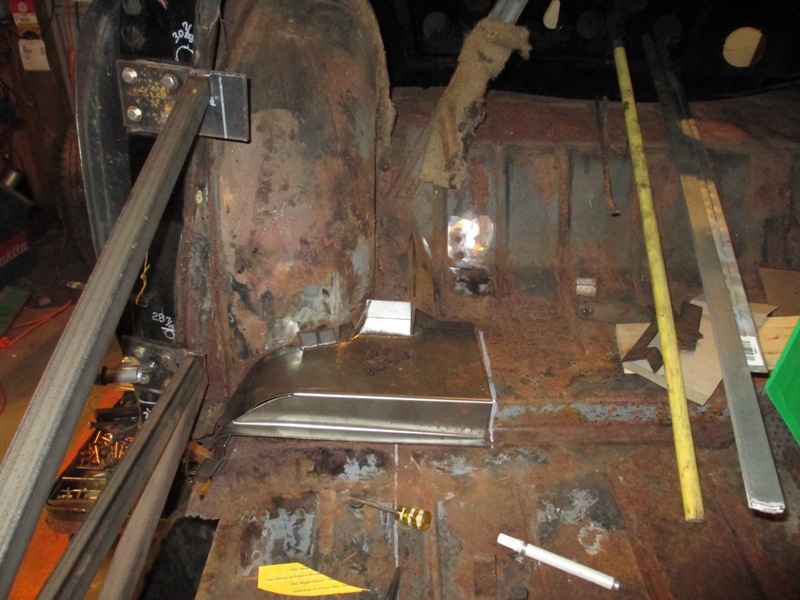
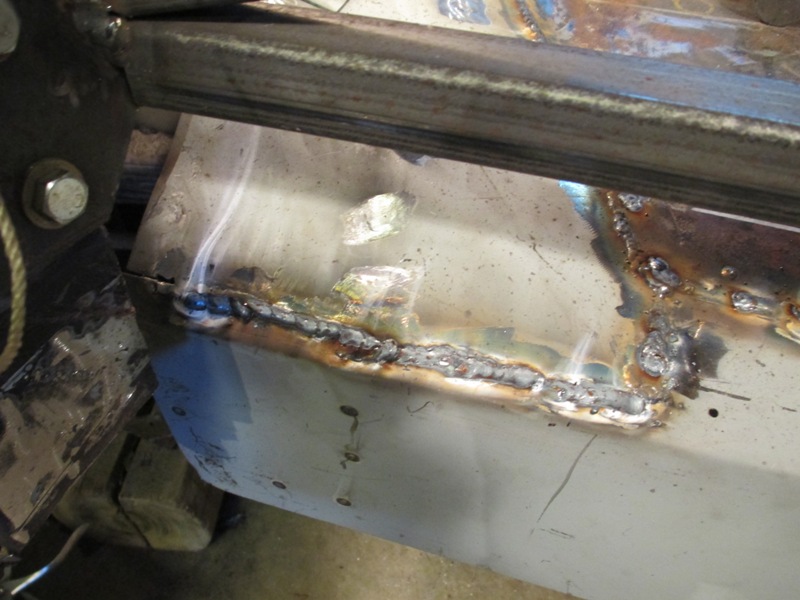
After longer than I had planned today the new steel started being
welded in today, as you can see lots of Cleco pins and clamps have been used
to make sure that everything is located correctly and locked in place. With
the three layers of the rocker panel structure and the new bottom of the door
post in place, the mid body support and was fitted into place and the end but
welded to the existing hat channel that had been cut back to solid steel.

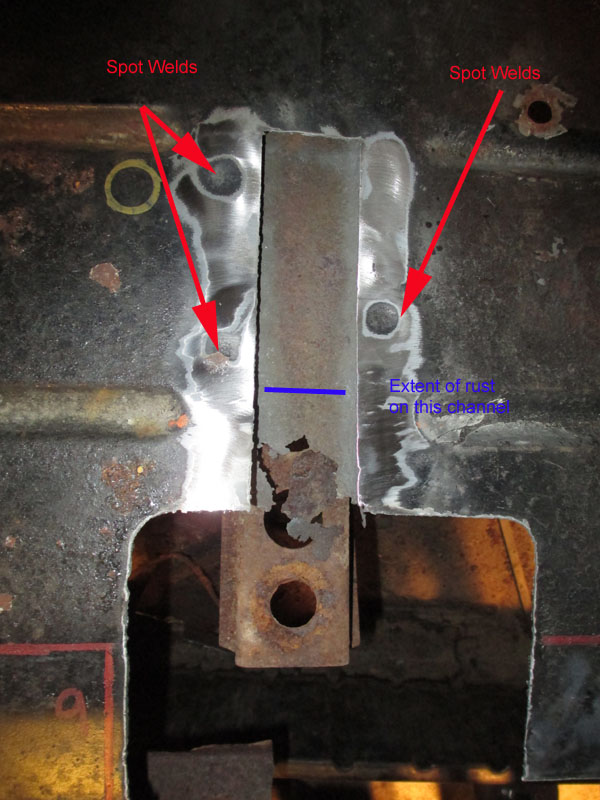
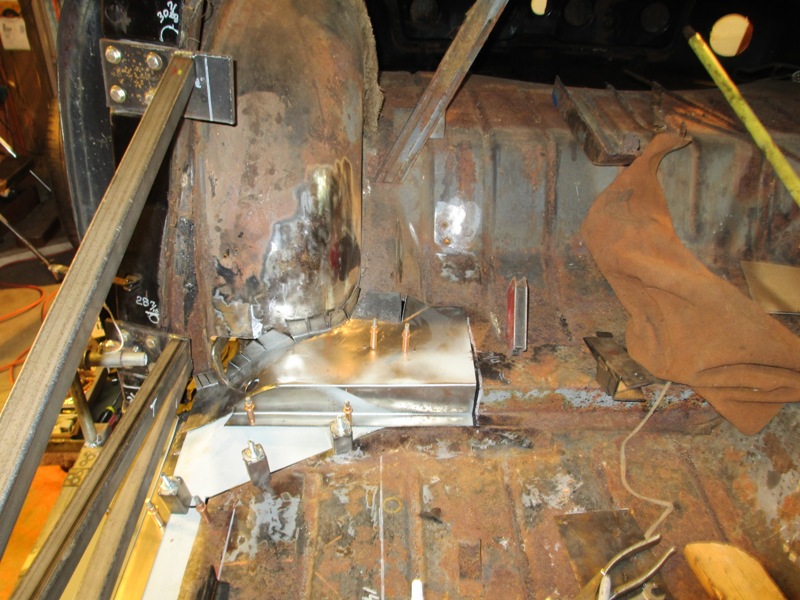
Then with couple of quick pinch welds with the spot welder
the inner of the Rocker Assembly was welded to the support in less time than
it took to type this sentence. When you see a spot welder in action you quickly
see why cars have far more spot welds that any other type of weld. Particularly
when welding sheet metal panels that overlap together, it is quick, very strong,
and because the heat is so very localized there is little if no heat warping.
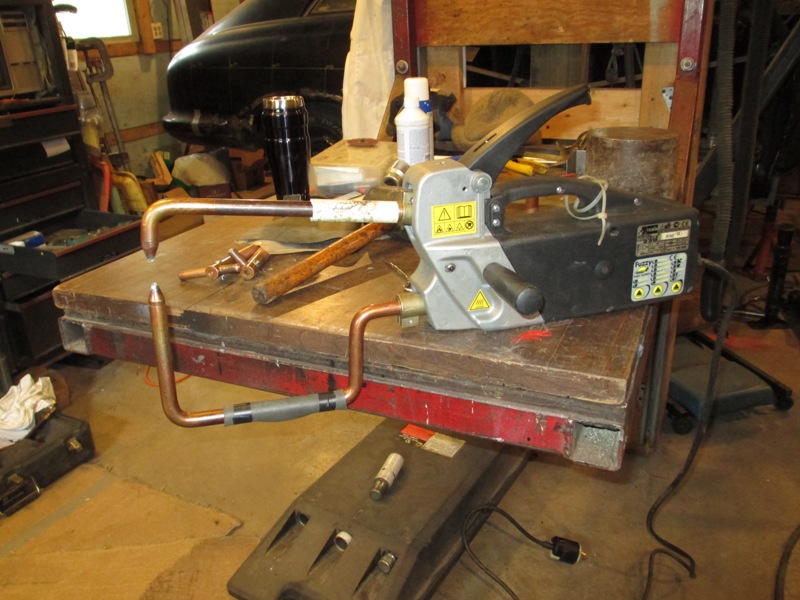
The plastic tube on the upper electrode and rubber wrapped around
the lower is to prevent incidental shorting of electrodes. Which if shorted
to work piece will not weld at the tip where the pinch weld is desired. Obviously
you don't want to come in contact with the electrodes for two reasons one you
will get shocked and two after a couple of welds they start getting very hot.
Production spot welders generally have a cooling system.
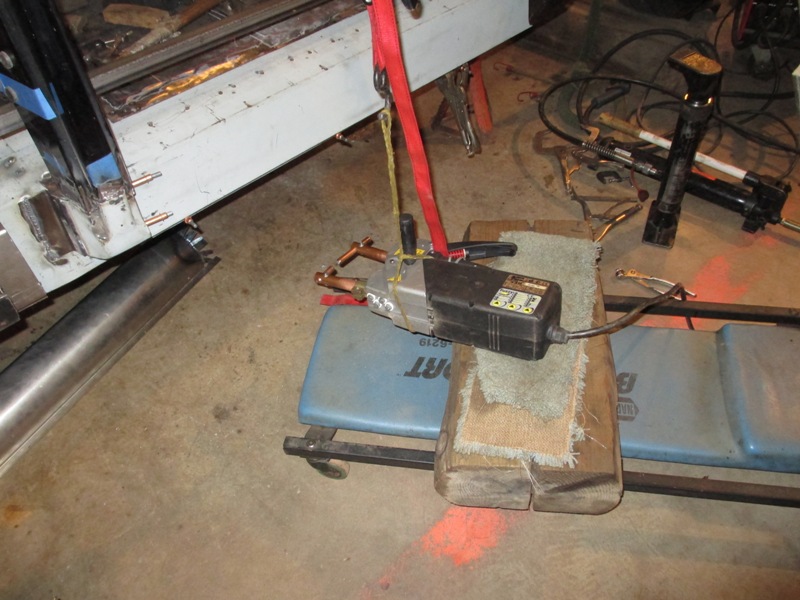
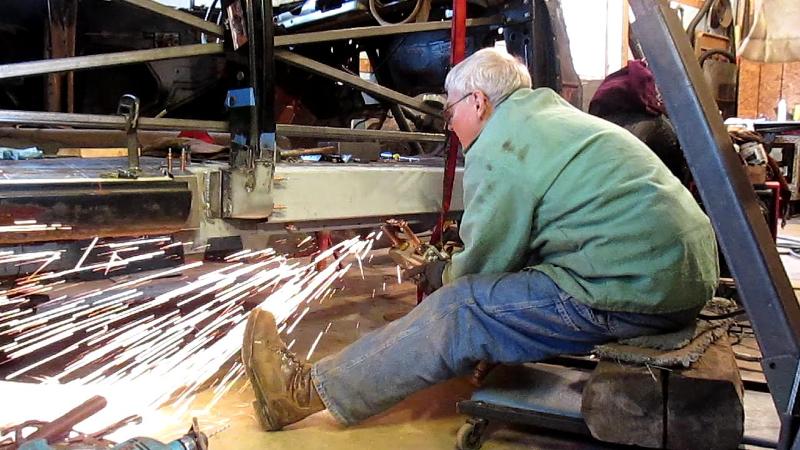
The red strap coming down to the spot welder is to take the weight
of the spot welder it is hung from the jib crane in the shop so it can be positioned
nearly any where in the work area. Counter balancing the weight of the spot
welder helps maneuver the unit around. Depending on how much repositioning is
going to be necessary I have in hung the unit from the jib crane with a rope
and pulley with a weight equal to the welder at the other end.
The gray primer that can be seen is the Zinc Weld Thru Primer
which I am less than impressed with, it scratches very easily. In the future
it's use will be restricted to the actual weld area alone. Plan now is to use
a regular primer sealer for all bare steel leaving only the actual area to be
clamped and welded for the Zinc Weld Thru Primer.
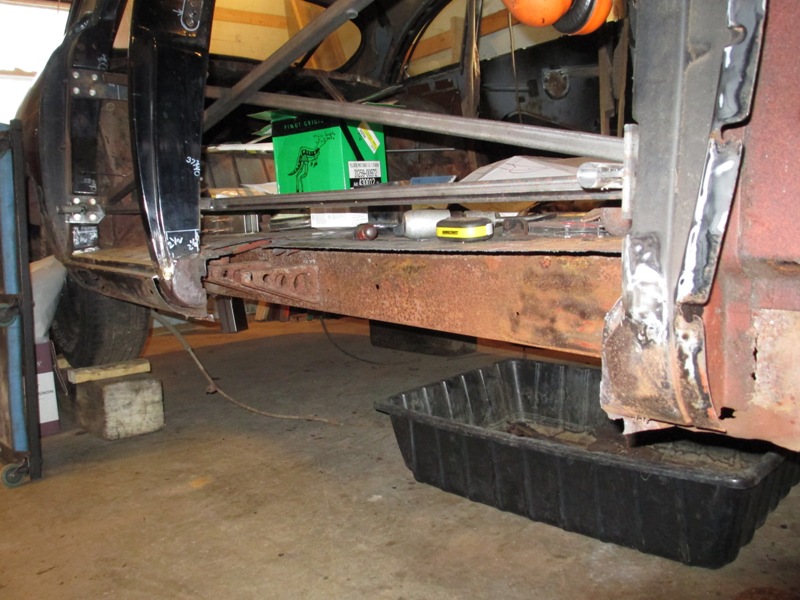
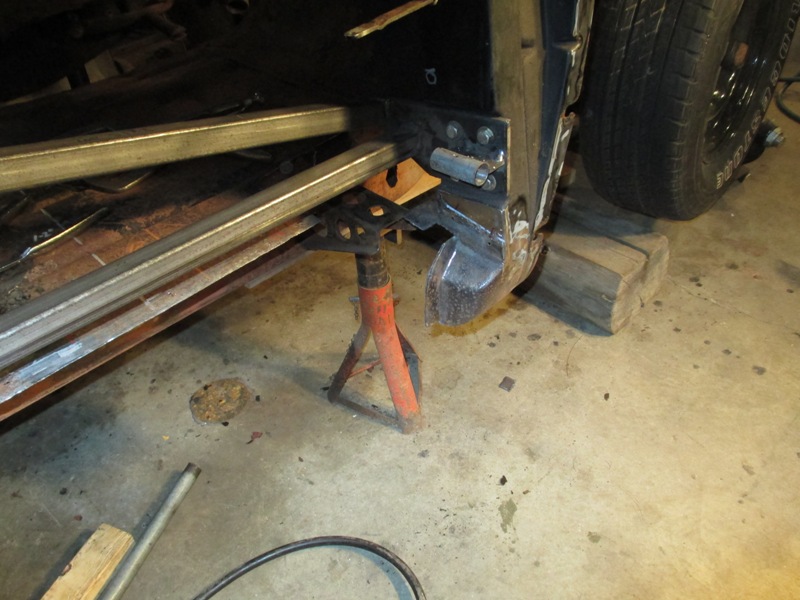
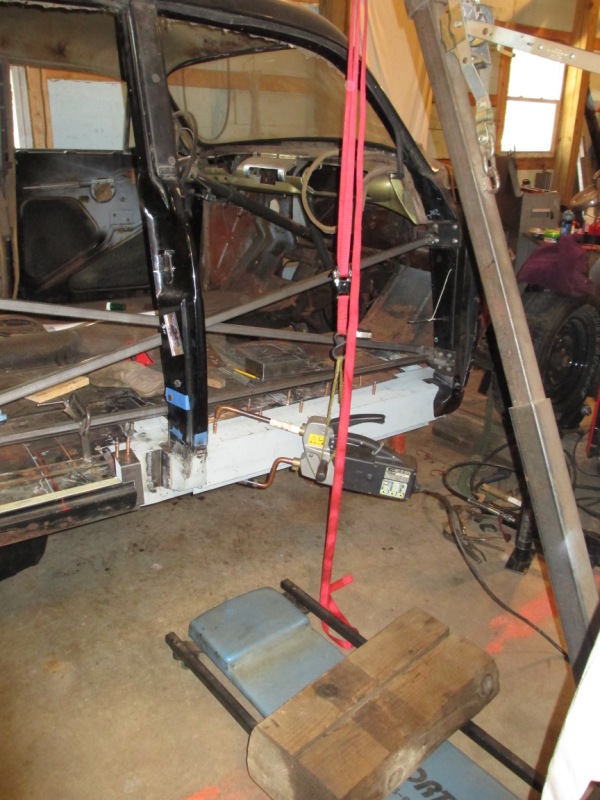
You may have noted that I have left a lot of cleaning up to
be done on the under side of the body and all of the frame. The reason for this
is simple once both sides of the car have had the rocker panels and body supports
restructured then the plan is to lift the body off the frame and mount it on
a rotisserie to really clean up the underside, by Soda Blasting of the paint
and maybe a little regular blasting for any rusty spots. The old undercoating
is coming off with a very light touch with a chipping bit in the air chisel.
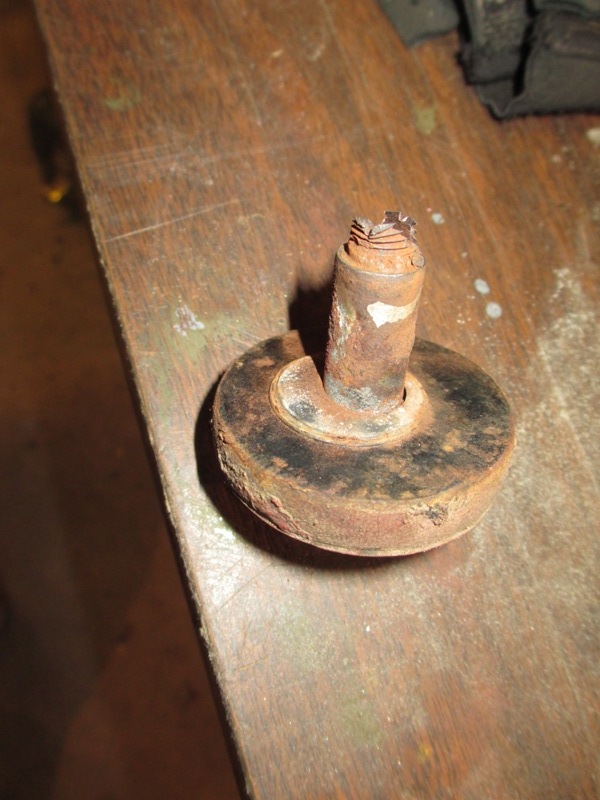
Then touch up the welds, paint, replace all the rubber body mounts. For now
I'm slipping in wood blocks the thickness of the body mounts to maintain uniform
distance between the frame supports and body.
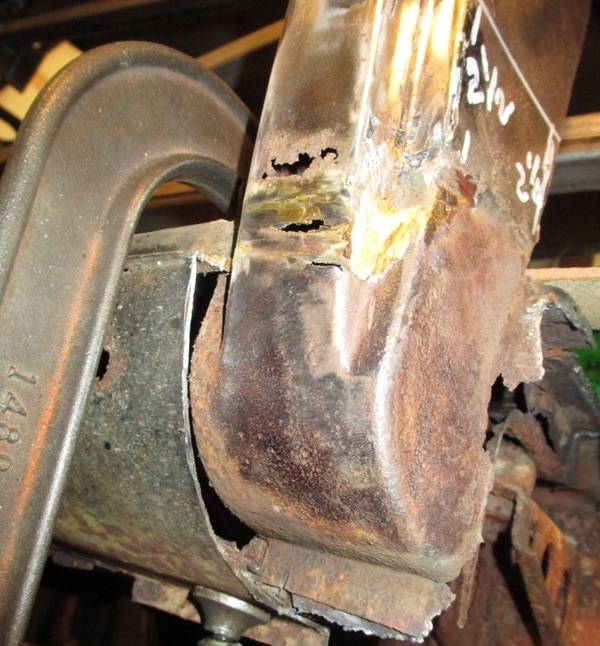
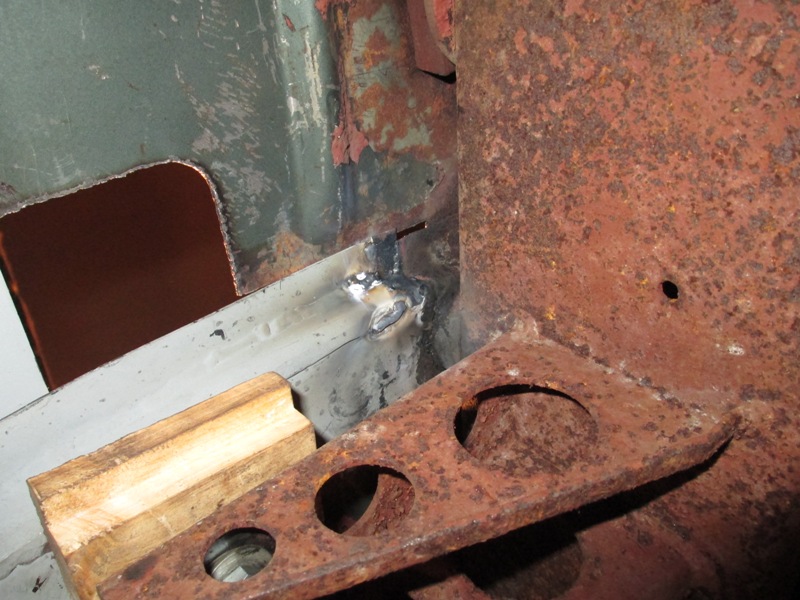
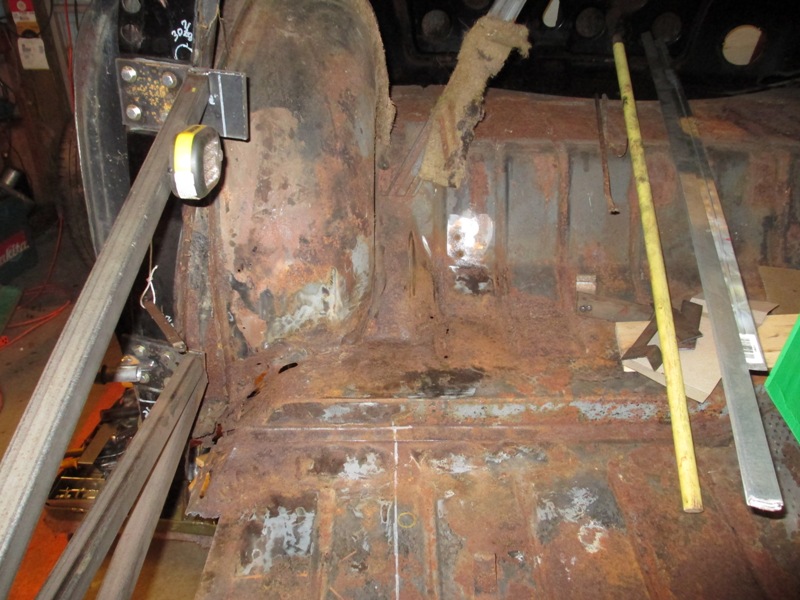
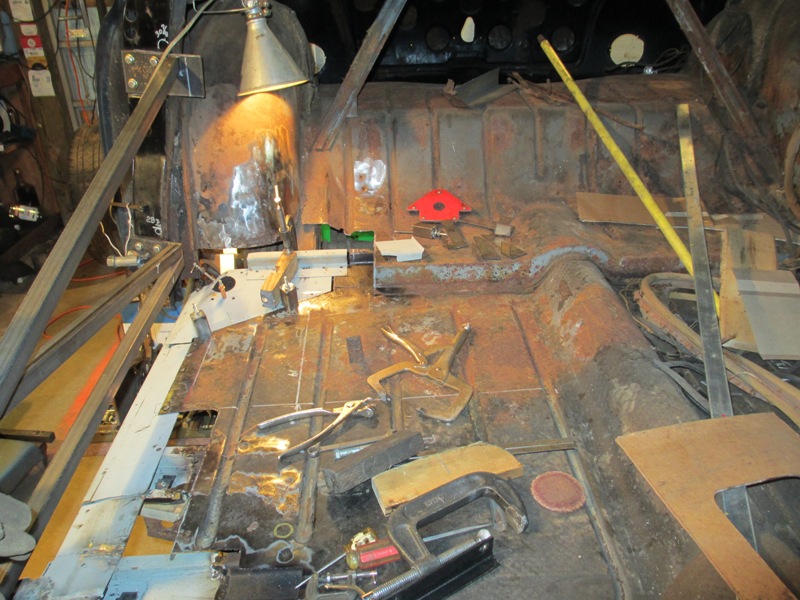
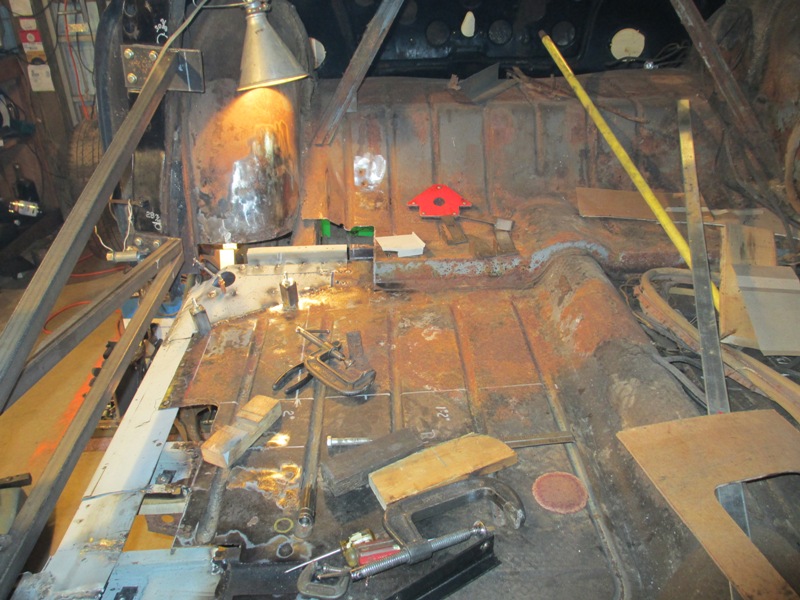
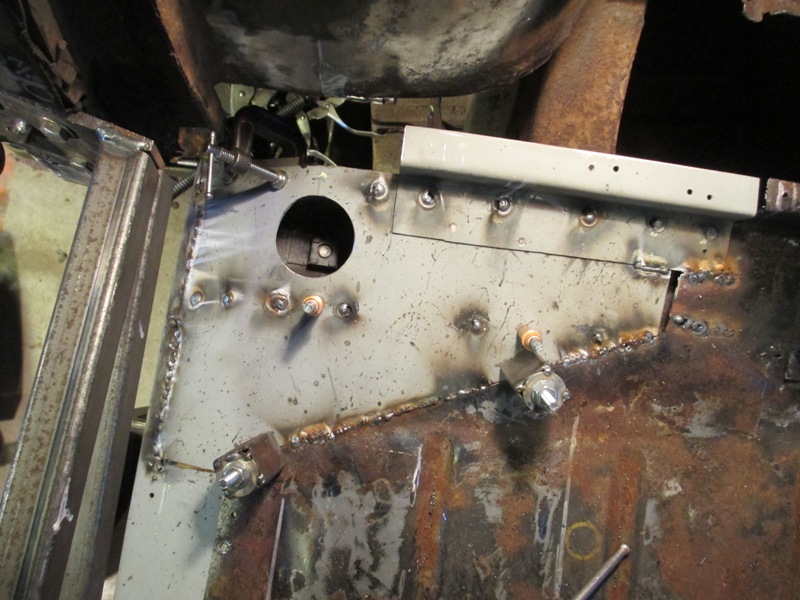
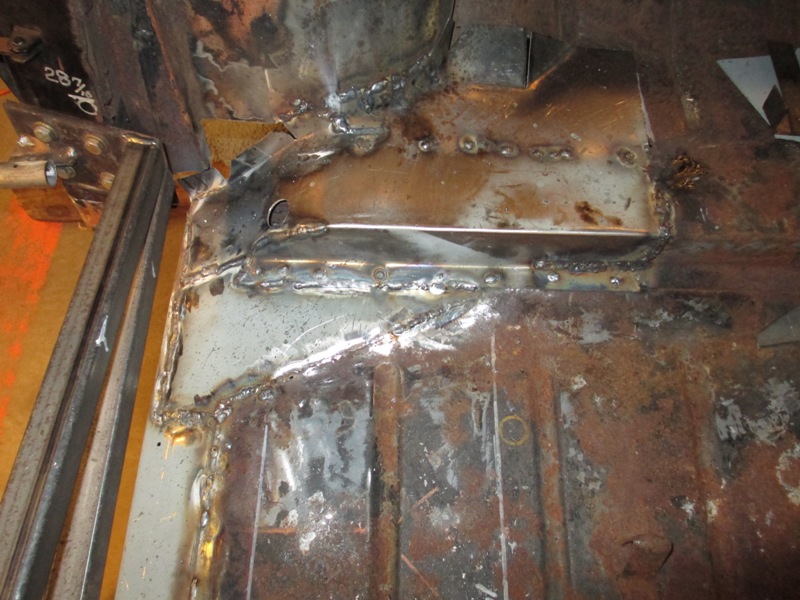
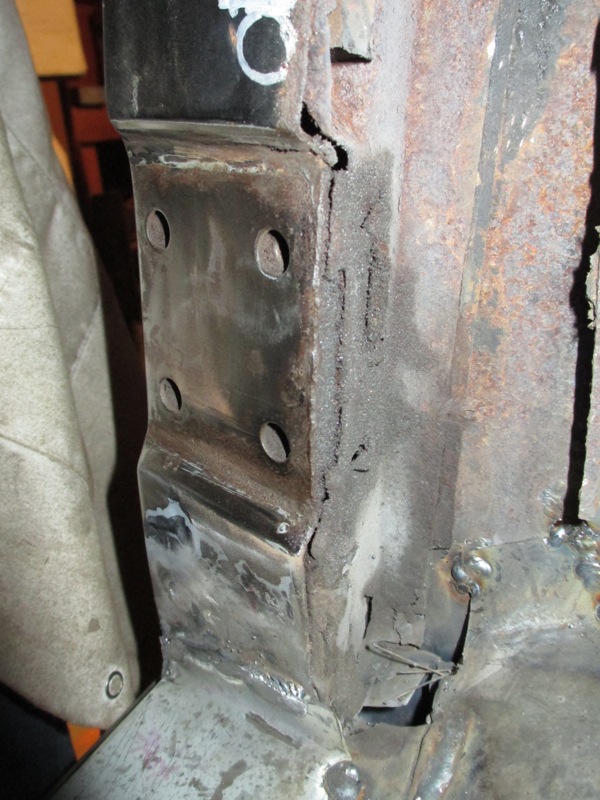
Now on to welding in the body supports and rocker panel assemblies
under the rear door, as can be seen one body mount needs only the outer end
replaced while the other will have to be replaced in nearly a foot. In the bottom
two photos you can see that like the center door post the rear door post will
have to have the bottom 8-10 inches fabricated. Once all that structure is in
place then it will be on to the rear wheel arch.
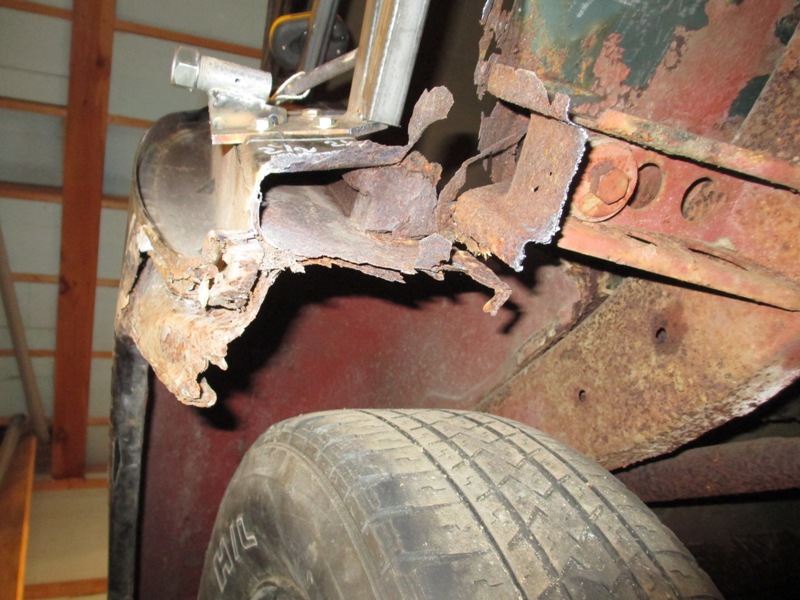
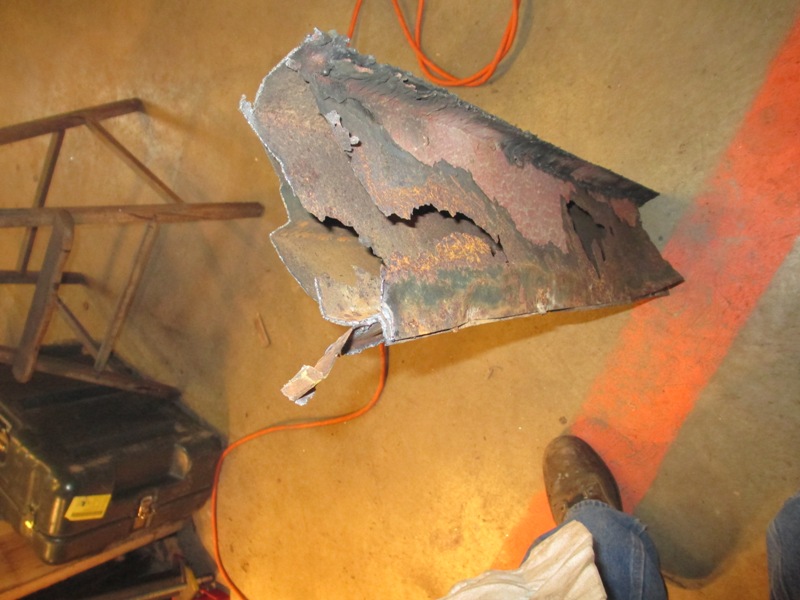
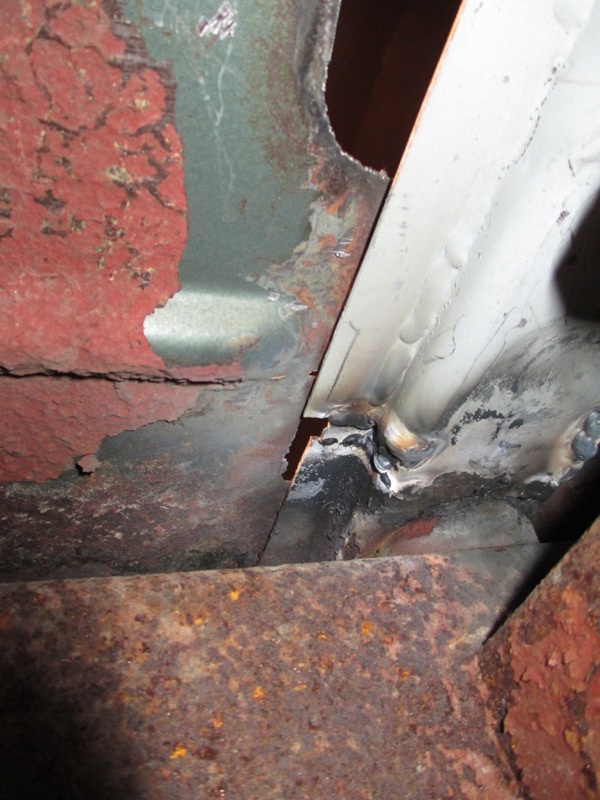
As can be seen, in the pictures above, the rust termites have
been busy eating away at the bottom of the rear door post, rear body mount,
and floor so a lot of steel or more exactly rust had to be cut away until solid
steel was reached. Cutting line this has to be done slowly as mentioned earlier
because though there may be large rust holes things are still being held in
position and if you get carried away suddenly things start moving around.
Also before cutting away panels it is important to start making
patterns and repair panels. Flat panels are not much of a problem but curved
panels or complicated stamped panels can be difficult to copy. One of the ways
I make templates is to use Aluminum Foil carefully forming it to the shape and
marking the bend edges with magic marker.
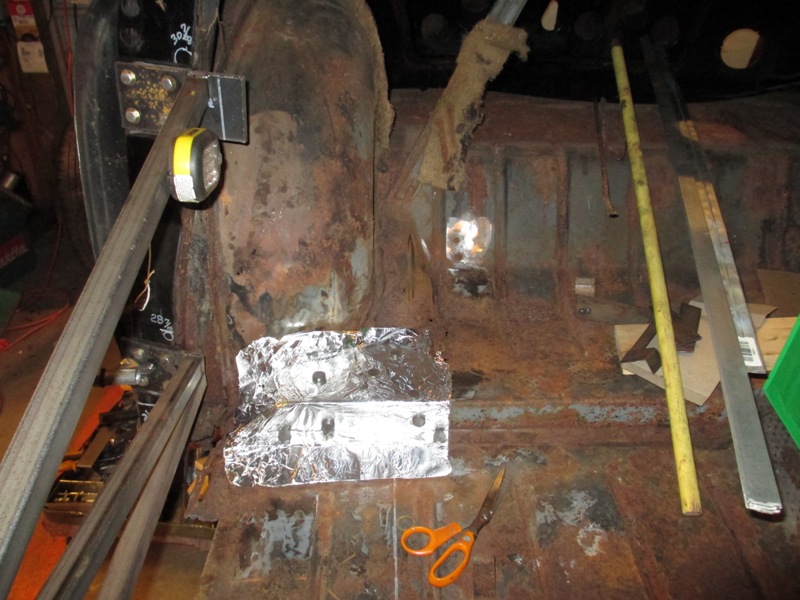
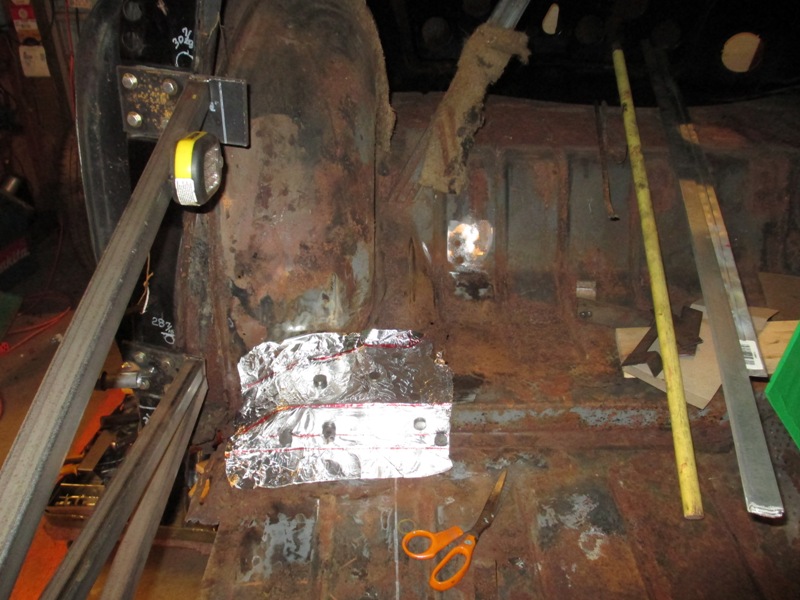
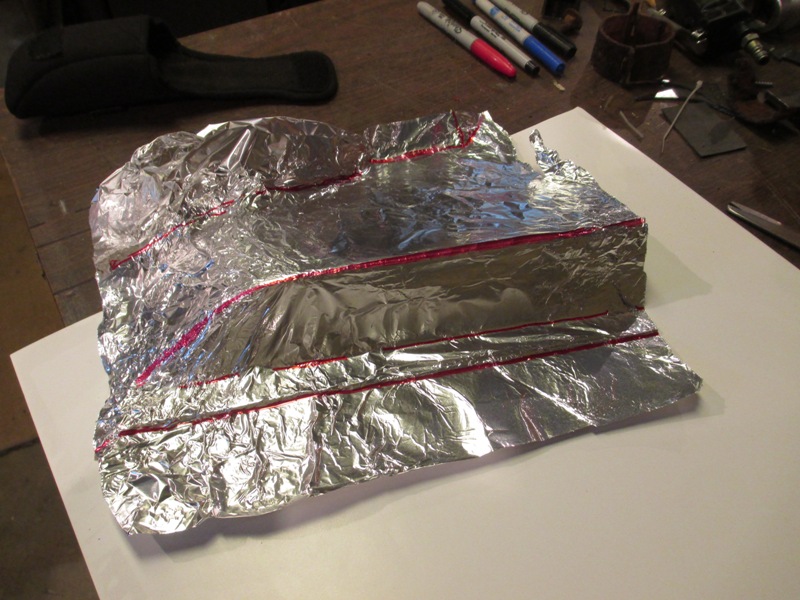
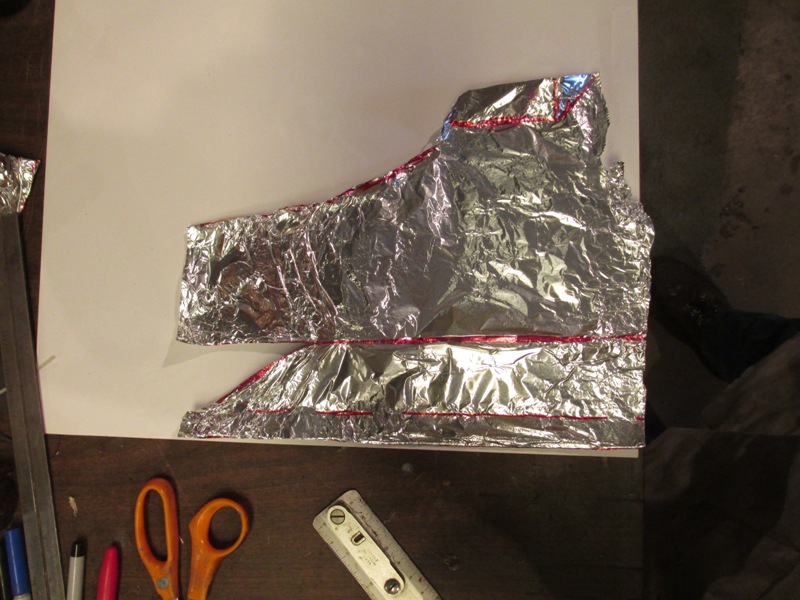
The Aluminum Foil is carefully cut along the lines and then
the foil can be flattened out on to card stock. Which is then laid out over
the panel area and held down with magnets to check the fit. Once satisfied with
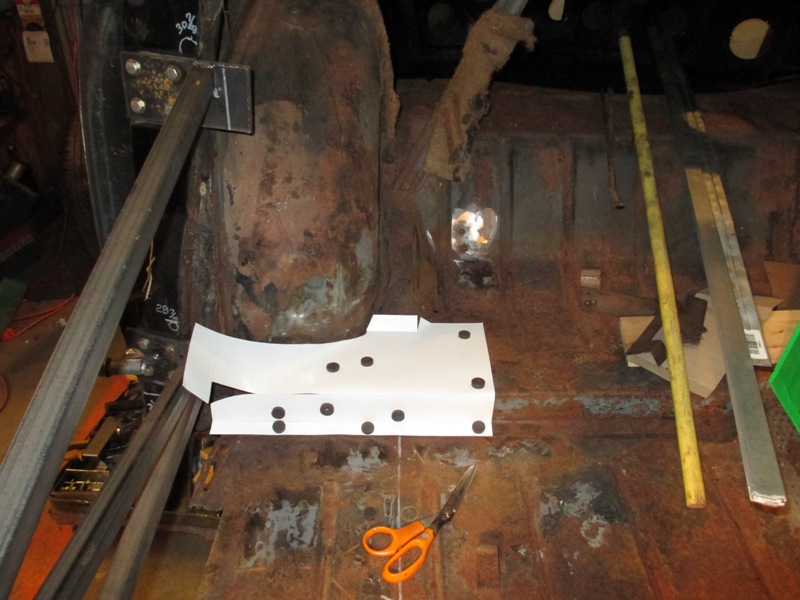
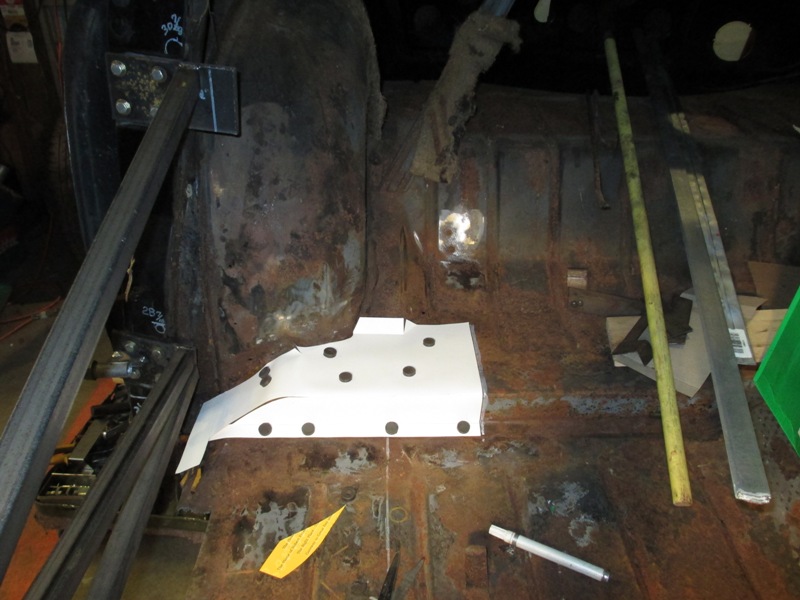
the template it can be traced on to the steel to be cut out with the Plasma
Cutter. One of the ways I get smooth cuts with Plasma Cutter is to use magnetic
strips on curved areas and strait line guides for straight cuts. I also use
refrigerator magnets to make curved cutting templates they cut easily with scissors
and the 1/16th inch thickness is enough guide the plasma cutter head. Yes they
do get hot but will allow you to cut several parts.
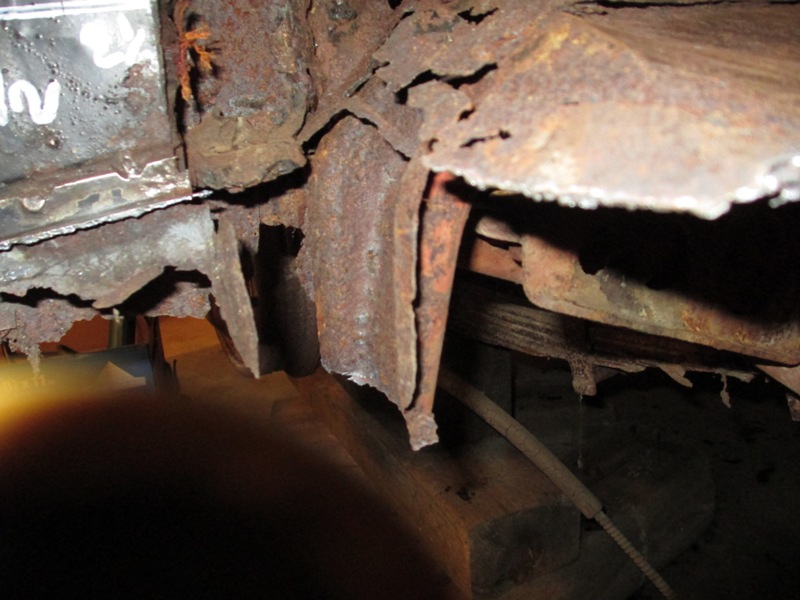
The next pictures are a series that show, marking the cuts, and
gradually cutting away the panels to be replace, you will note that the top
panel forms a structural box that runs across the back of the car. Also that
the floor panel under that needed to be replaced as well.
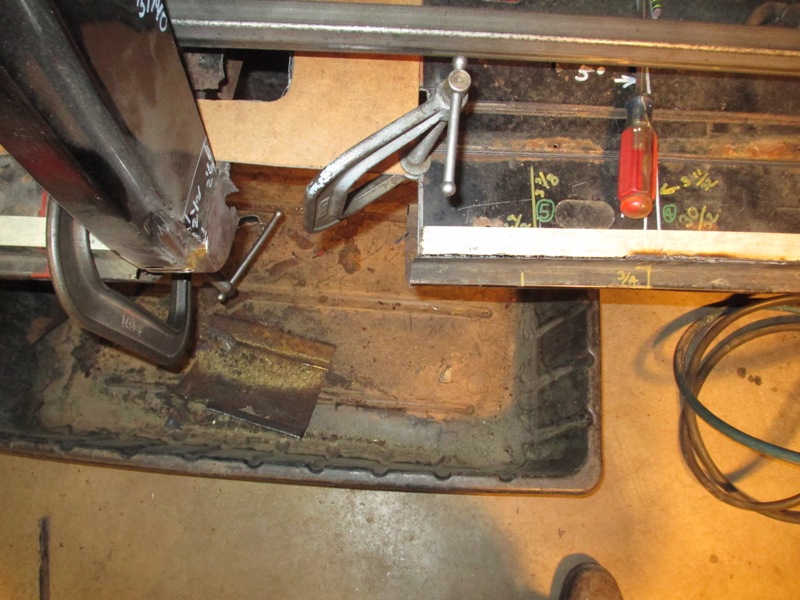
What is not shown in this series of photos is that at each stage
of the fitting process the entire rocker panel structure is fitted in place
any number of times to make sure that everything will line up with the door
sill Fitting Jig was put back into position. Panels were then marked for any
trimming or adjustments that were necessary. As the parts start fitting better
and better Cleco pin clips are used to lock each panel into place. I had to
buy another fifty of these to keep up the number of parts to be fitted.
One of the things that becomes necessary when you have a number
of panels that fit together it becomes necessary to make an assembly check list
to be sure that the panels are put in place and weld in the correct order.
So far it has been working out to 3-4 days of making panels and
fitting them to one day of welding. On to welding as can be seen I'm still using
the weld through primer but the jury is still out on if this stuff is worth
the effort. It does not seem to well as smoothly as they would like you to believe.


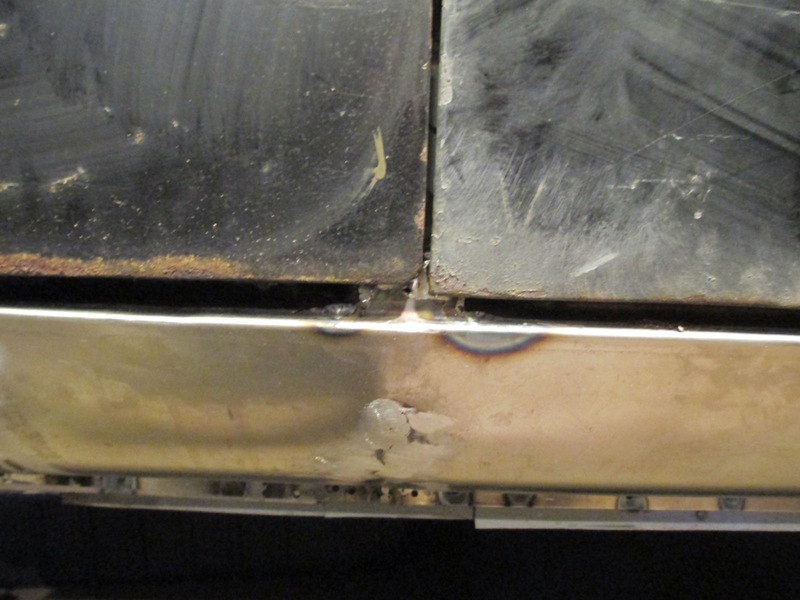
Passenger side restructuring and replacement of rocker panels
is now complete.
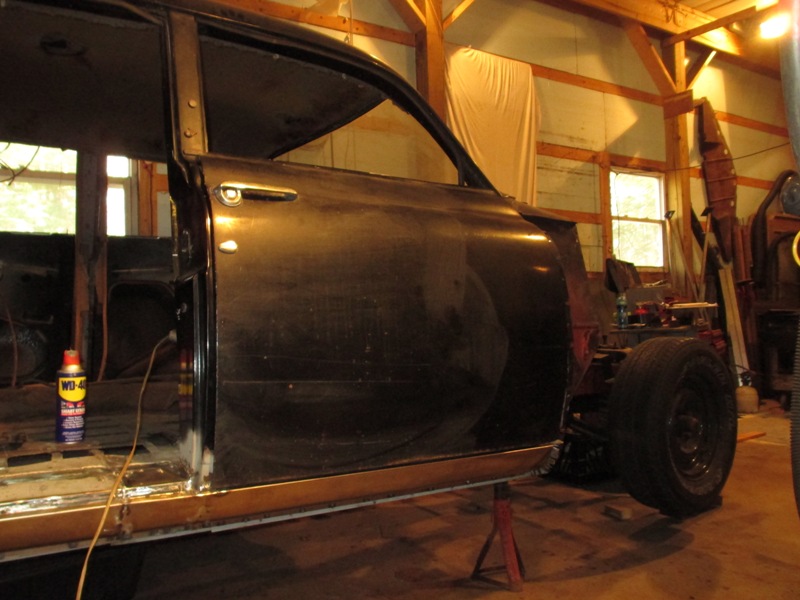
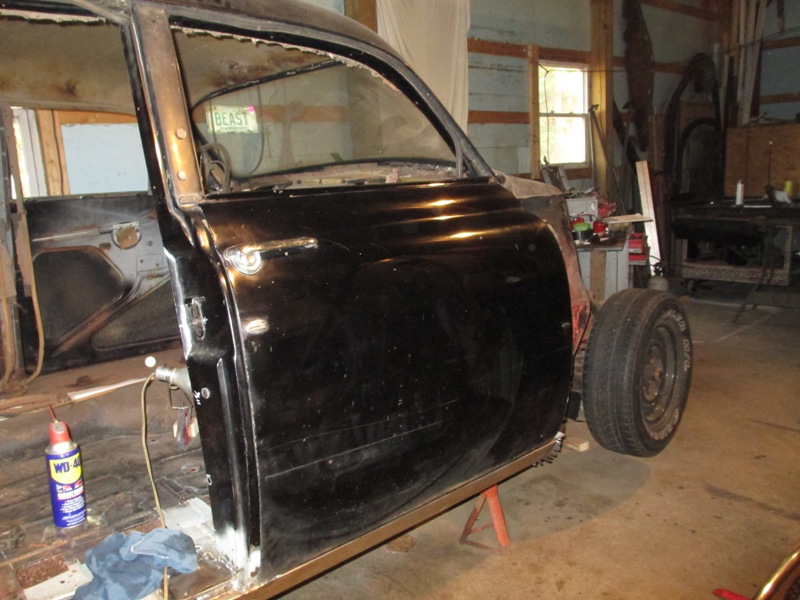
It appears the all the work to keep everything in alignment
was worth the effort. With the work complete the X-bracing was unbolted and
remove, and the front door was bolted in position. Without any any of adjustment,
swung the door shut and was reward by that nice solid thunk sound as the door
latched shut. No rattle, no play, the gab at the bottom of the door was even,
the door and the rocker panel edges lined up. I'll be bolting the rear door
in this weekend, but I expect that it will fit as well.
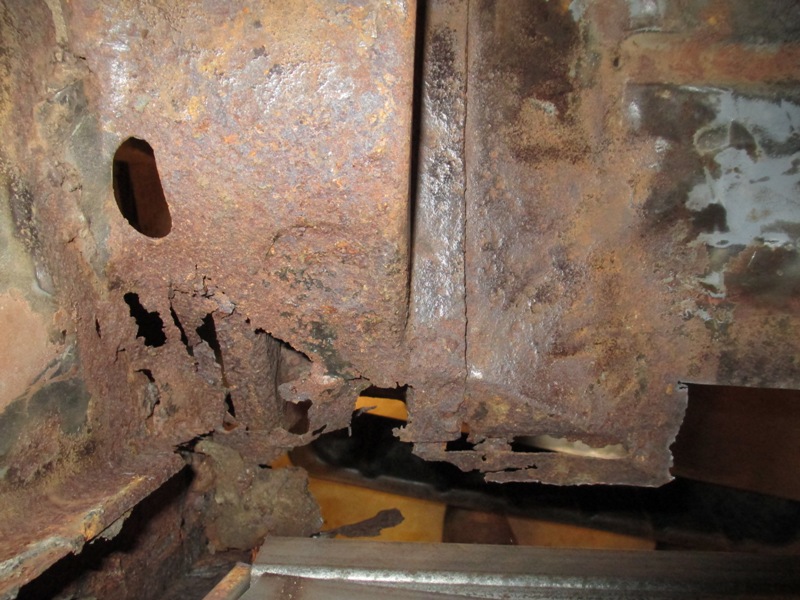
The last step in restructuring was tying the rear door post
into the rocker panel inner structure and through that to the rear body mount
had to be accomplished like the middle door post the bottom 4" of the door
post was a memory held in rust. This meant making a sheet metal slug that would
slide up into the solid part of the post so that it would overlap. This was
done by making yet another wood buck to form the new sheet metal
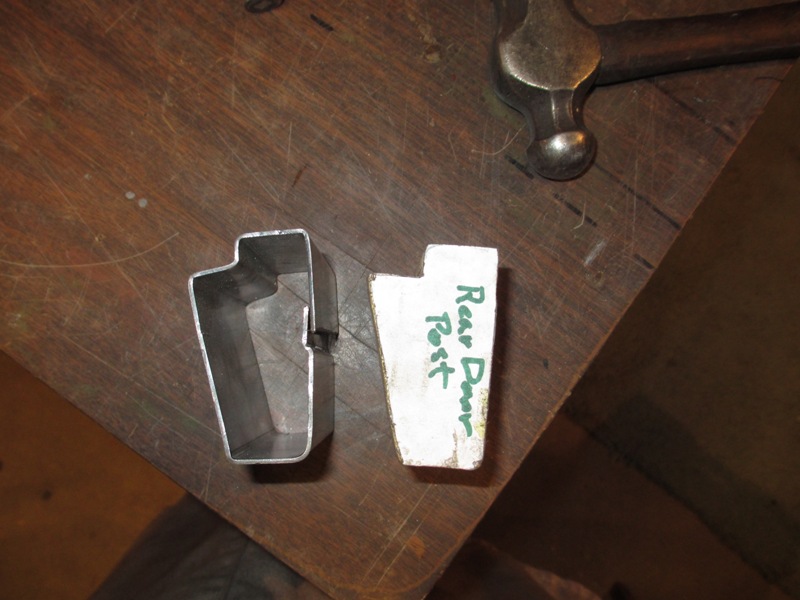
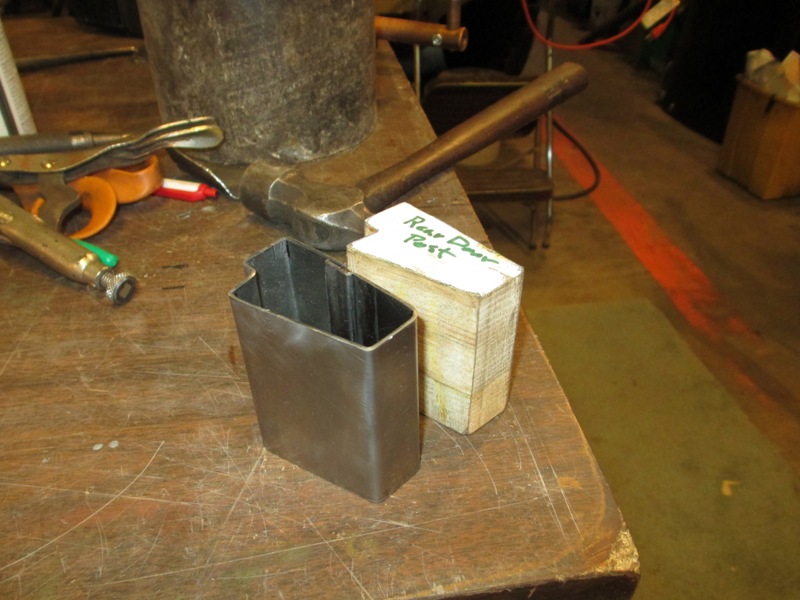
Like almost all sheet metal parts the door post are made from
stampings so reproducing them means they have to be made into something that
can be formed from flat sheet metal. Once the bottom of the door post was ready
to be tied into the new structure. Which meant it was time for one last check
of the Fitting Jig
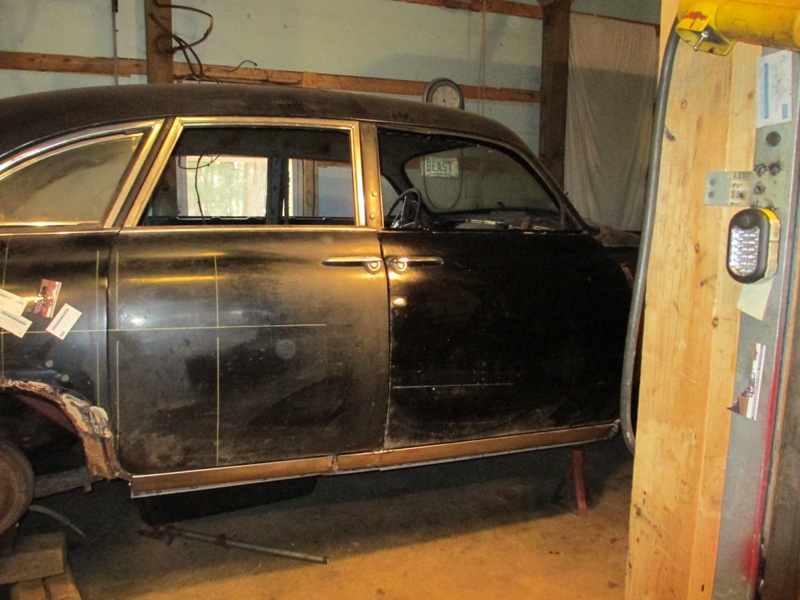
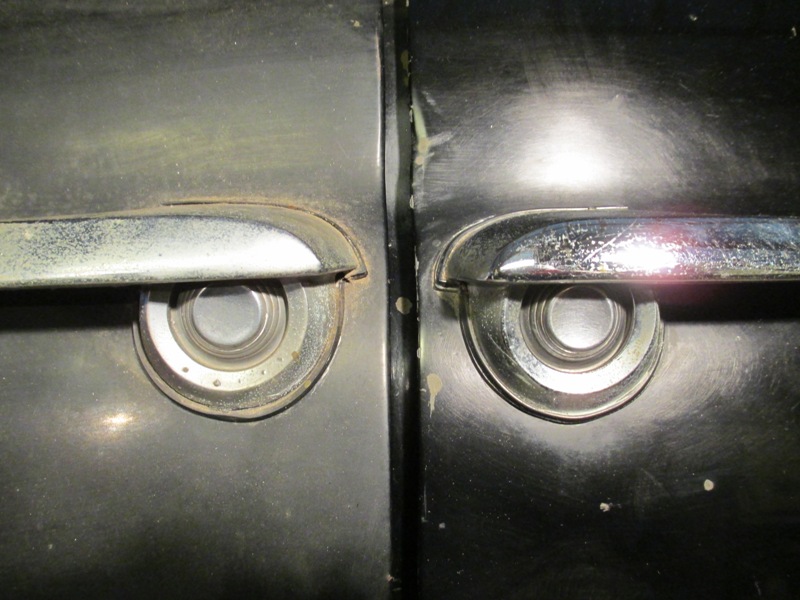
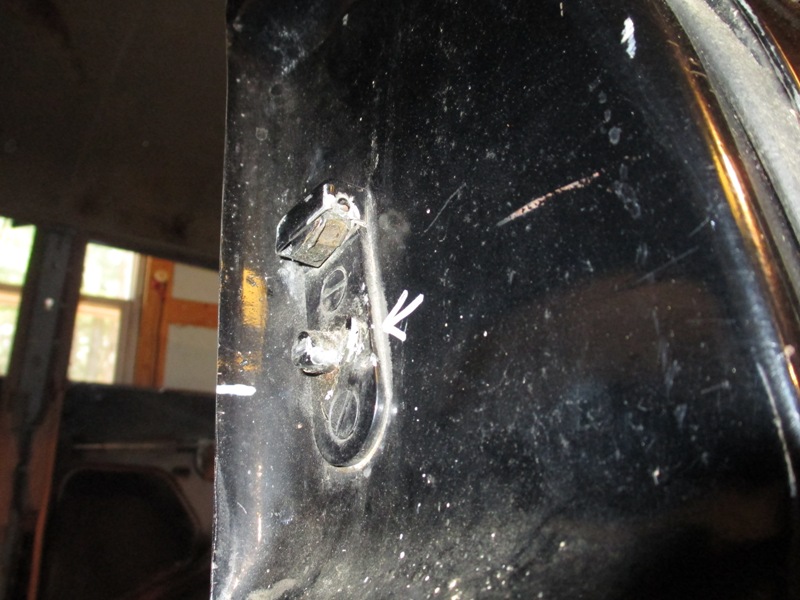
The doors are all in pretty good shape with little if any
rust, the 49 Lincoln Cosmopolitan's had an advanced rust prevention system in
the doors in the form of a self oiler that continually injected oil into the
door. This was a side affect of the hydraulic windows that always leaks not
necessarily badly but slowly. One of my window cylinders were still holding
oil under pressure after sitting since 1972. You may notice that the door seems
to get shinny from one picture to the next this was the result of just a little
cleaning and a little wax.
The right front door and right front fender have a relatively
minor crease in them, while the fender will be easy to fix as it falls just
under the front wheel eyebrow, the crease in the door will be more challenging
as it is relatively minor and is so shallow that the question is try and repair
it or just fill it. I'm actually more worried about making it worse, trying
to beat it out, besides to do that will require removing all the sound deadening
that is still very well adhered to the inside.
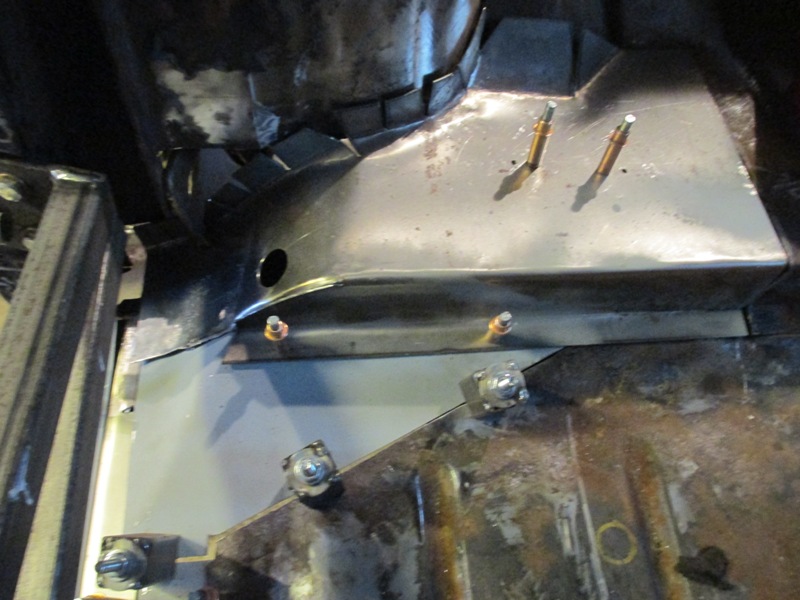
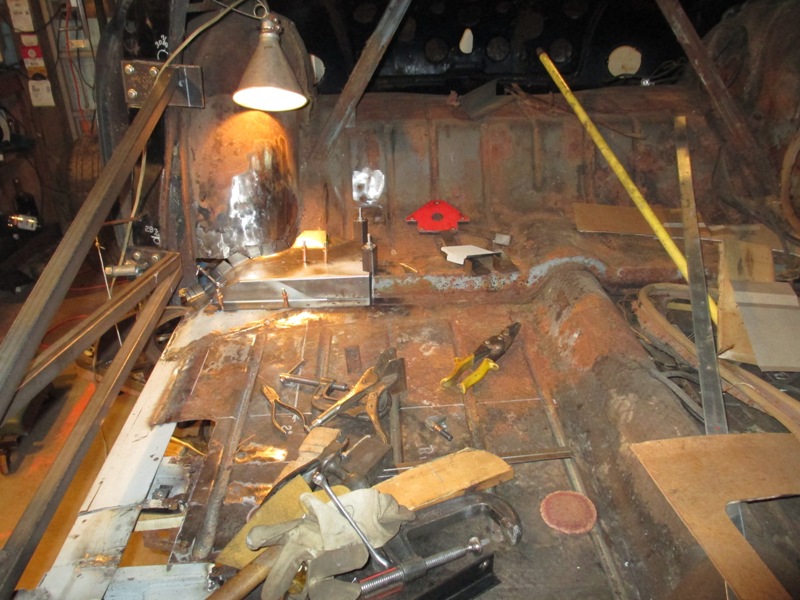
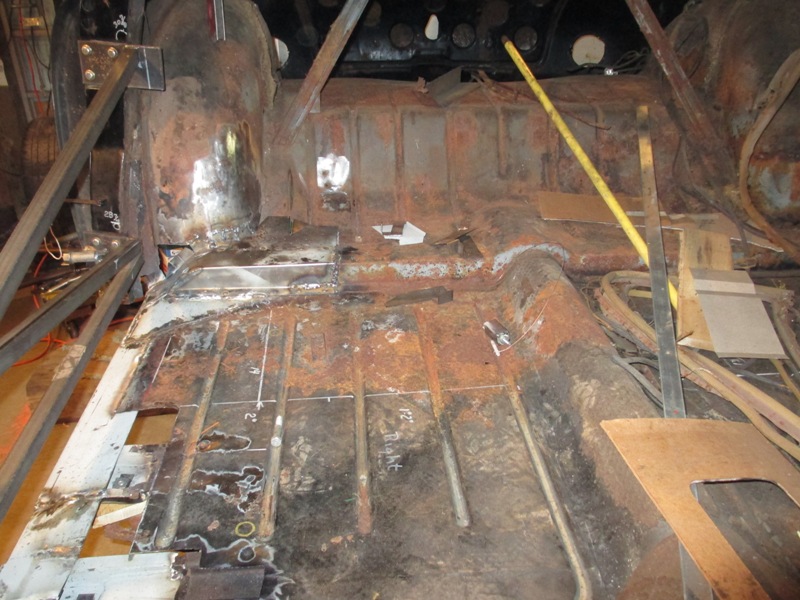
Only thing left for this section of work will be finishing
replacing the flat sections of floor over each of the body mounts. Then it will
be on to replacing the sheet metal (rusted areas) rear wheel opening. The doors
will probably than be removed again and the X-bracing put back in while moving
on to the other side of the car. Once the other side is structurally sound then
the plan is to lift the body off the frame and mount it on a rotisserie for
cleaning small rust area repair and painting then undercoating.
The right rear door did not fit quite as well as the front door,
coming out 1/8 to 3/16s out of plumb. So now comes a little figuring just what
has to get changed to bring the door back into plumb. What is a bit strange
is that the door may have been out of line before I started because when I started
checking for adjustment it was clear that the door strike was worn considerably
worn.

In looking for source of the problem old or new noticed that
the welds for the lower rear hinge are broken. As with any car with rear opening
doors (suicide doors) there is always a problem if they have ever come open
while the vehicle was moving slamming the doors back against the stops. Both
rear door show signs that this may have happened at one time or another, which
may be the cause of this misalignment.
Now an experienced collision repair person would know just how
to adjust this, but for me it will take a bit of figuring to figure out which
hinge needs to be moved how much. The door sides of the hinge do have adjustment
but this is all in and out not for and aft.
A week has gone bye since I worked on the door alignment, been
working on the floor replacing the areas I'd cut out on the passenger side because
of rust and to expose the body mounts that had to be replaced. As I was repositioning
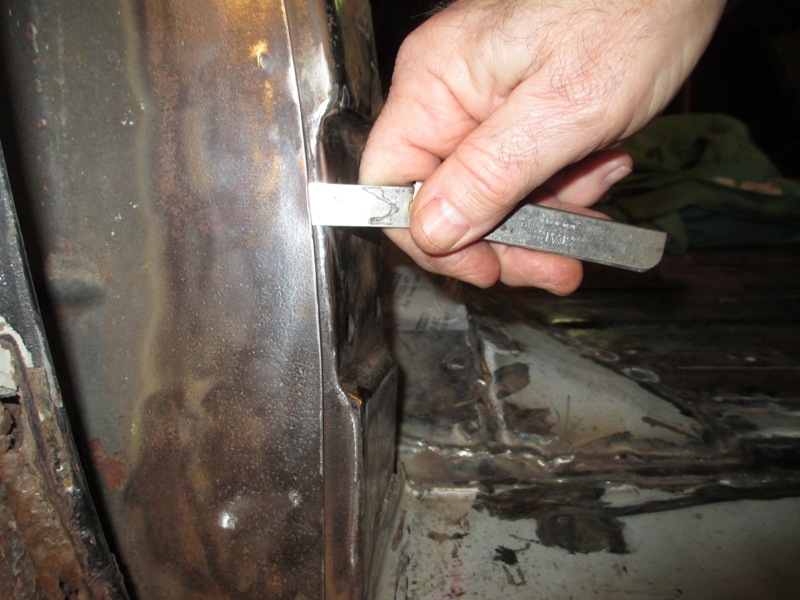
the lights to work on the floor, noticed a gap on the out side of the lower
door mount where I had noticed the broken welds, inserting a feeler gauge into
the crack between the outer body and the door post discovered that the spot
welds on the outside are broken as well. So with the welds on both inside and
outside of the door post it is getting clearer what the problem is.
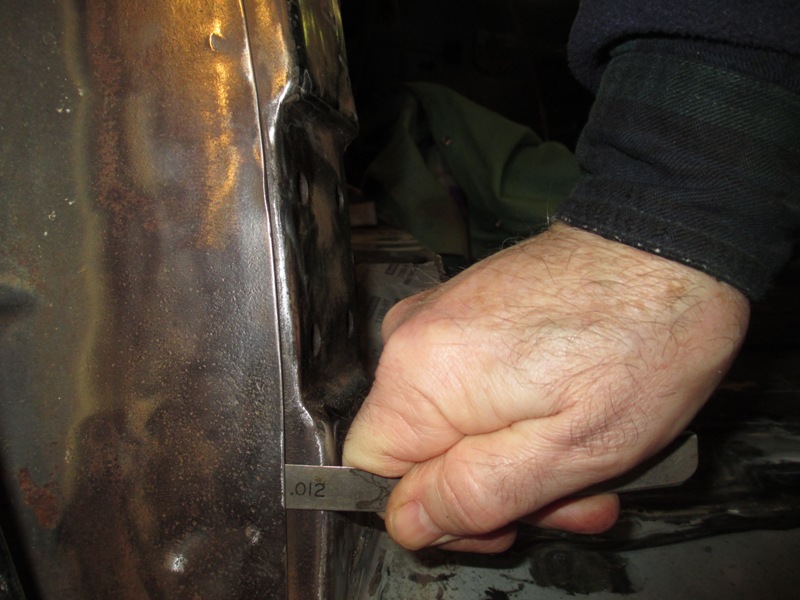
Little playing with the dimensions of the door in particularly
center of door hinge and the latch. Plugging the numbers into the computer it
comes out that for the door latch is to drop 1/8th of inch which is the amount
the door is out of align, the lower hinge needs to be moved toward the rear
of the car is 3/64th of an inch.
 Return
to
Return
to
Rip Van Winkle
Lincoln Page 1 History
of the Vehicle and Beginnings of the Restoration
(Note- at this point I'm not sure if I will start on this
section or move the car around in the shop and repeat the process of replacing
the rocker panel and related structure on the drivers side.)