|
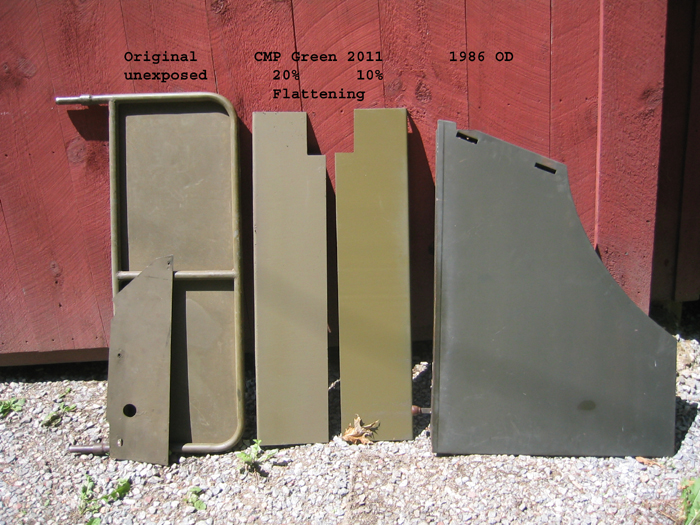
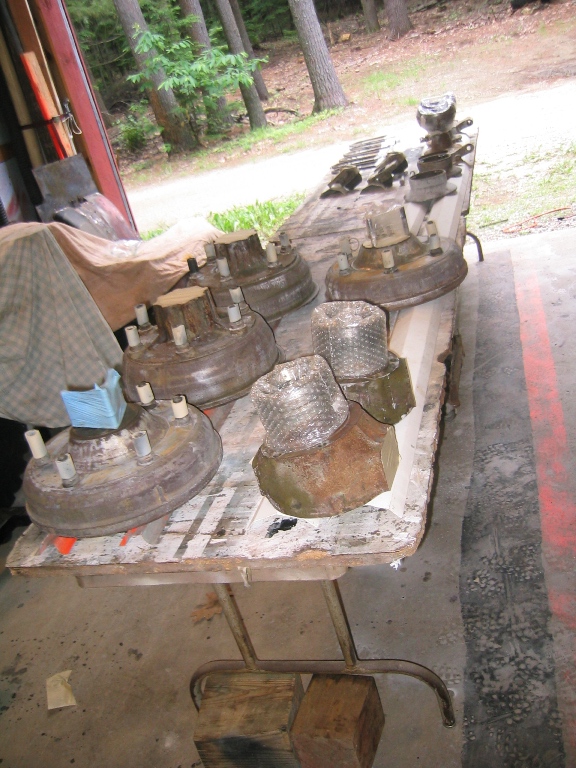
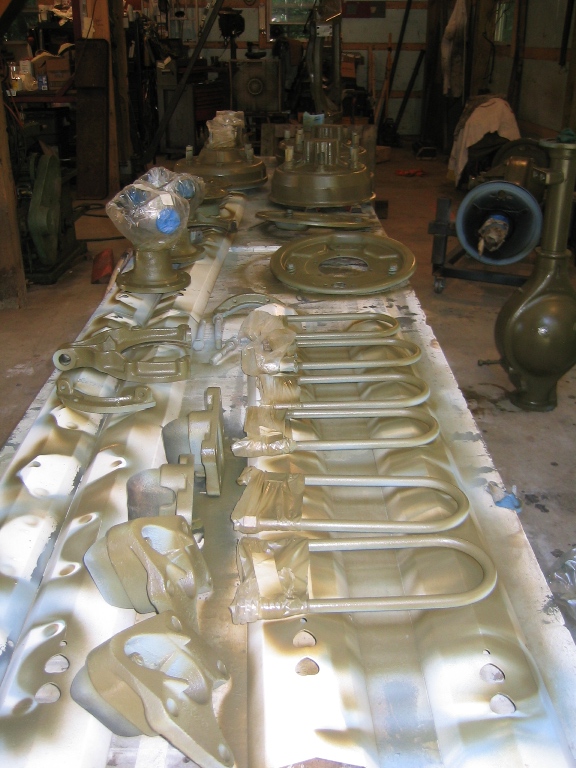
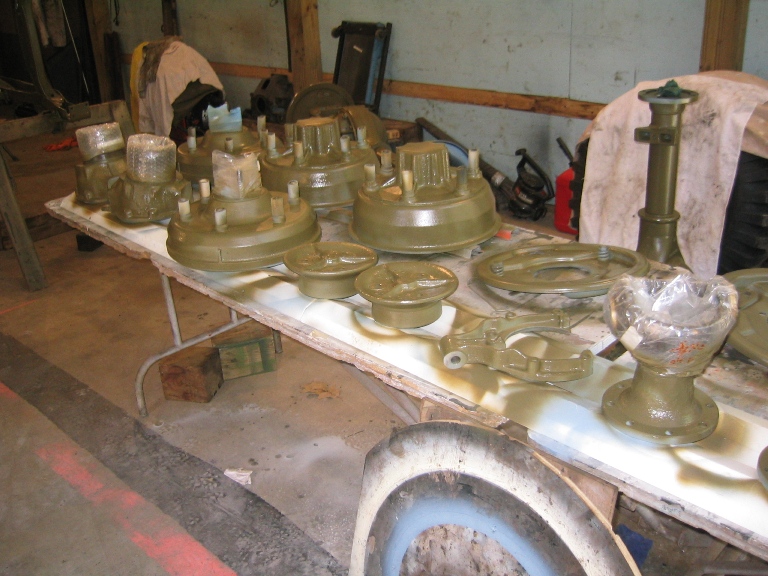
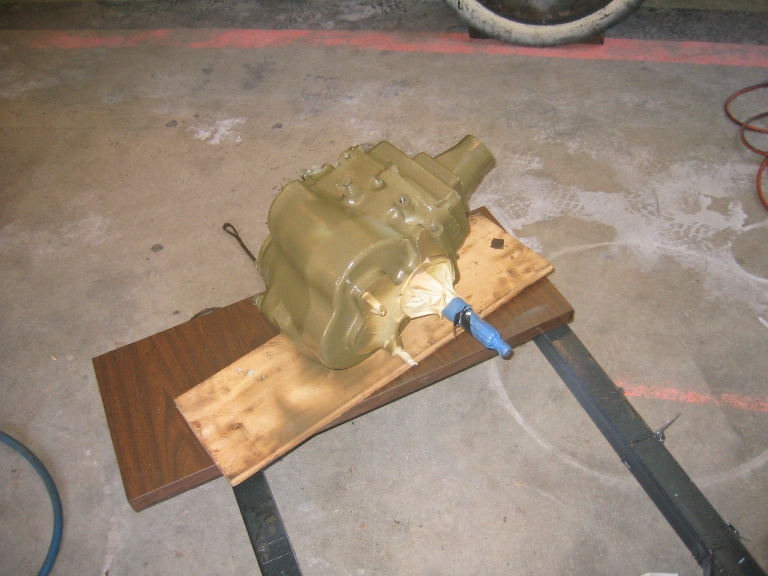
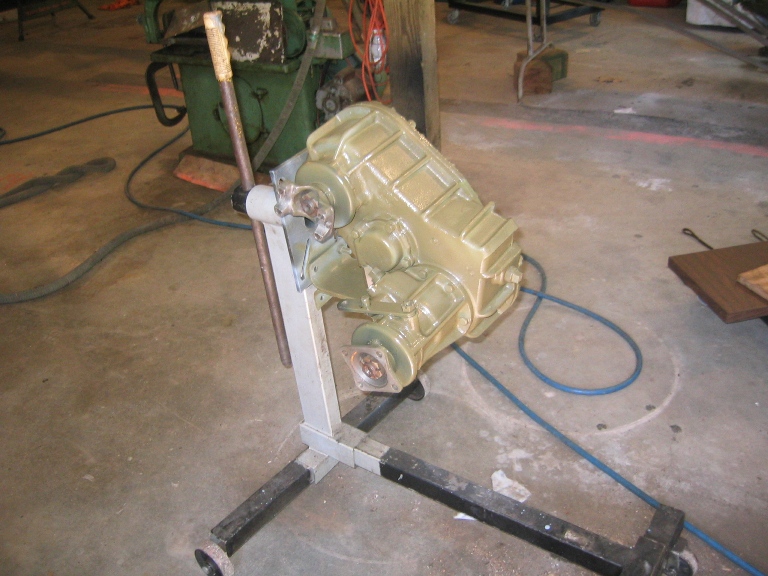
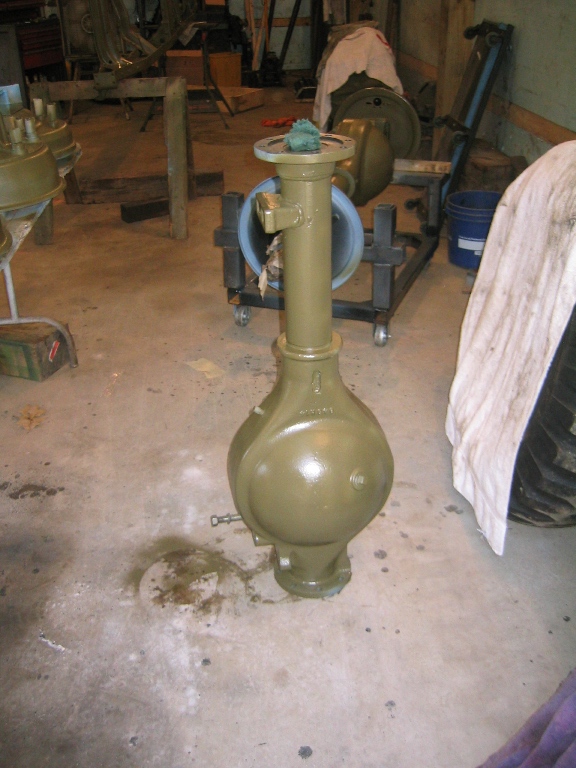
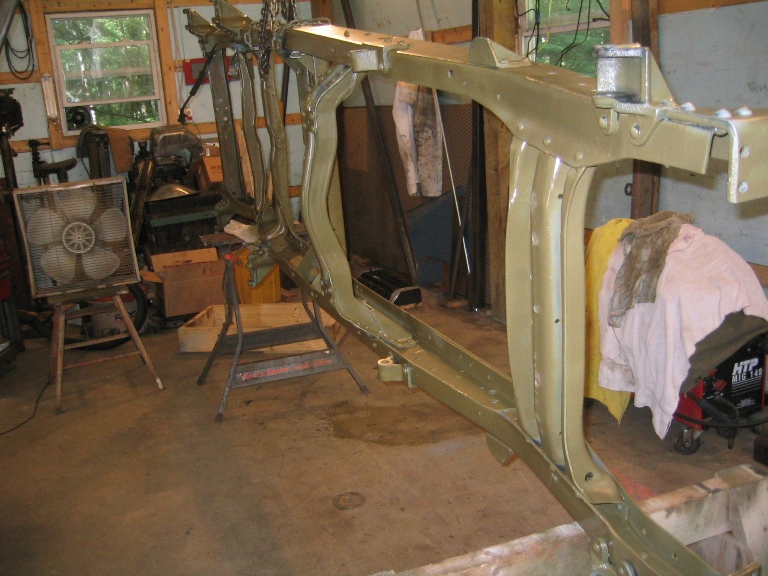
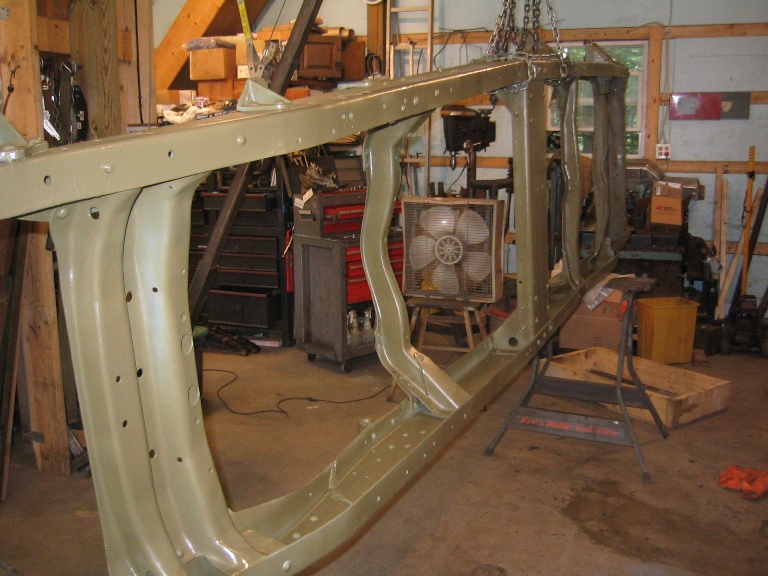
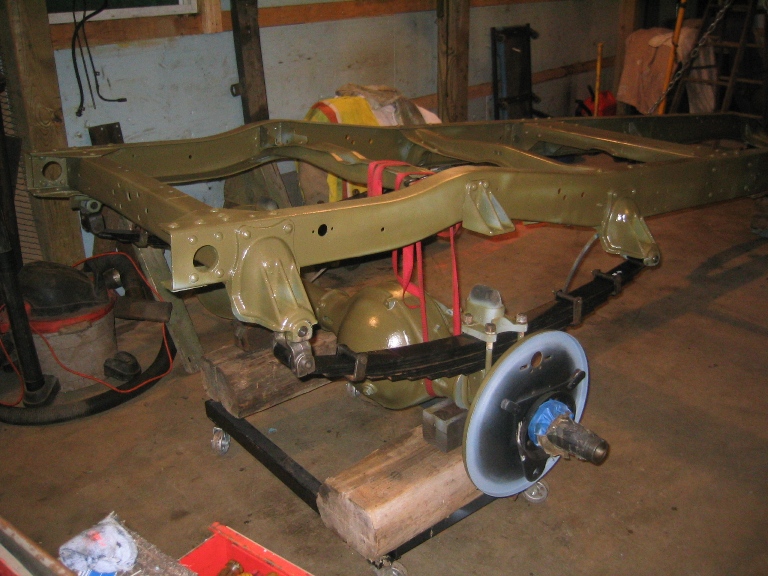
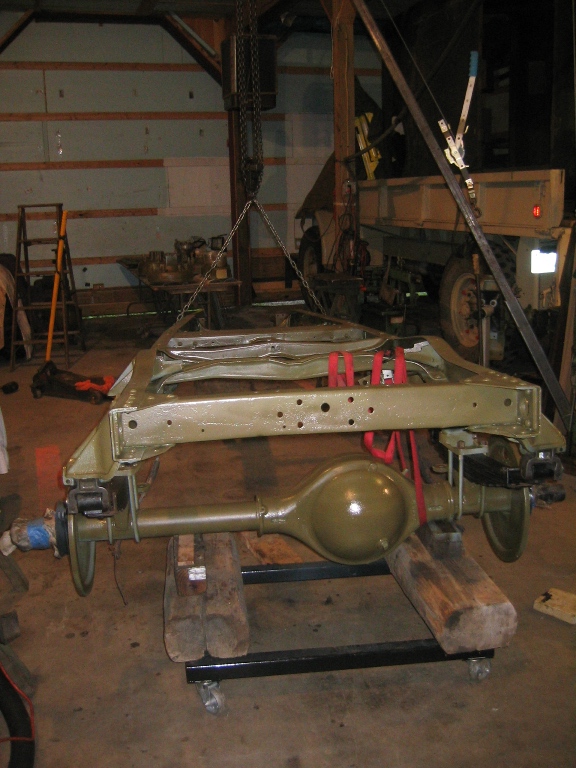
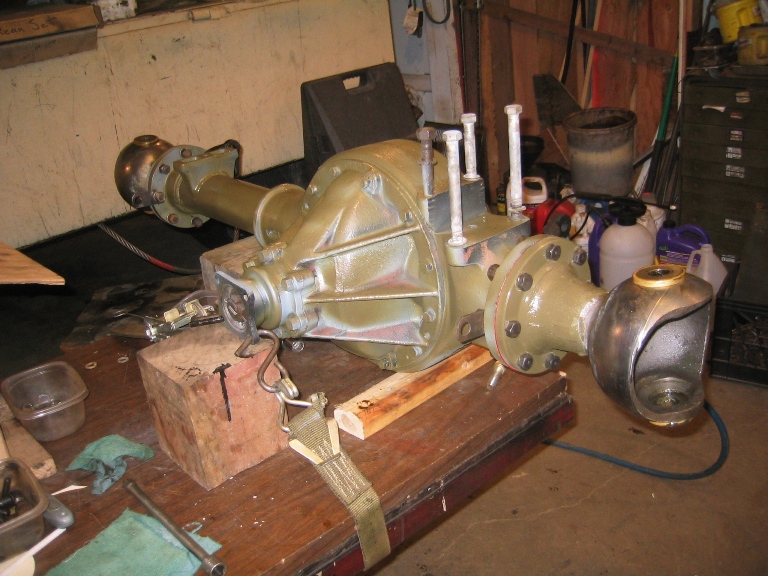
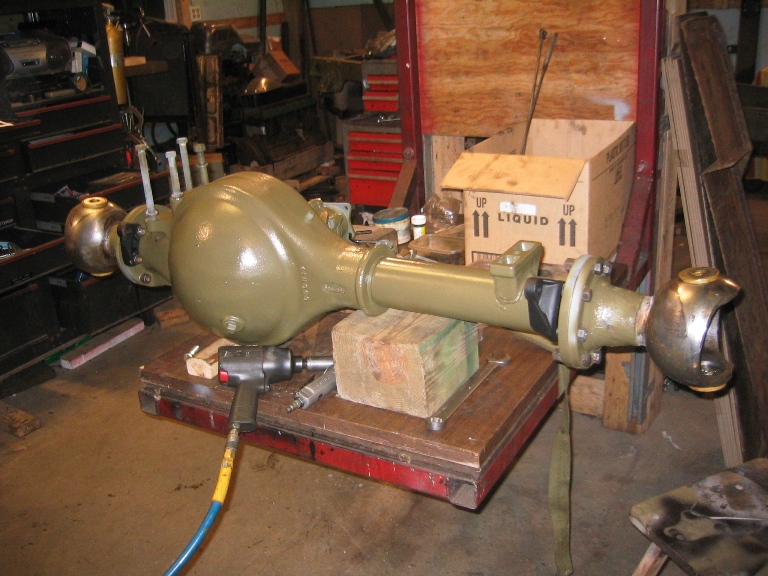
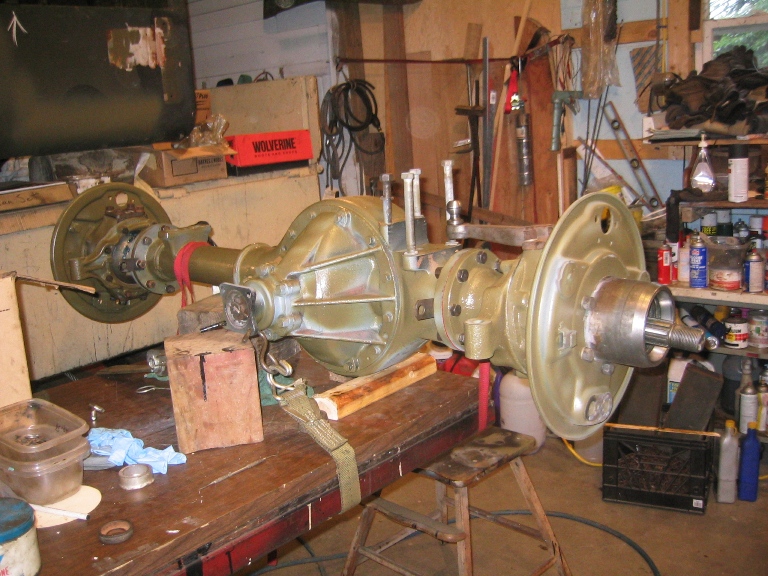
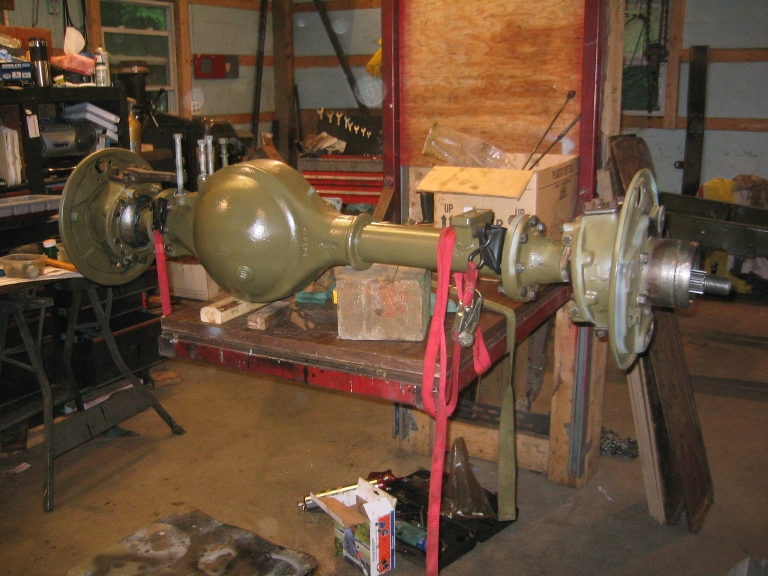
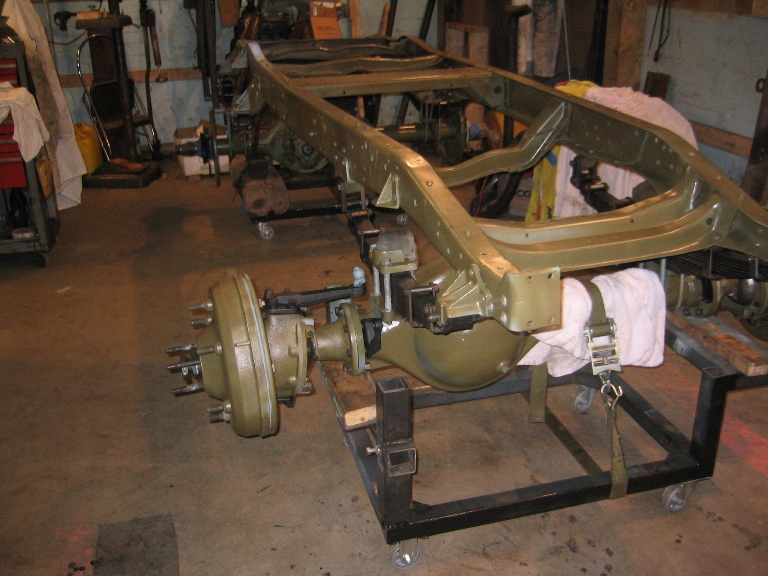
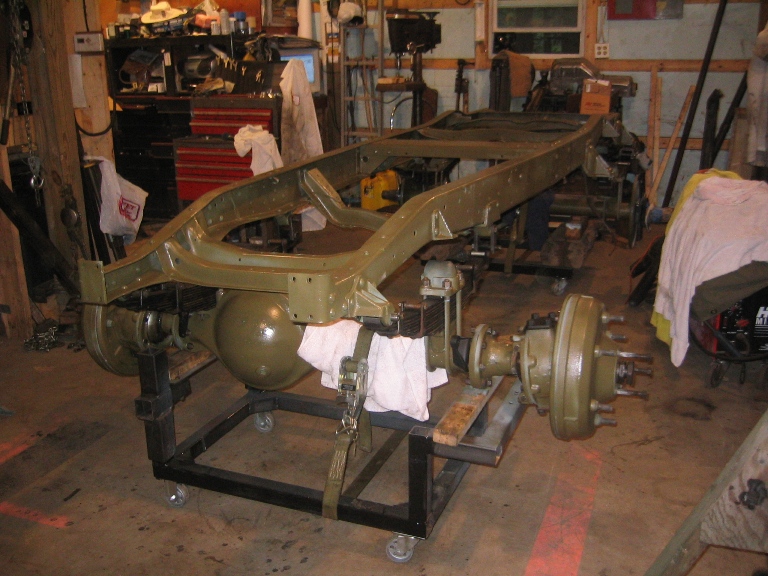
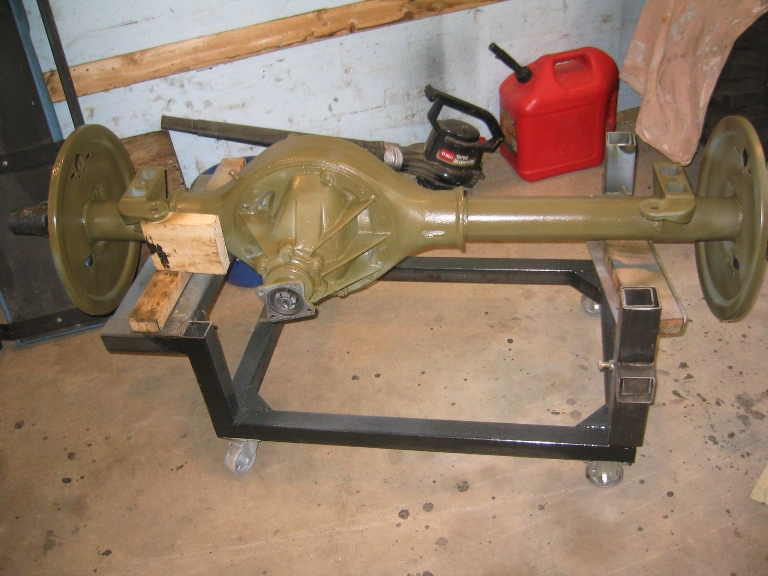
Painting took up much of the month of June and believe it or not that did not include painting what you would normally call the body. This was just painting parts, which is slower for us home shops than production operations because of lack of places to hang parts while paint and as they dry. The entire topic of Color Match deserves a page dedicate to that topic and a page will be posted as soon as I have Pictures of what it will actually look like on the HUP. At left you see part of the process of selecting the proper paint color, working from various parts which had not been exposed to sun light you can see the progression. The CMP Green 2011 with 10% and 20 % flattening compound is what I'm heading toward. What is seen in most of the photos below is the un-flattened base coat which is intended as a sealer. Yes it is a little on the green side, but this will change as the top coat with flattner goes on. You may note that in some photos there are areas where the primer is still showing. Part of this is that the photos were often taken after the 1st coat. What I was trying to do was get the base coat on then once the parts are mounted touch up any spots that have been scratched during instillation. Note that I have covered various parts of to be painted. In particular stud threads on the brake drums for these I use short sections of hose cut to length. I have a bunch of them precut and have used them on several paint jobs. Keeping paint off of threads is important to have the nuts fit correctly.
|
 |
 |
 |
 |
 |
 |
 |
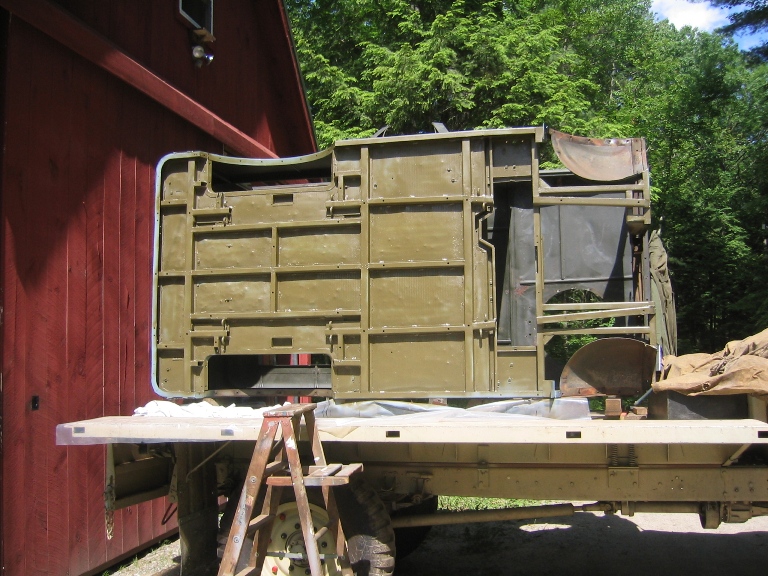
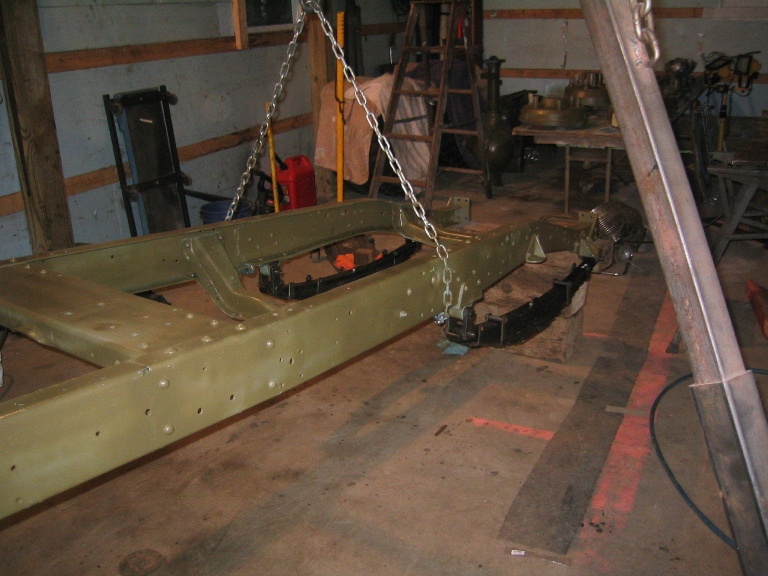
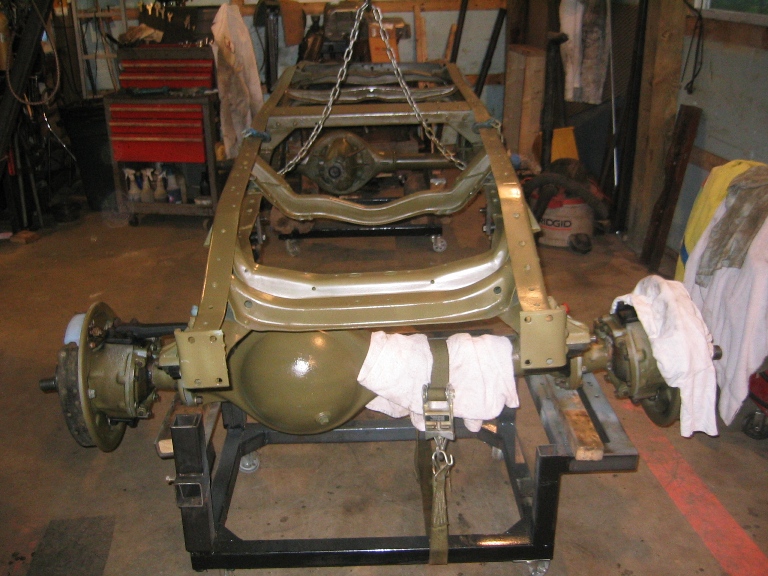
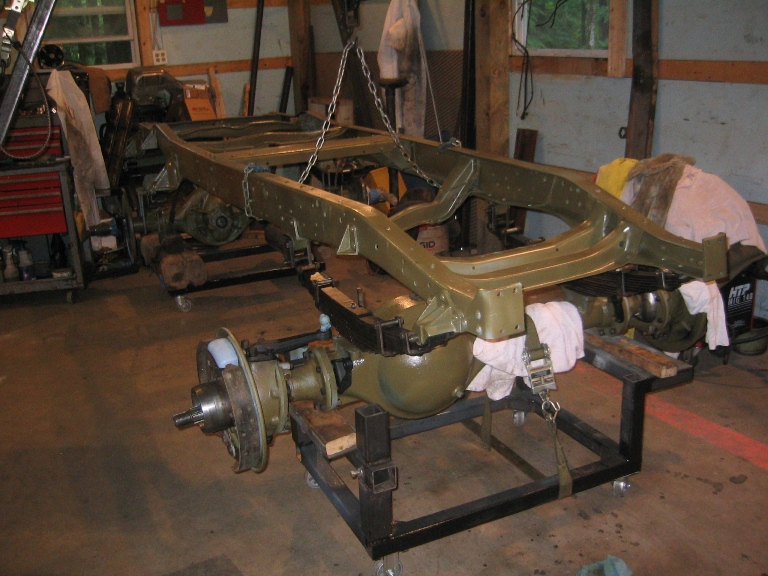
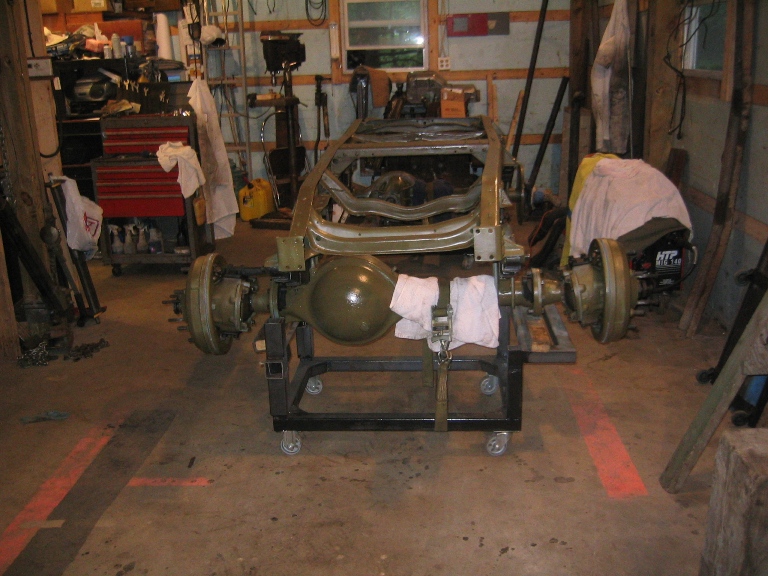
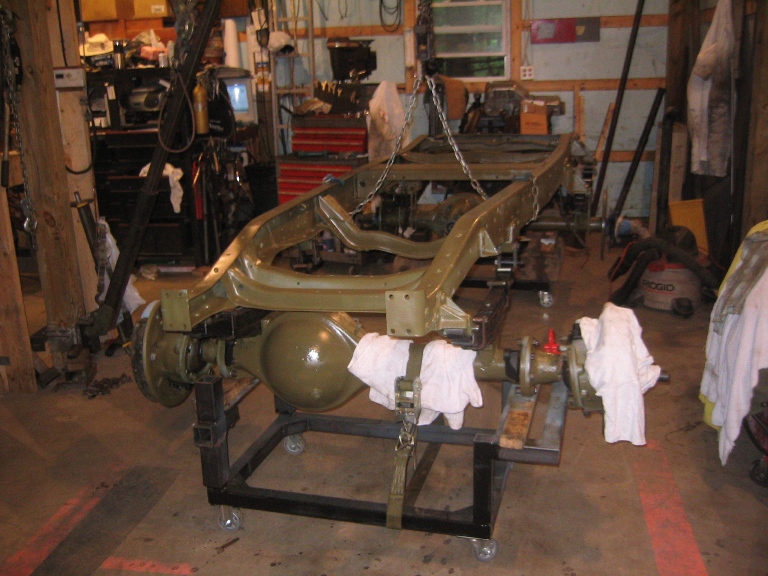
Hanging the frame from the hoist allowed for easier access to paint it took a couple of revolutions to finally be sure that I didn't have unpainted areas. |
 |
 |
 |
 |
 |
 |
 |
 |
 |
 |
 |
 |
 |
 |
 |
 |
 |
 |
 |
|
| Go To HUP OVERHAUL 2011- Page 1 | Go To HUP OVERHAUL 2011- Page 2 |
| April Work - Page 3 was centered around the Transmission, Spring Shackles, Cleaning and Painting of the bottom of the body, Engine Testing then disassembly. | May Work - Page 4 included finding a replacement cylinder head, finding and installing spring shackle bushings and pins. Cleaning and painting the frame, |
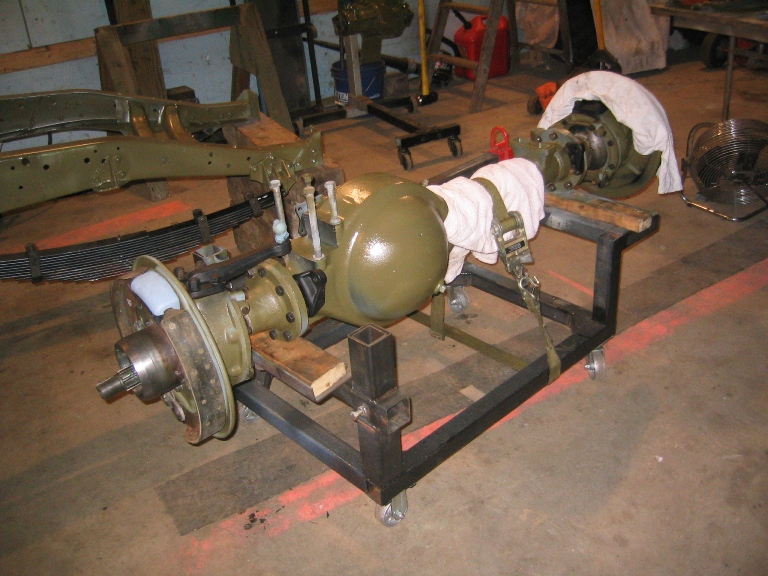
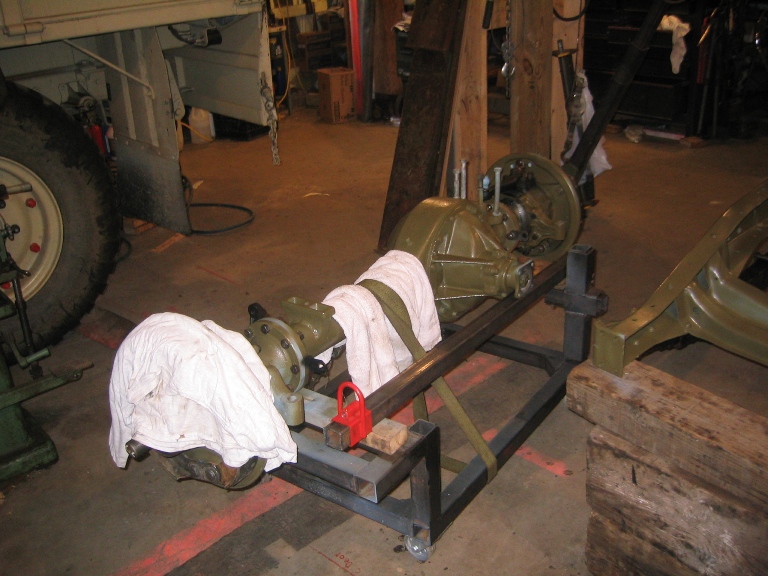
| June Work - Page 5 painting and body work begins and trying to match the original color of the HUP, brake work, reassembly of the axle assembly. | July Work - Page 6 handling painting and body how do you pick up and turn a HUP body on its side by yourself. Machining the hardened steel spring shackles. Pictures of the wooden blocks used as frame inserts at the attachment locations. Brake line installation |
| August & September Work - Page 7 engine comes back from the machine shop almost ready for reassembly before the problems start. Body lowered on to the body for fitting and further body work, which included replacing some rusted damaged areas. | October & November Work - Page 8 body work continues, repairing the fatigue cracks in the front door where the hinges attach, a common CMP problem, installation of chassis parts like shocks. Problems with assembly of the engine but in the end everything is fitted in place. |
| December Work - Page 9 engine assembly completed and run in started on the test stand. Hidden design surprises in the CMP adaptation of the Stovebolt 6. Work on the chassis nearing completion with only a little painting and the installation of the wiring harness to be done. Body is ready to be primed and painted. | |
| BACK TO HOME PAGE | |