| Go To HUP OVERHAUL
2011- Page 1 |
Go To
HUP OVERHAUL 2011- Page 2 |
| April
Work - Page 3 was centered around the Transmission, Spring
Shackles, Cleaning and Painting of the bottom of the body, Engine Testing
then disassembly. |
May
Work
- Page 4 included finding a replacement cylinder head, finding
and installing spring shackle bushings and pins. Cleaning and painting
the frame, |
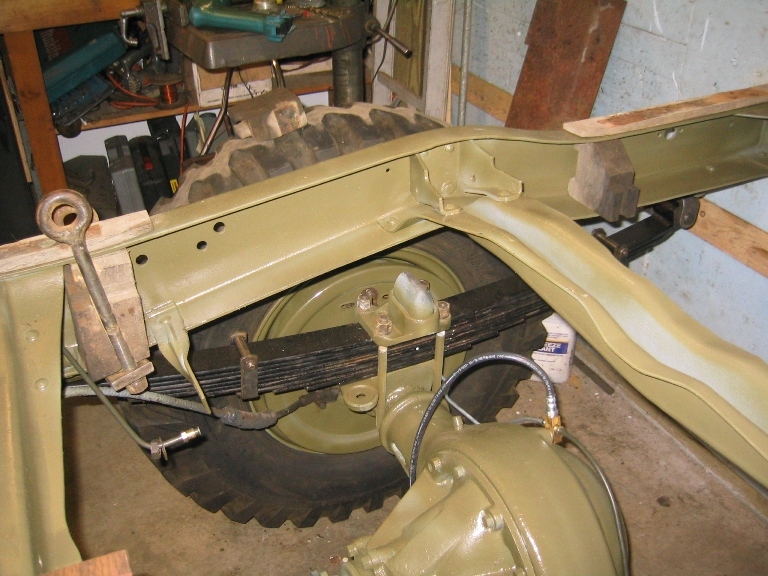
| June
Work
- Page 5 painting and body work begins and trying to match
the original color of the HUP, brake work, reassembly of the axle assembly. |
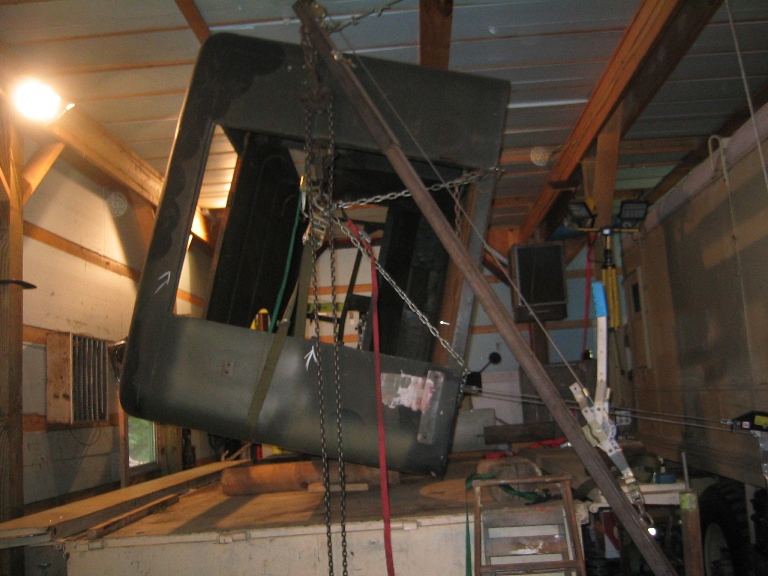
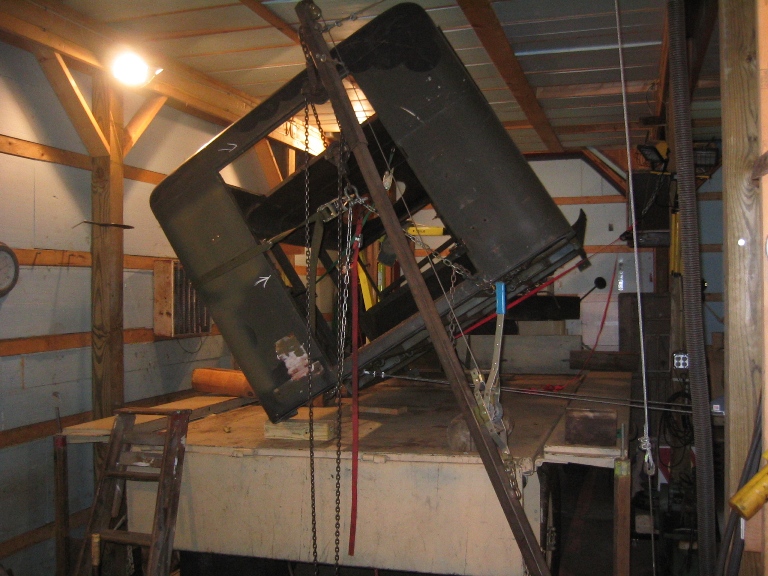
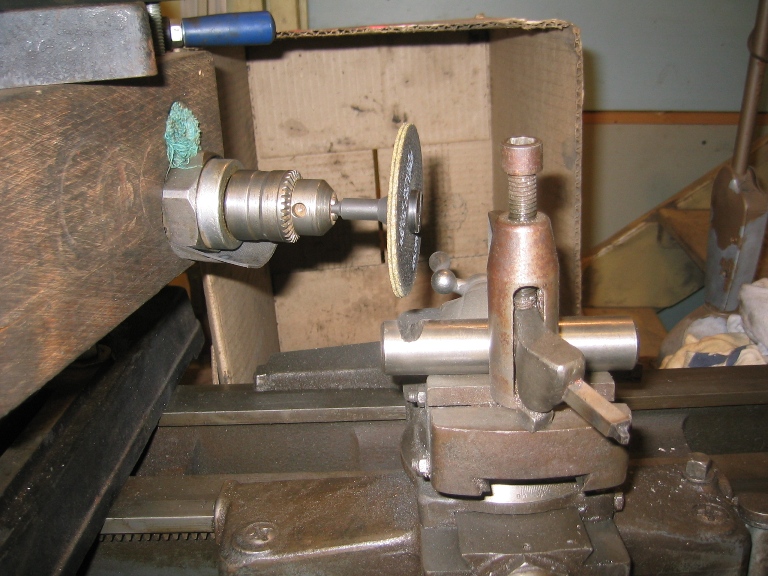
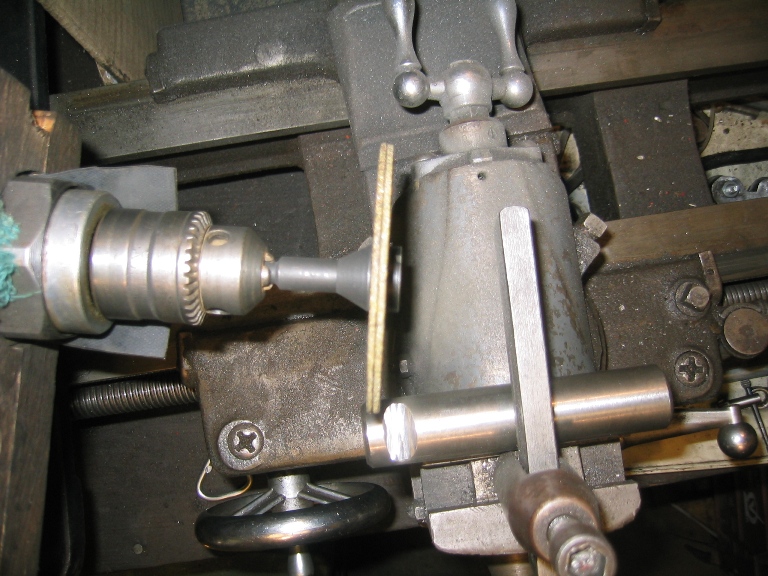
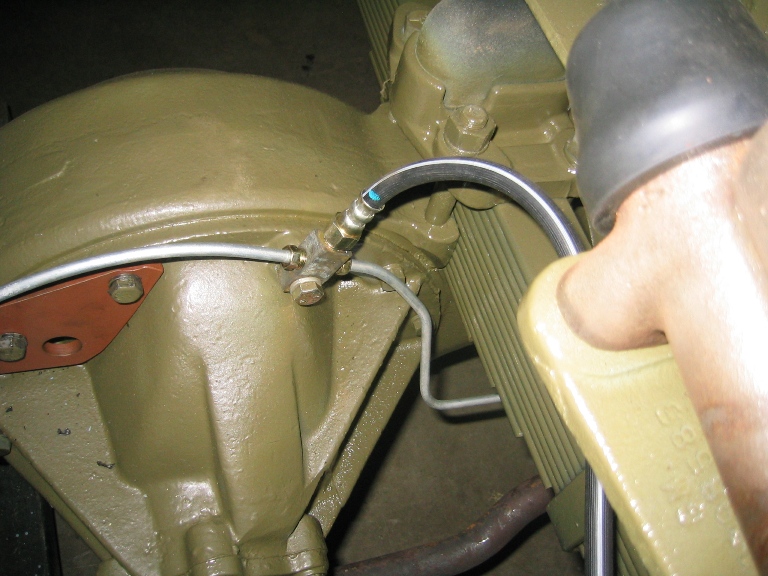
July
Work
- Page 6 handling painting and body how do you pick up and turn
a HUP body on its side by yourself. Machining the hardened steel spring
shackles. Pictures of the wooden blocks used as frame inserts at the attachment
locations. Brake line installation |
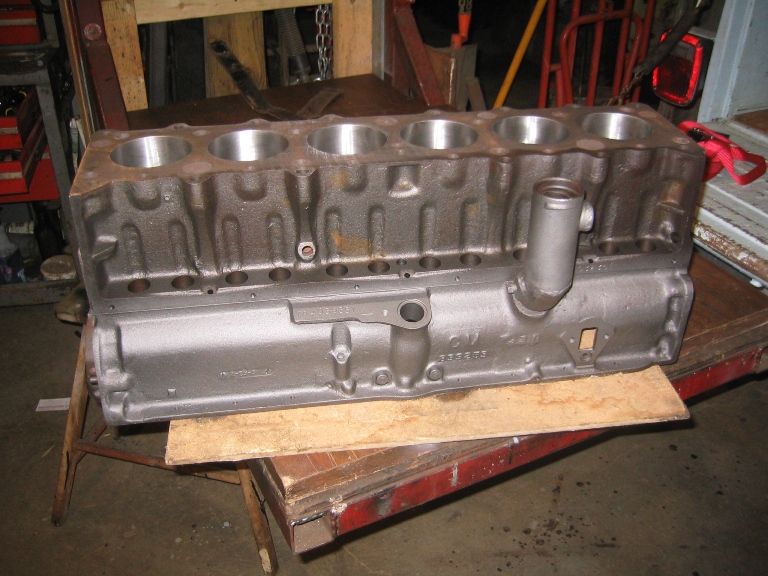
| August
& September Work
- Page 7 engine comes back from the machine shop almost ready
for reassembly before the problems start. Body lowered on to the body
for fitting and further body work, which included replacing some rusted
damaged areas. |
October
& November Work
- Page 8 body work continues, repairing the fatigue cracks in
the front door where the hinges attach, a common CMP problem, installation
of chassis parts like shocks. Problems with assembly of the engine but
in the end everything is fitted in place. |
| December
Work - Page 9 engine assembly completed and run in started on
the test stand. Hidden design surprises in the CMP adaptation of the Stovebolt
6. Work on the chassis nearing completion with only a little painting
and the installation of the wiring harness to be done. Body is ready to
be primed and painted. |
|
| BACK TO HOME PAGE |
| Go To HUP OVERHAUL
2011- Page 1 |
Go To
HUP OVERHAUL 2011- Page 2 |
| April
Work - Page 3 was centered around the Transmission, Spring
Shackles, Cleaning and Painting of the bottom of the body, Engine Testing
then disassembly. |
May
Work
- Page 4 included finding a replacement cylinder head, finding
and installing spring shackle bushings and pins. Cleaning and painting
the frame, |
| June
Work
- Page 5 painting and body work begins and trying to match
the original color of the HUP, brake work, reassembly of the axle assembly. |
July
Work
- Page 6 handling painting and body how do you pick up and turn
a HUP body on its side by yourself. Machining the hardened steel spring
shackles. Pictures of the wooden blocks used as frame inserts at the attachment
locations. Brake line installation |
| August
& September Work
- Page 7 engine comes back from the machine shop almost ready for
reassembly before the problems start. Body lowered on to the body for
fitting and further body work, which included replacing some rusted damaged
areas. |
October
& November Work
- Page 8 body work continues, repairing the fatigue cracks in
the front door where the hinges attach, a common CMP problem, installation
of chassis parts like shocks. Problems with assembly of the engine but
in the end everything is fitted in place. |
| December
Work - Page 9 engine assembly completed and run in started on
the test stand. Hidden design surprises in the CMP adaptation of the Stovebolt
6. Work on the chassis nearing completion with only a little painting
and the installation of the wiring harness to be done. Body is ready to
be primed and painted. |
|
| BACK TO HOME PAGE |