|
Just a reminder for my self of where I started this project.
|
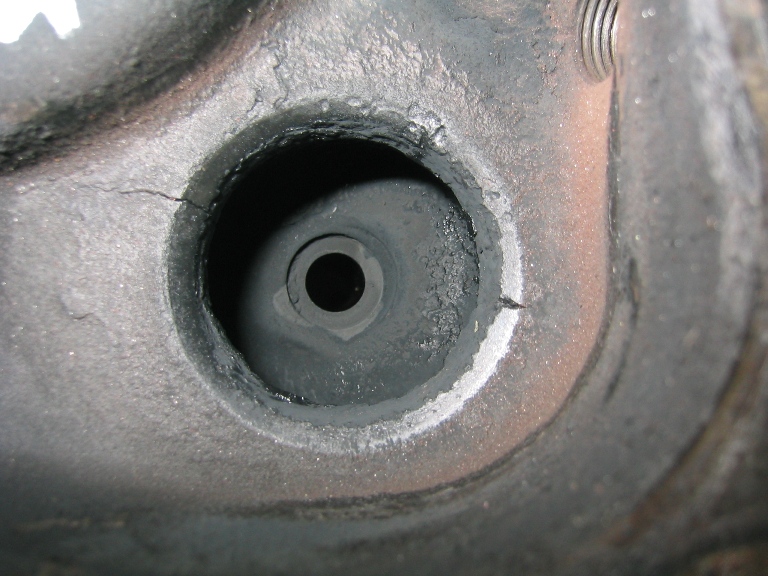
End of April when I pulled the engine apart (see Engine Page) this was one of the problems discovered was that exhaust valve seats in cylinders 2 and 3 were cracked (see compression test notes 2/3rd of the way down the page) |
|
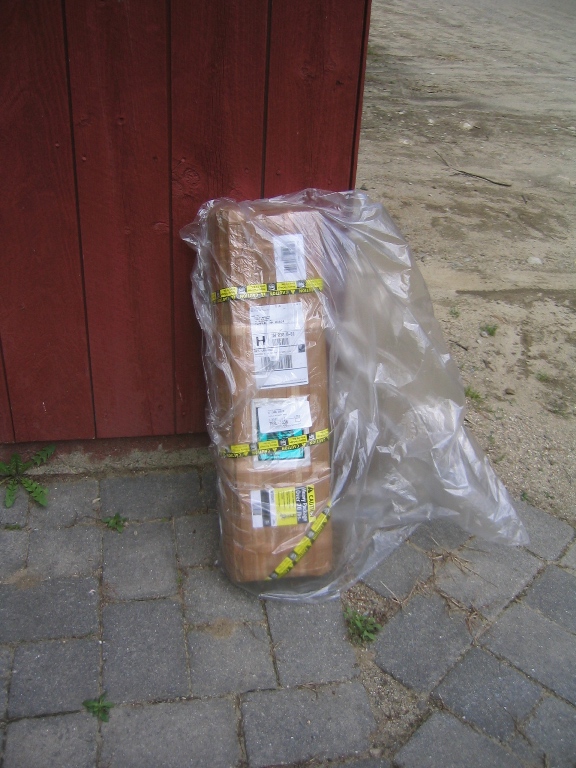
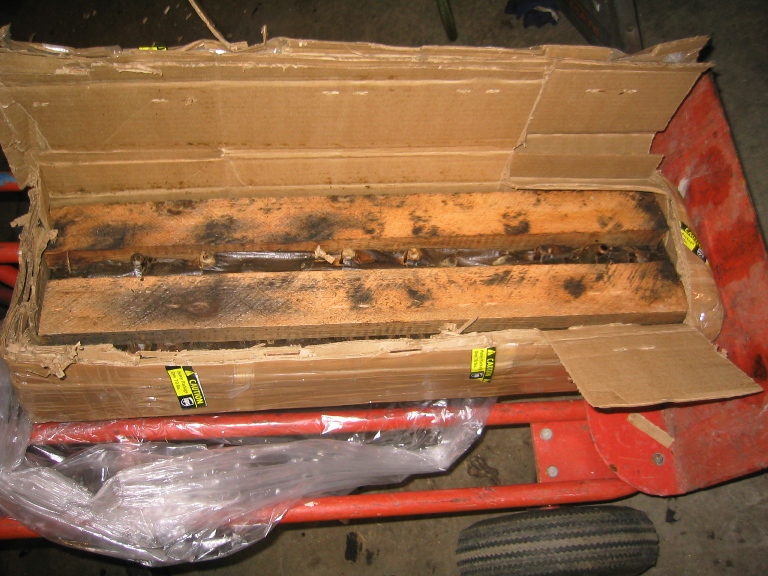
There were two solutions to this problem have all the exhaust ports machined for seat inserts or find a new head. Well a quick check on the Internet revealed that an NOS head was available from Obsolete Chevy Parts Company for $375 plus shipping. About a week later arrived home to find package at right sitting beside the garage door. I've kept the original head and if I need a replacement for any of the trucks it can be machined for seats. |
 |
|
The pictures above right, right and below all show the NOS head
as received, still rapped and coated in its 1942 cosmoline and paper.
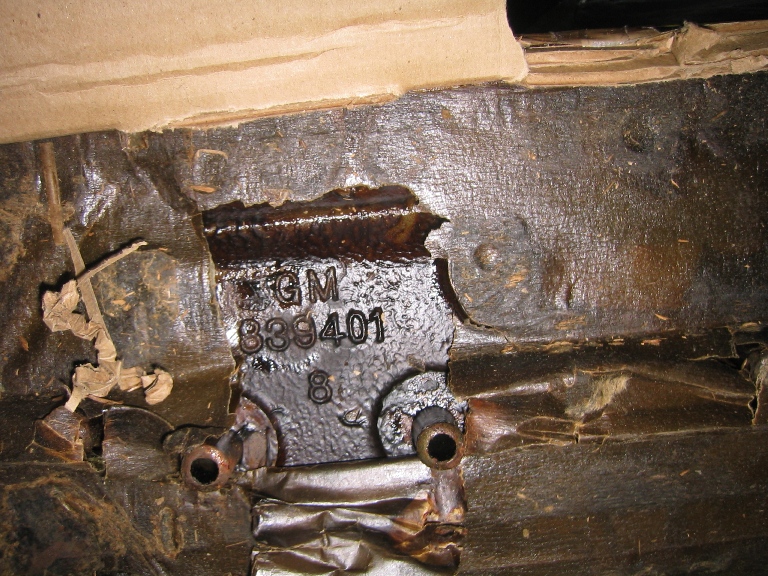
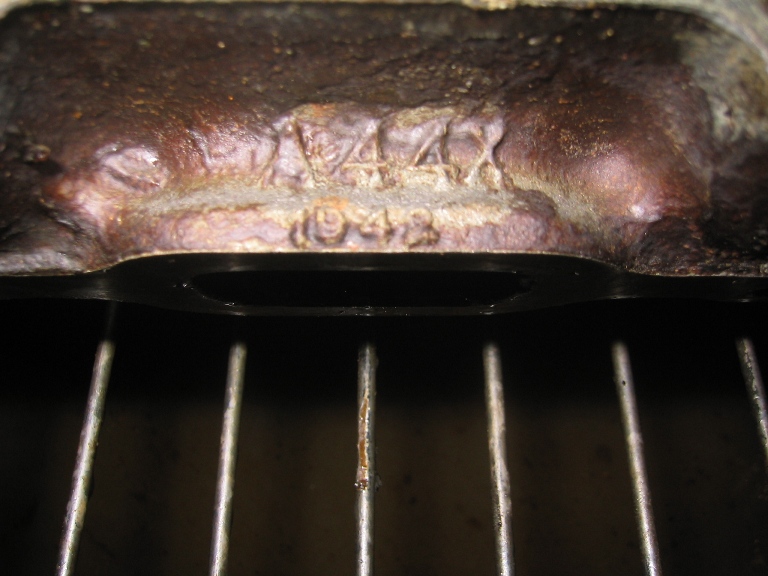
The pictures below show the casting numbers on the head. |
When I talked with the guy at Obsolete Parts, he gave
me a little information on the history of the head, he had 24 in stock
at the time, part of a batch of 100 that he had bought out of India all
still rapped as shipped, what I found amazing was that they had not gone
as scrap years ago. 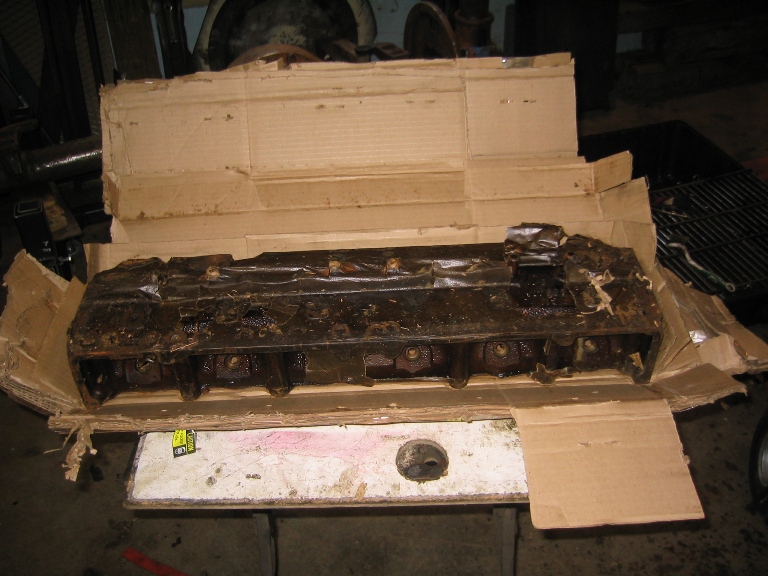 |
|
|
 |
|
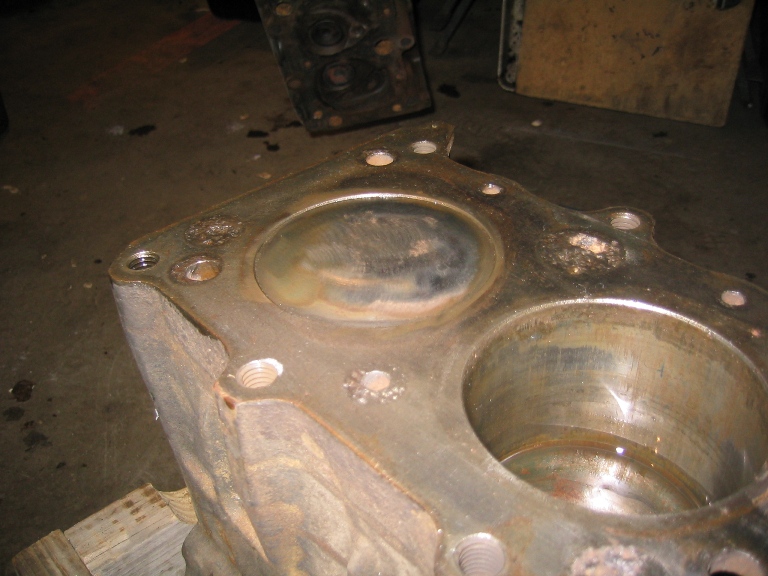
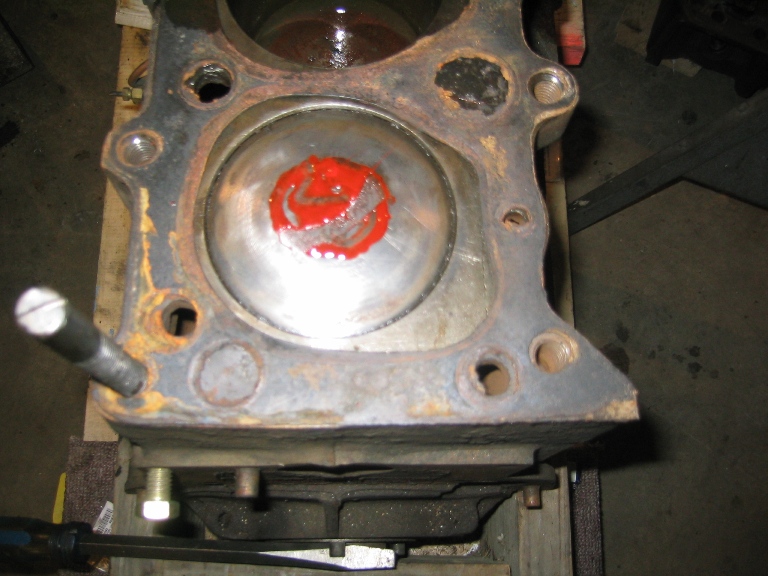
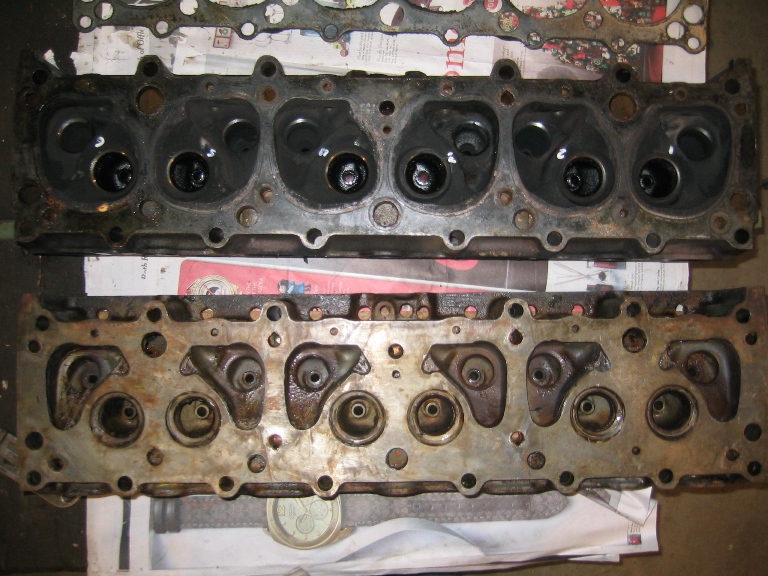
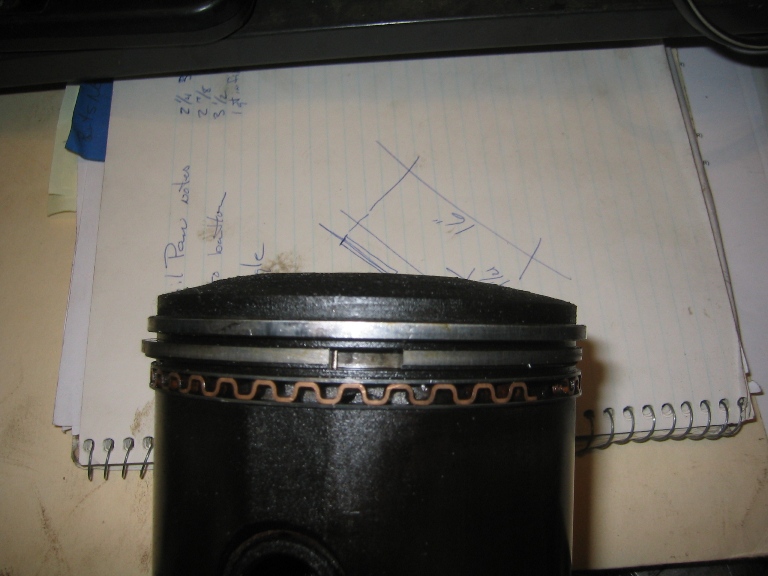
The pictures below show the beginnings of a new problem though, note the combustion chamber in the original head top and new head bottom. The problem is that while the CMP has Domed piston (right) the US version of the head I got was designed for Flat top pistons.
|
The two pictures below show the domed piston in the engine (left) and with red paint (right) after clearance test. Note the area in the center where the paint has been transfer to the head. |
 |
 |
|
The clearance test (below) was done with a head gasket, but as you can see from the picture which was taken with the #6 piston at top of the stroke. I have heard that this parts interchange issue was some times handled by installing two or even three head gaskets. I decided to go the with replacing the pistons with flat top version.
|
Notice the red paint transfer.
|
|
|
 |
|
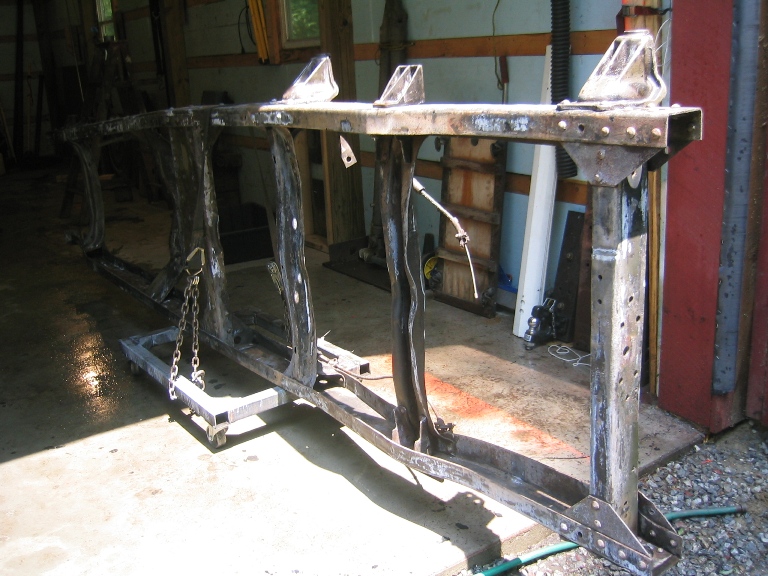
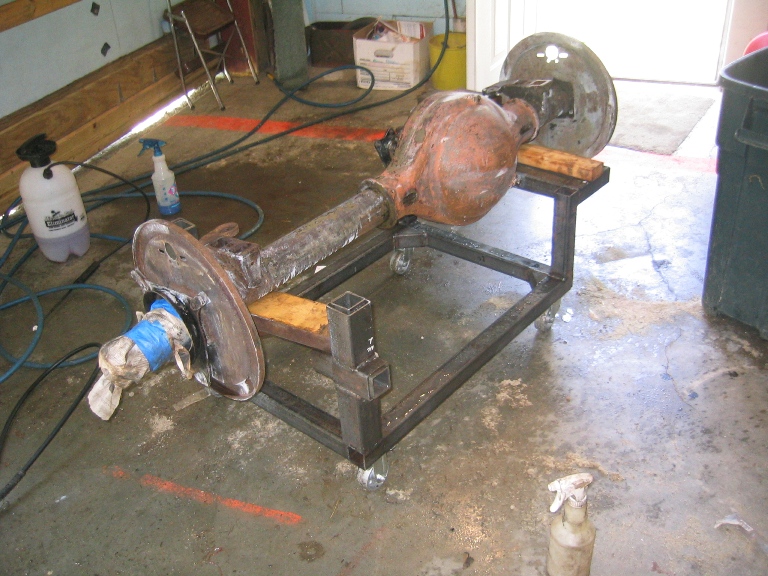
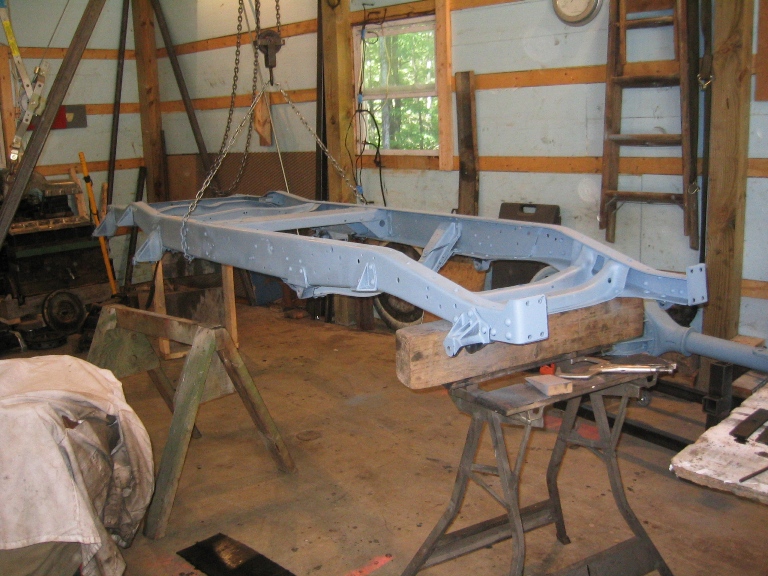
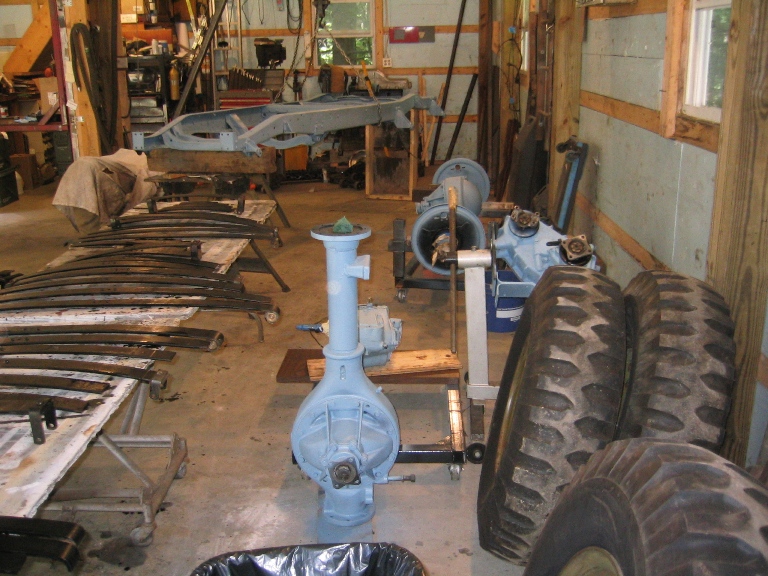
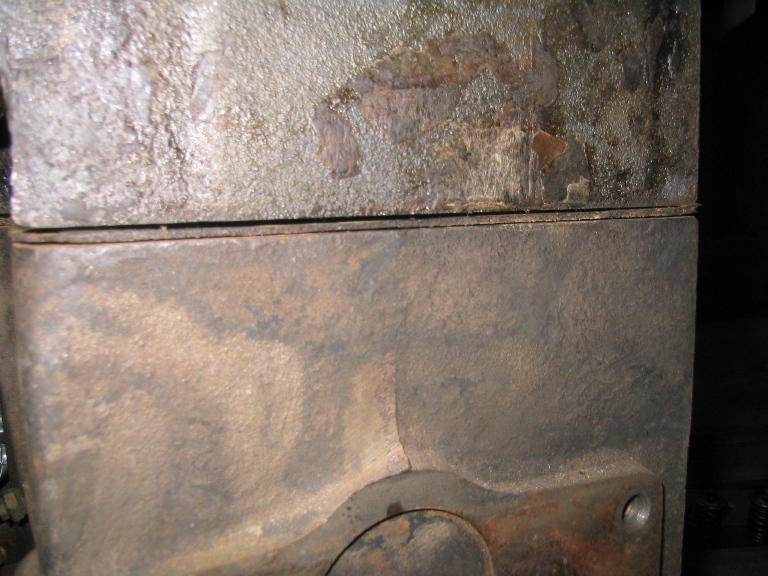
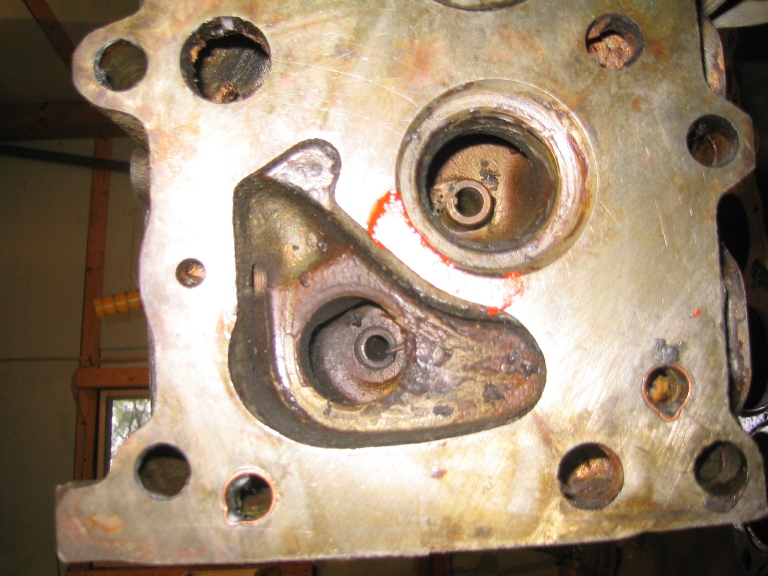
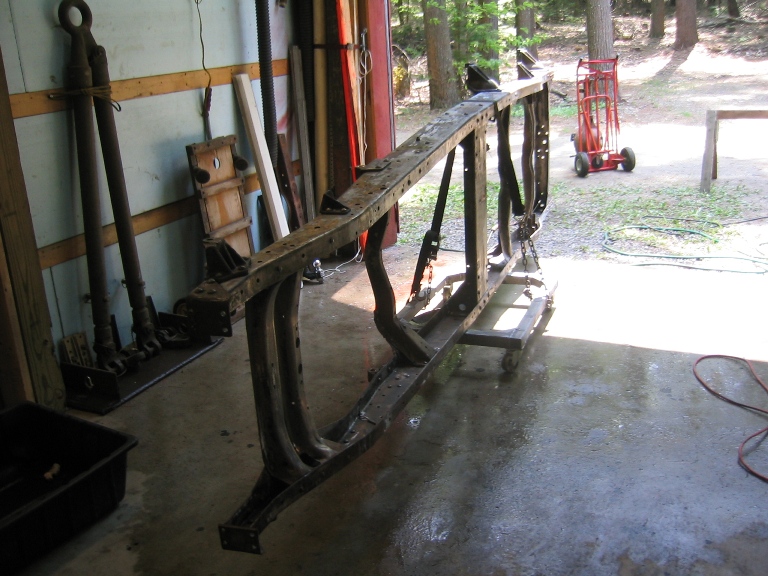
Above and below are photos of the parts cleaning and painting process putting the frame and parts on roll around stands makes working a lot easier. As the parts were cleaned of years of accumulated grease and oil the decision had to be made as to how to prime the parts. Interestingly in removing the paint I discovered that many parts had not been primed in the first place and just had a coat of OD paint. All parts were cleaned with various methods but the key seemed to be hot water. Quickly discovered that running 110F hot water through the pressure water cleans parts a lot quicker and better then cold water. After cleaning with Gunk a 2nd wash with a strong water based degreaser. This was followed with Metal Etch, then I went with using POR 15 on any surface that could not be cleaned down to bare metal which was followed with PORs Tie Coat. The Tie Coat seems to work well as a general primer as well. |
|
 |
 |
 |
 |
 |
 |
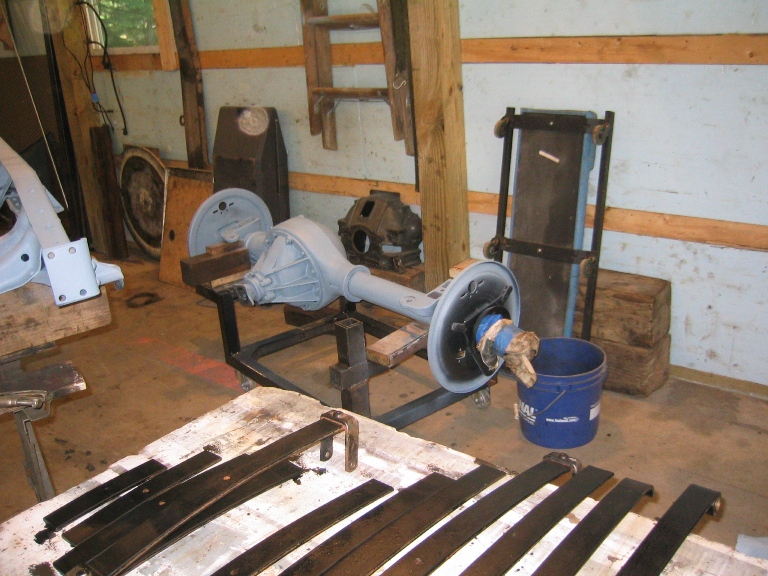
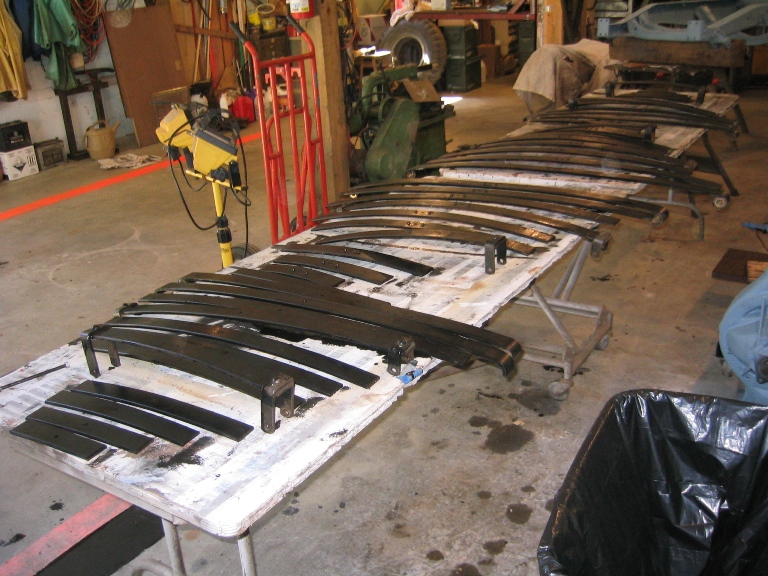
| The disassembled springs were painted with a thin coat of black primer. Last time I'd primed and painted the springs like any other part and discovered that it added two much thickness between the spring leafs. | |
 |
 |
|
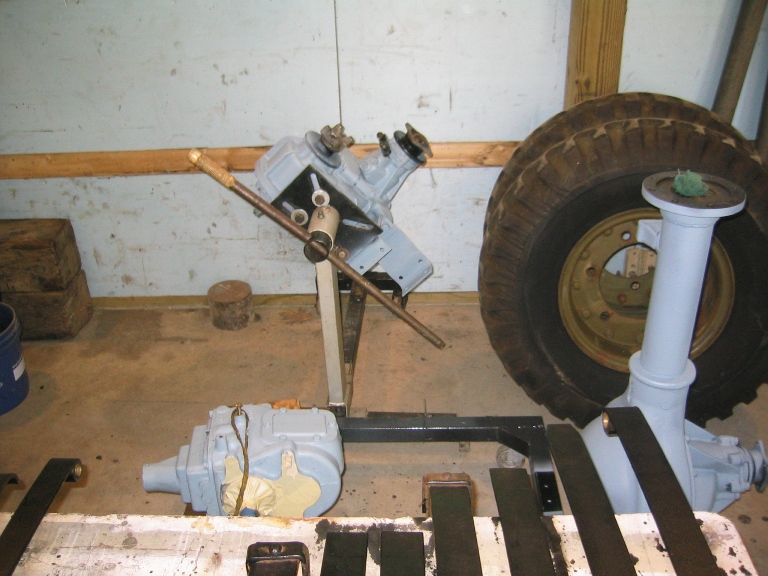
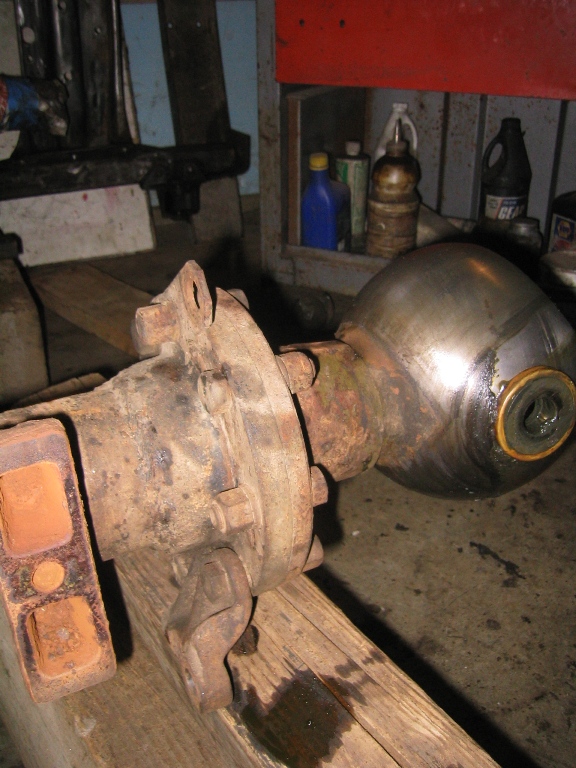
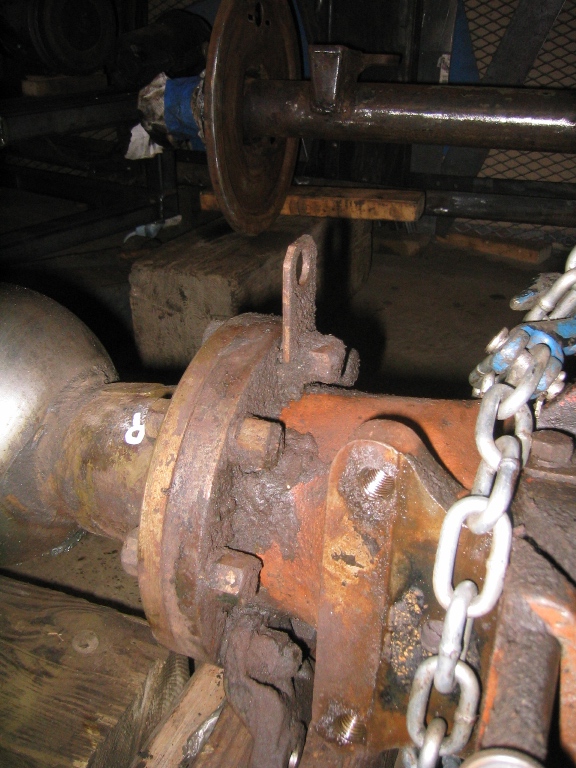
These two pictures are a reminder to take lots of photos of where various parts attach to different assemblies. It is a real time saver when you are putting things back together in this case the shock mount and the brake line brackets was the object of the photos Note the R on the right axle knuckle I've learned to do this as I disassemble things though most parts like this can only go back together one way it saves time when they don't to have marked them. |
|
| Go To HUP OVERHAUL 2011- Page 1 | Go To HUP OVERHAUL 2011- Page 2 |
| April Work - Page 3 was centered around the Transmission, Spring Shackles, Cleaning and Painting of the bottom of the body, Engine Testing then disassembly. | May Work - Page 4 included finding a replacement cylinder head, finding and installing spring shackle bushings and pins. Cleaning and painting the frame, |
| June Work - Page 5 painting and body work begins and trying to match the original color of the HUP, brake work, reassembly of the axle assembly. | July Work - Page 6 handling painting and body how do you pick up and turn a HUP body on its side by yourself. Machining the hardened steel spring shackles. Pictures of the wooden blocks used as frame inserts at the attachment locations. Brake line installation |
| August & September Work - Page 7 engine comes back from the machine shop almost ready for reassembly before the problems start. Body lowered on to the body for fitting and further body work, which included replacing some rusted damaged areas. | October & November Work - Page 8 body work continues, repairing the fatigue cracks in the front door where the hinges attach, a common CMP problem, installation of chassis parts like shocks. Problems with assembly of the engine but in the end everything is fitted in place. |
| December Work - Page 9 engine assembly completed and run in started on the test stand. Hidden design surprises in the CMP adaptation of the Stovebolt 6. Work on the chassis nearing completion with only a little painting and the installation of the wiring harness to be done. Body is ready to be primed and painted. | |
| BACK TO HOME PAGE | |