|
|
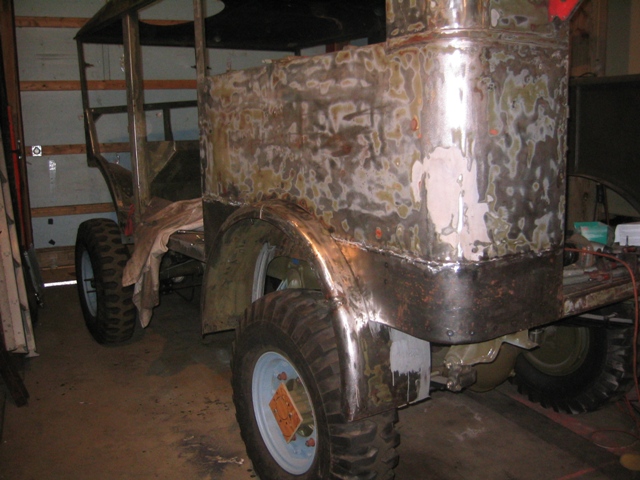
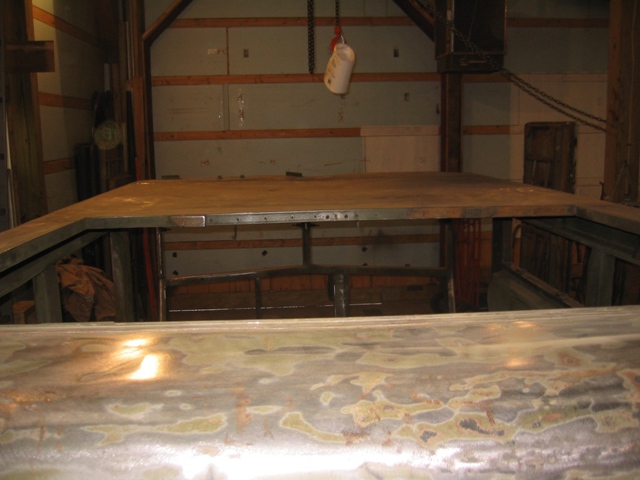
In the picture at left and below the body is hoisted up off the roll around platforms for a test fitting on to the frame.
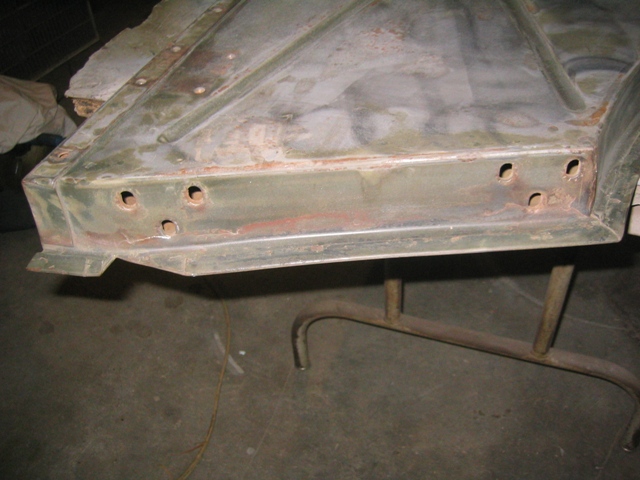
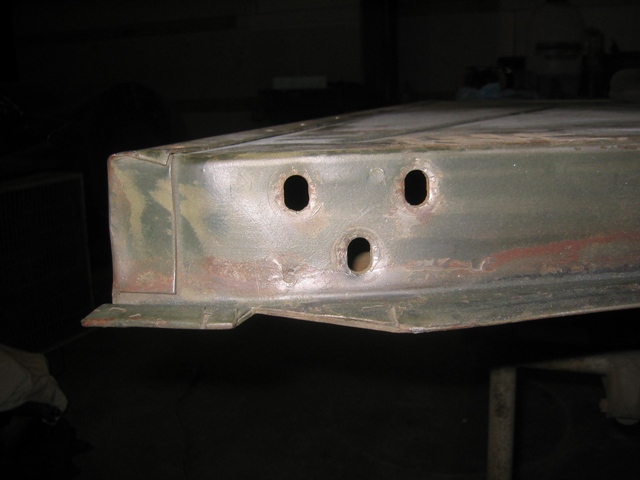
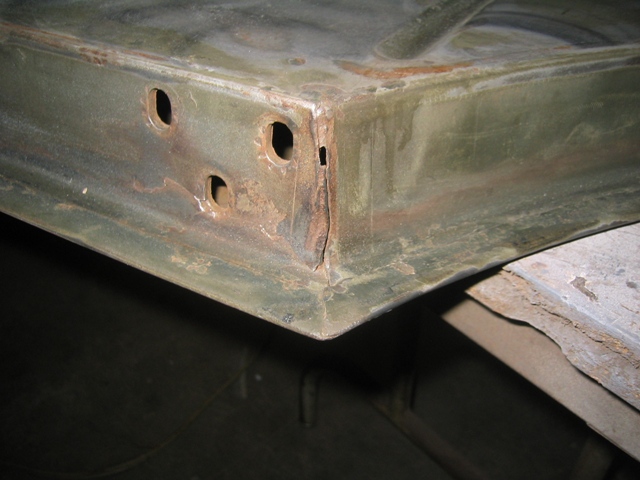
The dust that is evident in the three photos shows one of the little house keeping problems of having single open shop. After checking that everything was fitting I decided to lift the body back off to install the running boards, fuel tanks, shocks, steering linkages. |
 |
 |
|
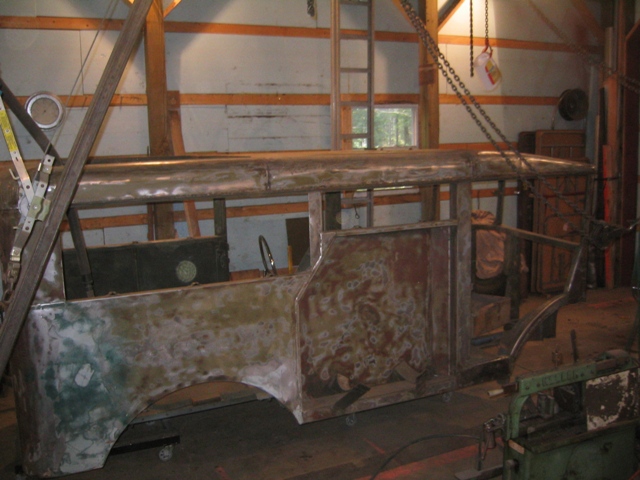
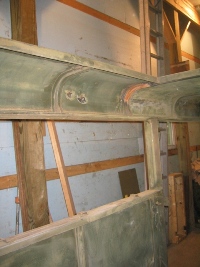
Below can be seen the rust repair work, I had repaired/covered these rust areas with a thin layer of steel, now with the correct welding tools the rust areas were completely cut out and new steel butt weld in place so that no seam is visible outside or inside and the panel is spot welded back into position. |
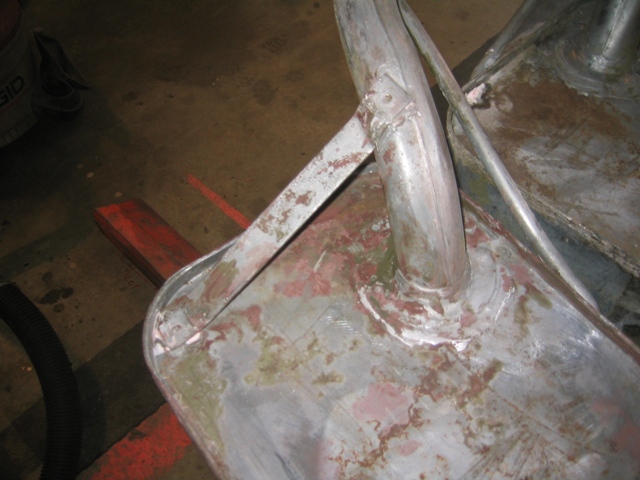
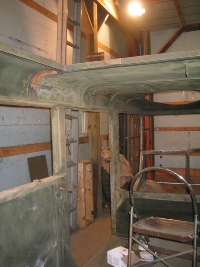
Note in the that there are pieces of thin would bolted over the ends of the rear axles to keep critters from trying to store acorns in the housing. Above is a close up of the fuel tanks. On this late HUP the fuel tanks appear to have been copper plated lightly and then dipped in lead. |
 |
 |
 |
 |
     |
|
 |
 |
 |
 |
 |
 |
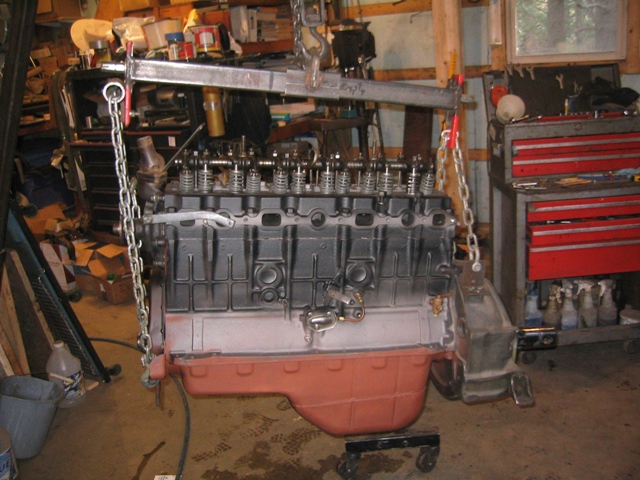
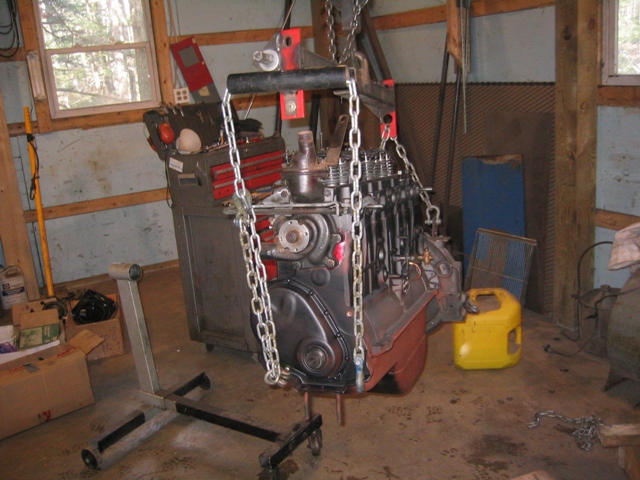
October and November a lot of work was done on the engine but for more clarity most of the engine work has been put onto a single page so the process may be a little clearer. (See HUP OVERHAUL 2011 ENGINE WORK for details)There are some problems with doing engine, body, and painting in the same shop at the same time. Each time I changed it meant stopping to clean and vacuum the shop. Then covering and sealing the engine up in plastic to keep it clean.The picture below show the major step which was moving the engine from the rotary assembly stand to the engine test stand. |
|
 |
 |


| Go To HUP OVERHAUL 2011- Page 1 | Go To HUP OVERHAUL 2011- Page 2 |
| April Work - Page 3 was centered around the Transmission, Spring Shackles, Cleaning and Painting of the bottom of the body, Engine Testing then disassembly. | May Work - Page 4 included finding a replacement cylinder head, finding and installing spring shackle bushings and pins. Cleaning and painting the frame, |
| June Work - Page 5 painting and body work begins and trying to match the original color of the HUP, brake work, reassembly of the axle assembly. | July Work - Page 6 handling painting and body how do you pick up and turn a HUP body on its side by yourself. Machining the hardened steel spring shackles. Pictures of the wooden blocks used as frame inserts at the attachment locations. Brake line installation |
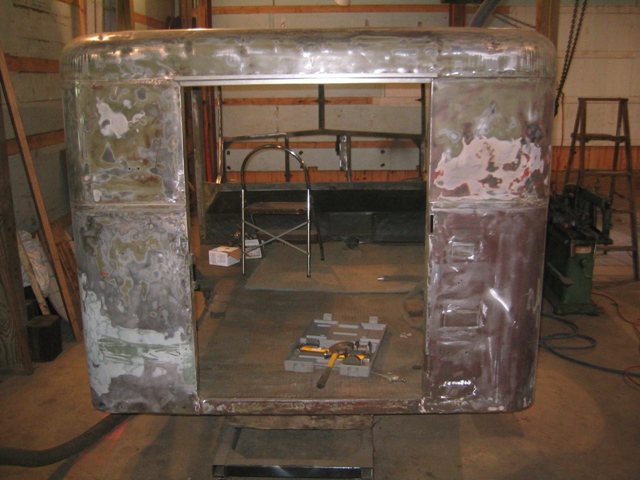
| August & September Work - Page 7 engine comes back from the machine shop almost ready for reassembly before the problems start. Body lowered on to the body for fitting and further body work, which included replacing some rusted damaged areas. | October & November Work - Page 8 body work continues, repairing the fatigue cracks in the front door where the hanges attach, a common CMP problem, installation of chassis parts like shocks. Problems with assembly of the engine but in the end everything is fitted in place. |
| December Work - Page 9 engine assembly completed and run in started on the test stand. Hidden design surprises in the CMP adaptation of the Stovebolt 6. Work on the chassis nearing completion with only a little painting and the installation of the wiring harness to be done. Body is ready to be primed and painted. | |
| BACK TO HOME PAGE | |