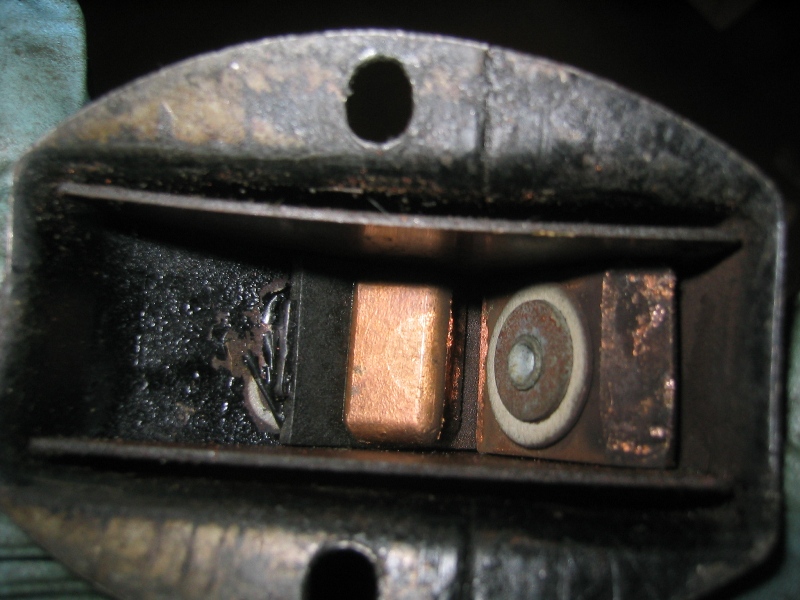
Before putting the starter back in it was cleaned,
the switch above was replaced with a new one, and the brushes were
all replaced.
|
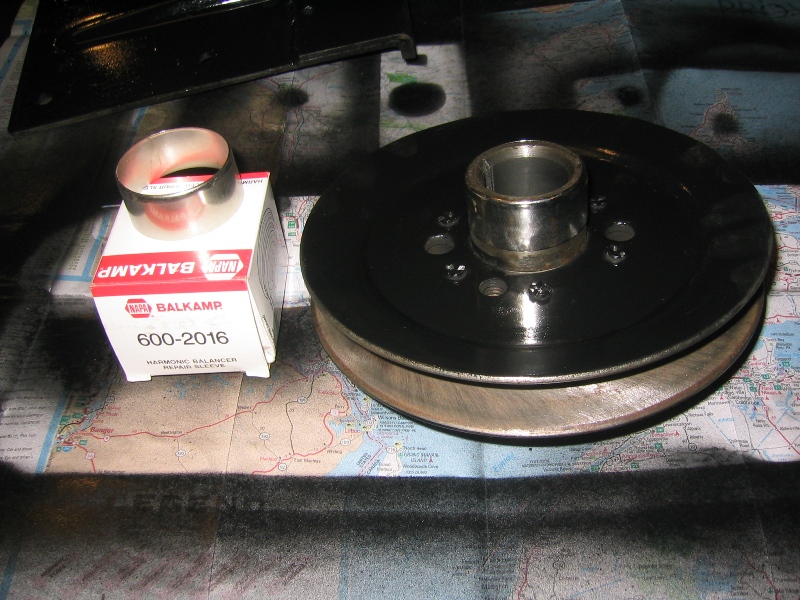
Common problem on Chevy engines is that the front seal
on the crank wears a grove in the front pulley flange, this is easily
fixed with a repair sleeve as Chevy used the same size on many years
this is a easily available part. If you are very careful this and
the seal can be replace with the engine in place as long as you have
enough room to pull the pulley and drive it back in position. Be careful
though to not damage the pulley when driving it back in position,
it is easy to damage the hand crank fitting.
|
|
Engine Finial Setup and Testing
Begins- One of the first issues that developed when assembling
was that I had installed the inner block oil line to the valve gallery
already and when I went to install the T for the line to the oil filter
it would not clear.
|
 |
 |
|
|
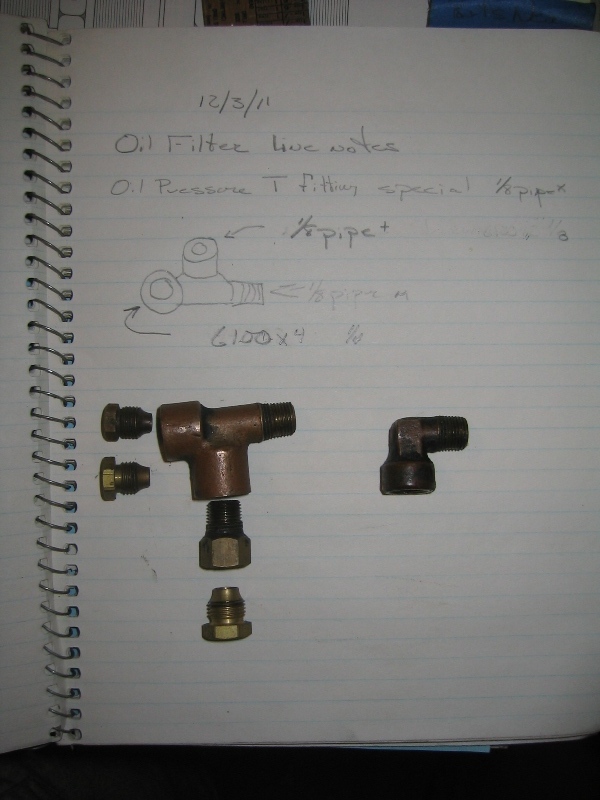
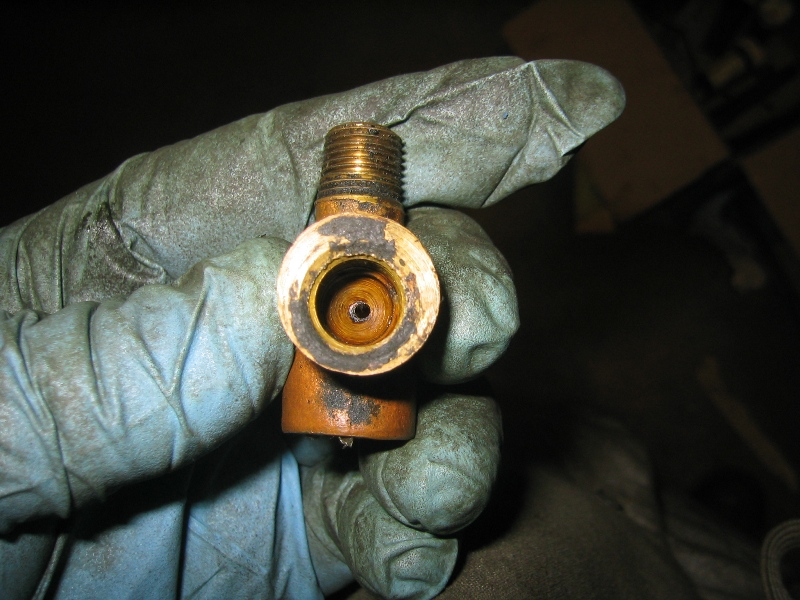
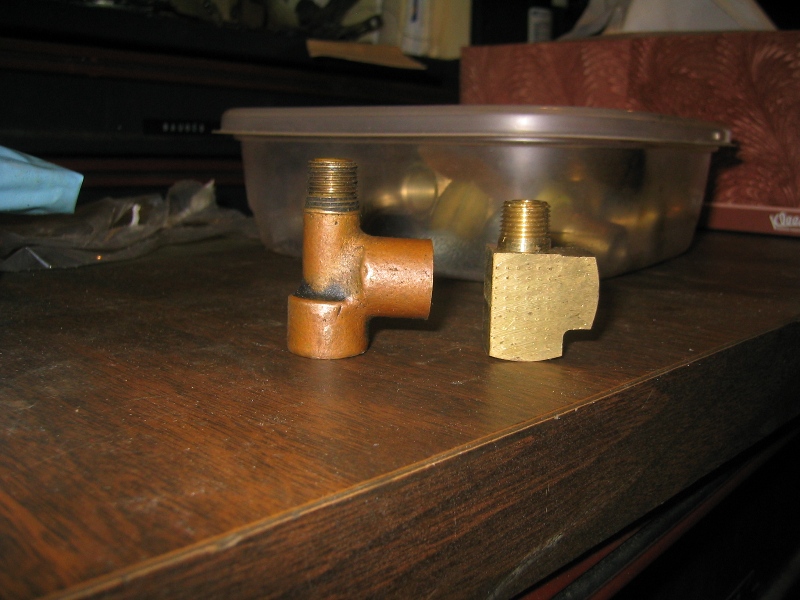
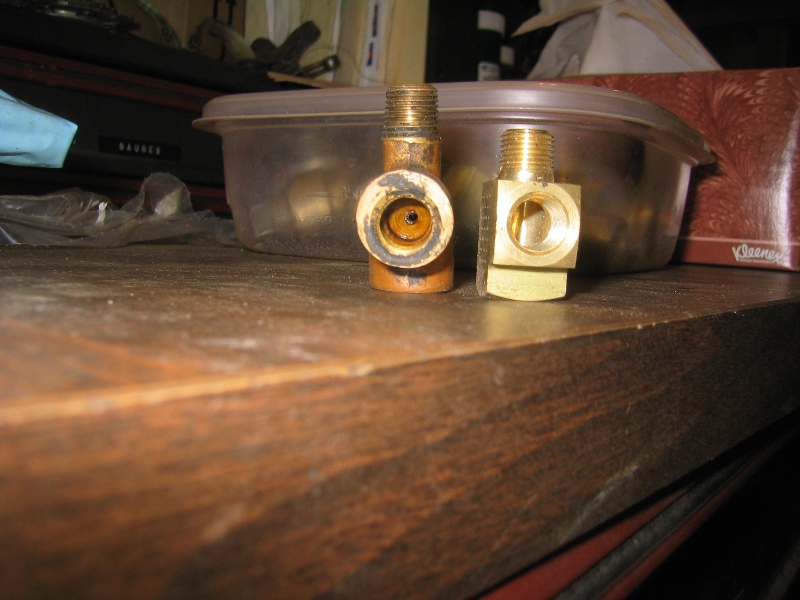
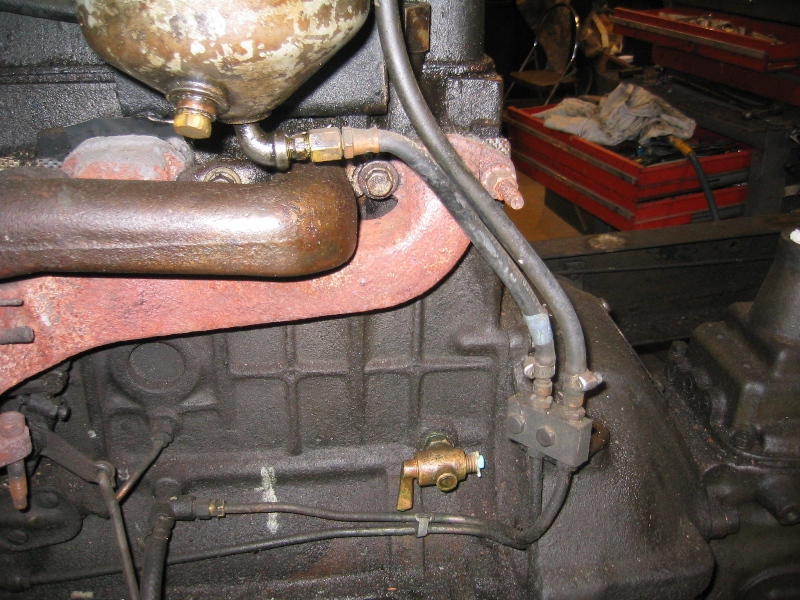
Above and to the left is the T fitting that comes out
of the block to go to the oil filter and to the oil pressure gage.
Take note of the small orifice (above left) this is in the tap that
goes to the oil filter it is a critical part of getting proper oil
pressure in the engine. If this fitting is replaced with a standard
T fitting to much oil can flow to the filter. This seems to be a particular
problem if the engine is fitted with the Larger Military Standard
Filter Unit.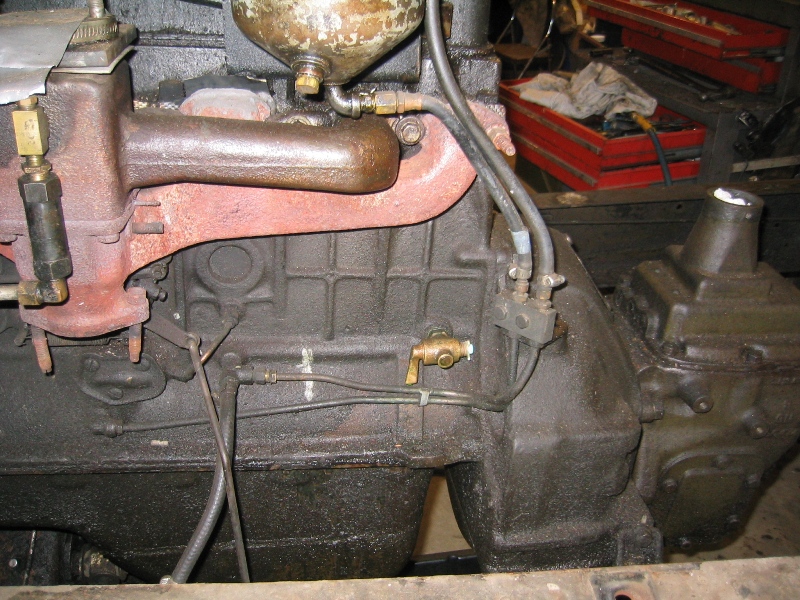
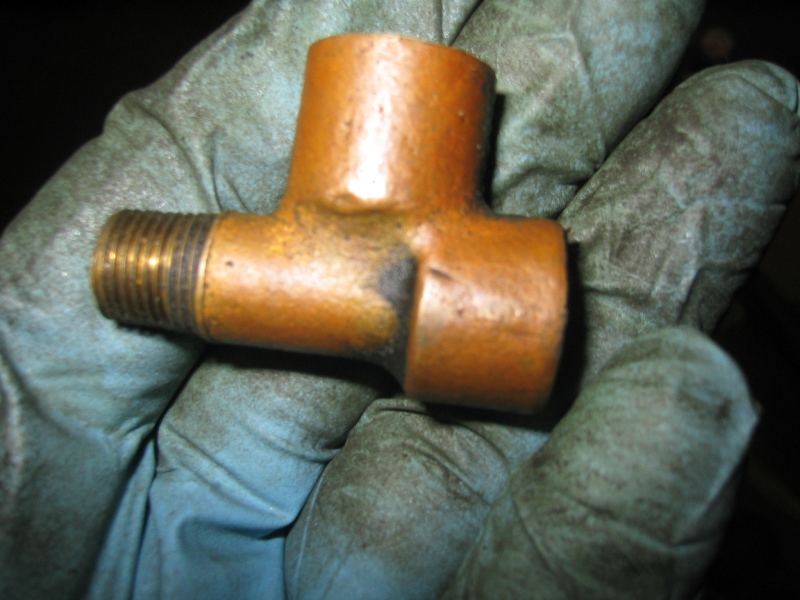
Below left and right are the original T fitting with
the restriction and the standard new replacement.
|
 |
 |
Below is the new fitting in place 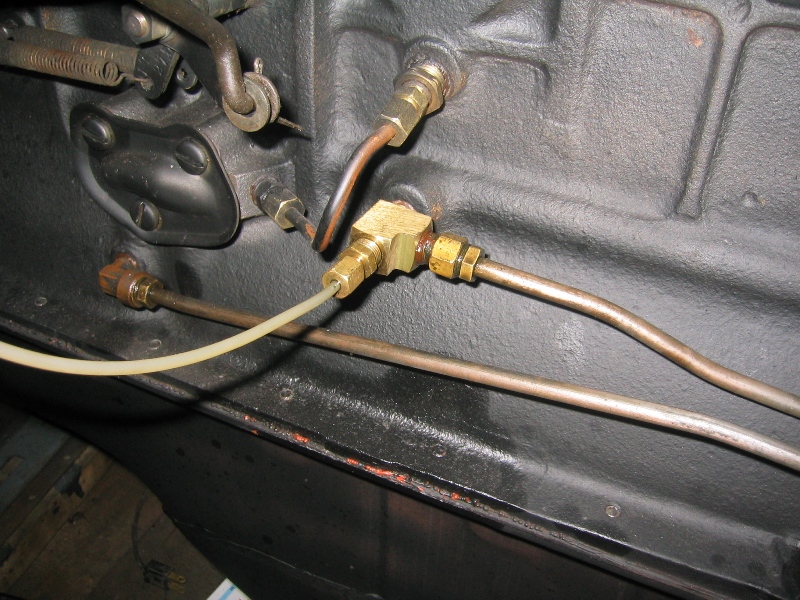
|
|
|
|
|
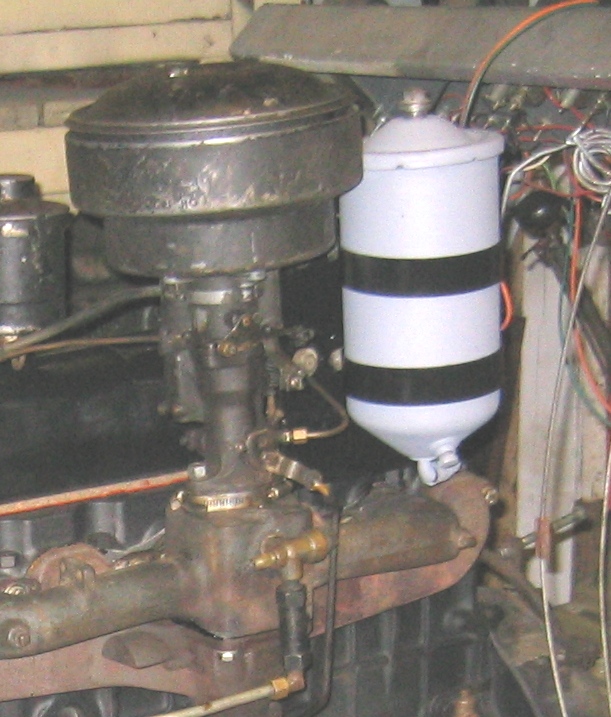
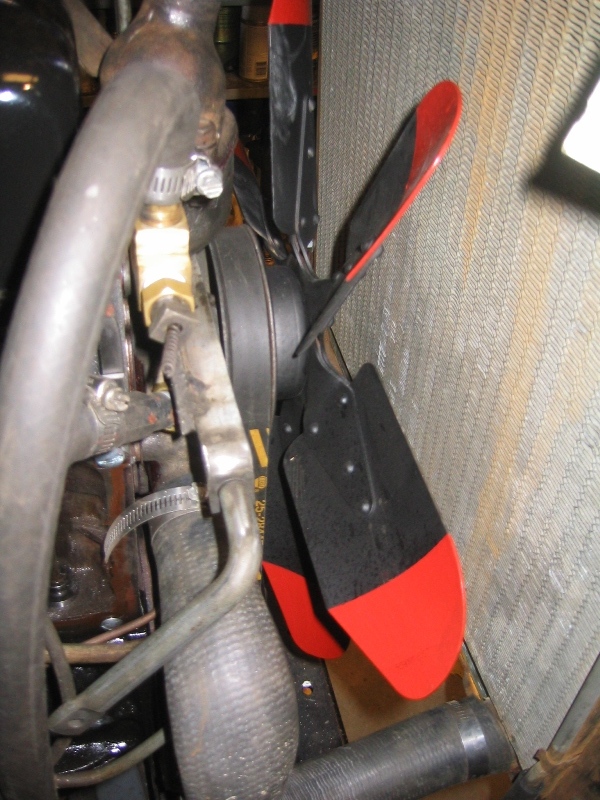
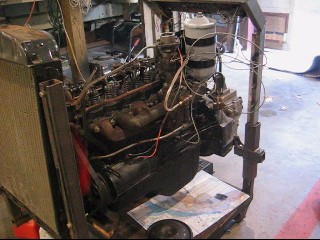
Here is the engine all set to run on the test stand. From the oil
drops on the paper under the engine shows that a few minor leaks to
be found. Yes as can be seen I've painted the tips of the fan blades
red on this engine as I did on Beauty's engine. Red paint makes the
spinning fan much easier to see and thus keep from having red stuff
of the blood type from not seeing the blade while working on the engine.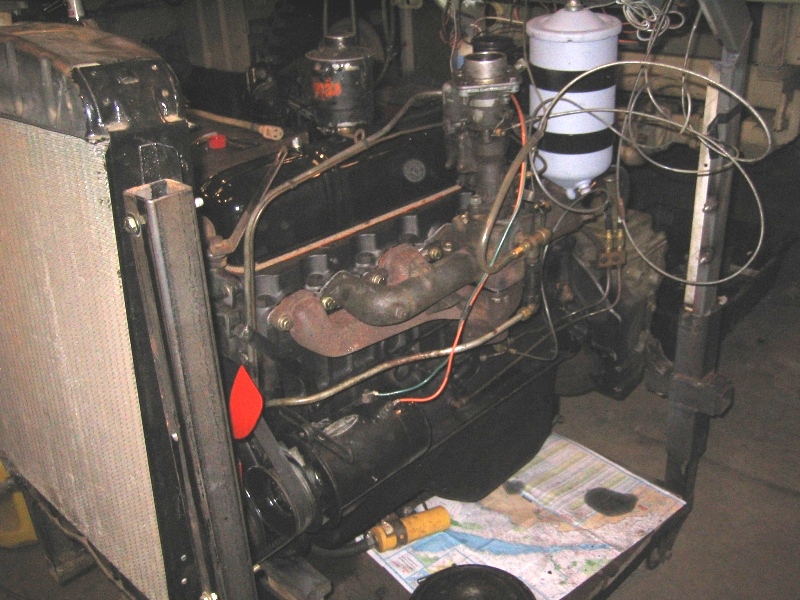
|
 |
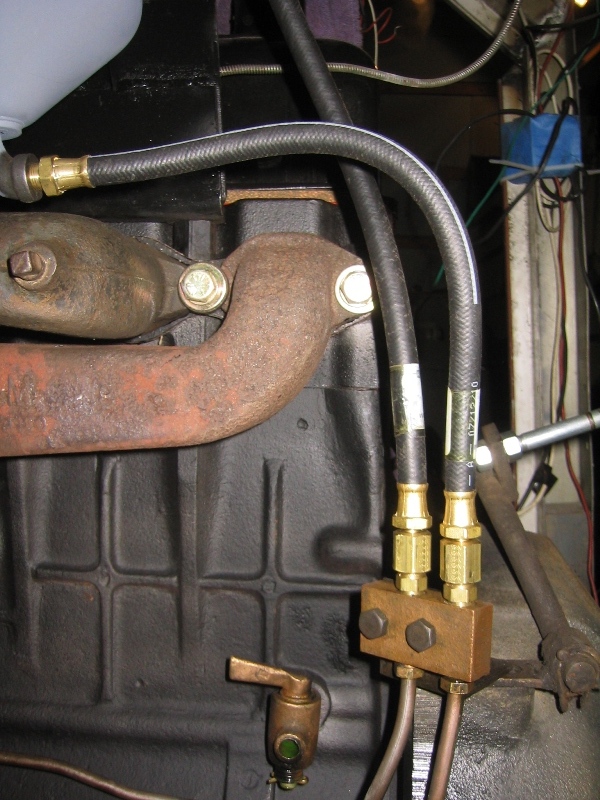
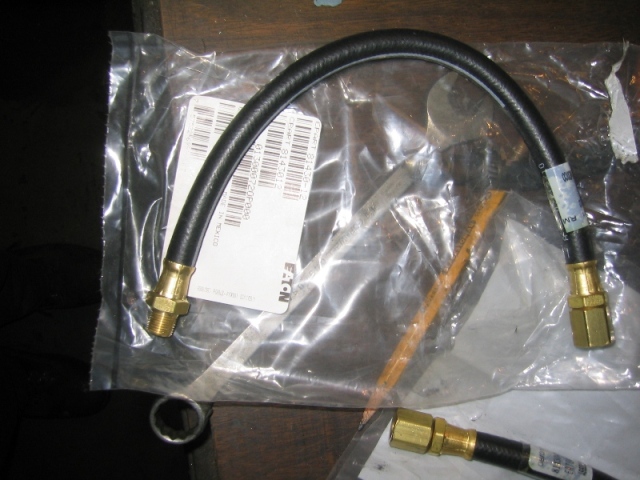
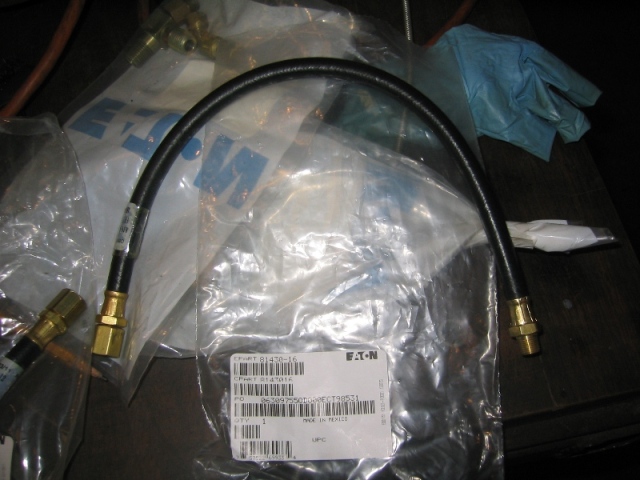
The flexible part of the oil lines are hard to find
see below how this was done when the HUP was first put on the road
back in 1978, using hose clamps. This time around I did find the correct
WeatherHead/Eaton hoses with 1/8 pipe at one end and flared swivel
at the other. The part number is (part # 81430-16) the number after
the - is the length and they come in lengths from ? to ?? inches.
Note these are rated for oil not gasoline.
|
|
It Runs December 9th 2011
The engine ran for the on the afternoon of Dec 9th
2011. This overhaul project had started December 11th 2010 with my
original completion target being July 28th which I did make. Still
more testing to do on the engine and painting to do on the body.
|
I've found testing engines on a test stand much easier than putting
it all the way into the truck before starting it. See Engine
Test Stand
Notes on engine test: Used block heater to bring engine up to 110
F, pre-lubed the engine with electric drill having first filled the
engine with the oil until it showed full on dipstick. Ran the drill
for several minutes until the oil coming out in the valve gallery
start to show air and was white in color and the drag on the drill
had decreased. Checked dipstick again and the oil was no longer showing.
Remember that the splash troughs in the 216 holds a lot of oil as
does the big filter. Added another 3 quarts of oil and continued running
the drill pressure reading was right around 40 PSI. Normally when
I'm changing the oil on this engine with the vertical oil filter I
pre-fill the filter assembly before putting on the top.
The engine had had the assembly lube on all moving parts as I assembled
it, along with a couple of squirts of oil in each cylinder before
putting in the plugs. The gas was fresh and was mixed with 2 cycle
oil this combination creates quit a bit of smoke when the engine first
fires.
Dec 9th - The engine started on the first try - electric fuel pump
and block heater along with pre-lube makes it easy. Only thing I'd
forgotten was the two throttle return springs, hit the kill switch
and installed restarted the engine, temperature came up to 180F smoothly
no air bubbles. Ran the engine through about 1/2 gallon of gas and
then called it quits for the day.
|
|
|
|
|
|
|
|
|
|
|
|
|
|
|