Well after several months of work on the HUP which never seemed to show
any progress to completing the over haul Visible Progress Resumes. My
real problem was I go to a point were almost everything was being held
up my needing to paint major parts.
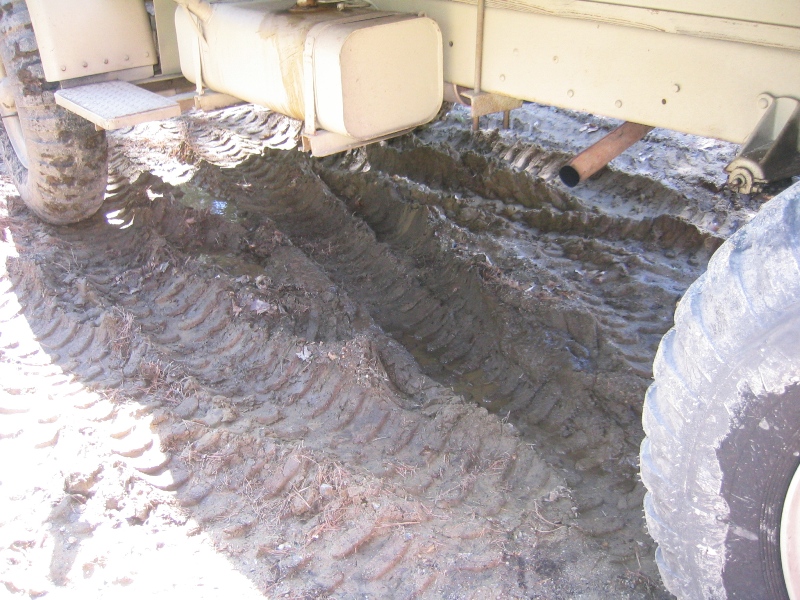
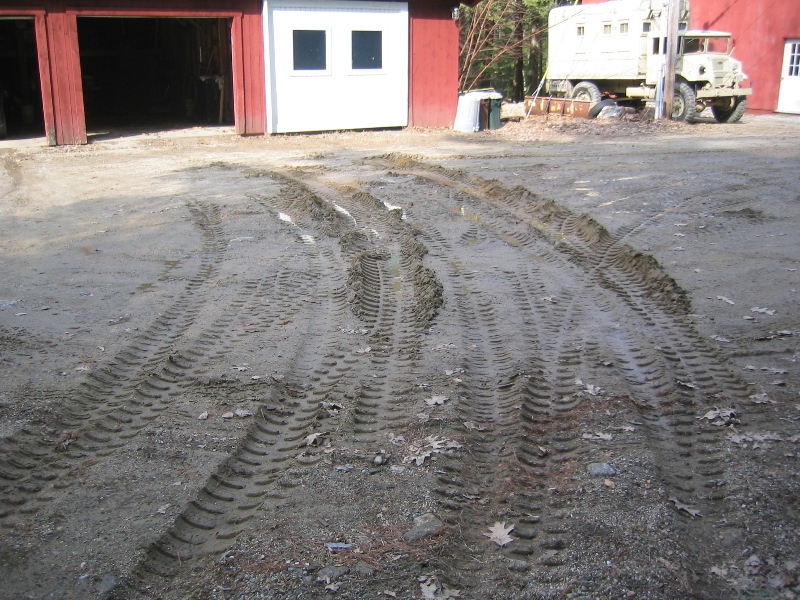
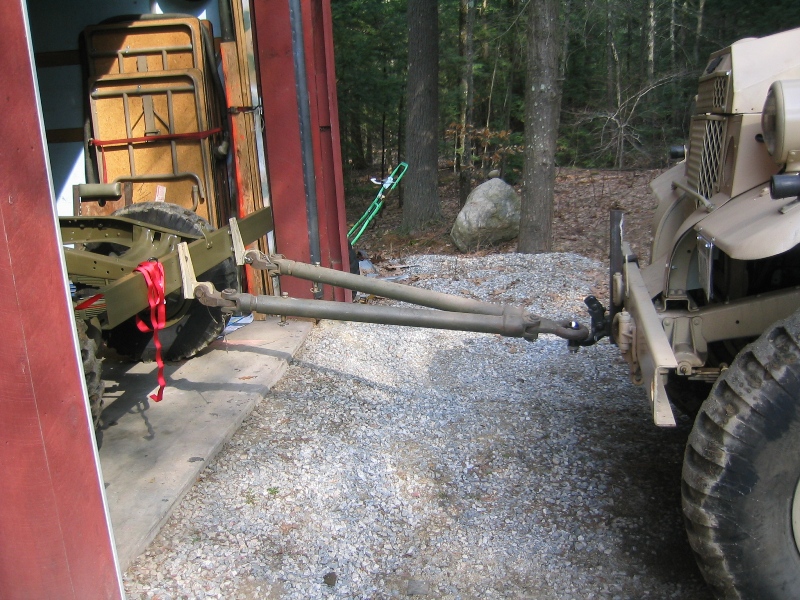
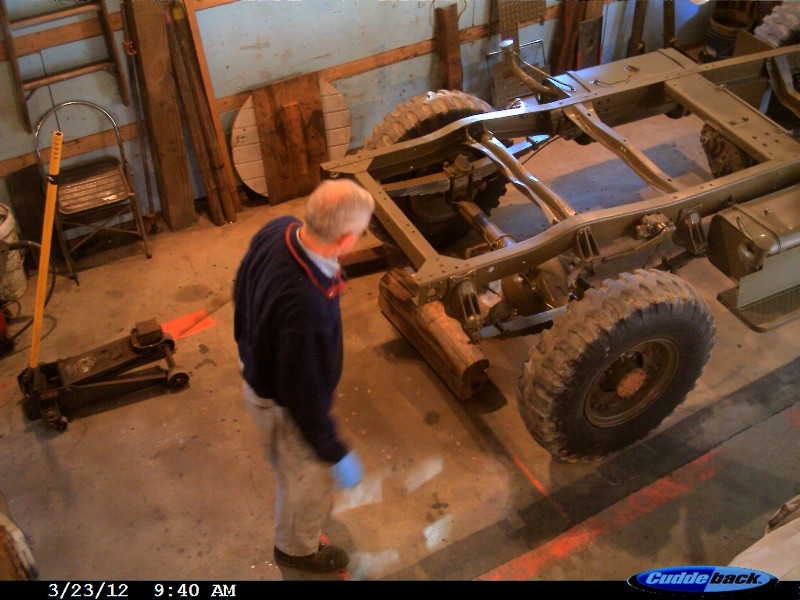
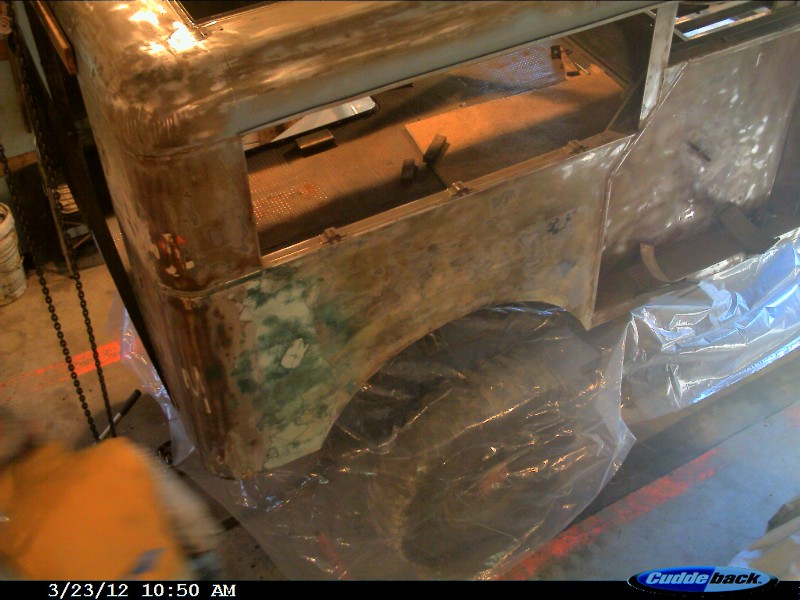
Though we still had snow left from plowing at the beginning of the week the snow is now gone and we are having high 70s low 80s F weather. First step was pulling the HUP chassis out of the other garage where it has been sitting all winter. I move it to the garage bay that normally houses my car to keep it clean as I continued to work on stuff in the shop. As you can see from the photos of the divots left in the door yard the ground is still soft. Though this was going to be a major undertaking but in the end once I go HUP turned I was able to tow it and push it in to the main shop, even got it centered in the bay on the first try.
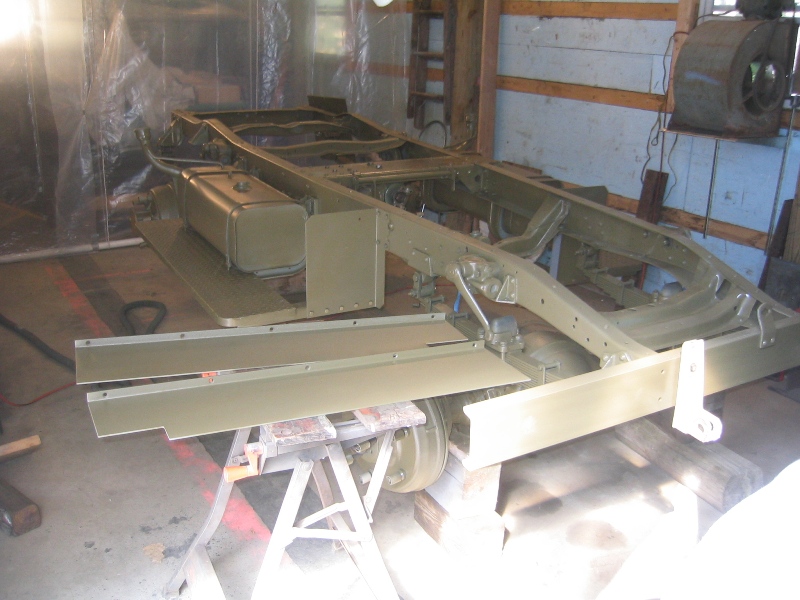
Off with the wheels and a little cleaning and it was ready for the flat coat of OD which I sprayed on today, tomorrow I hope to put the wheels back on and get ready to lower the body back on. Then the really serious reassembly can begin again.
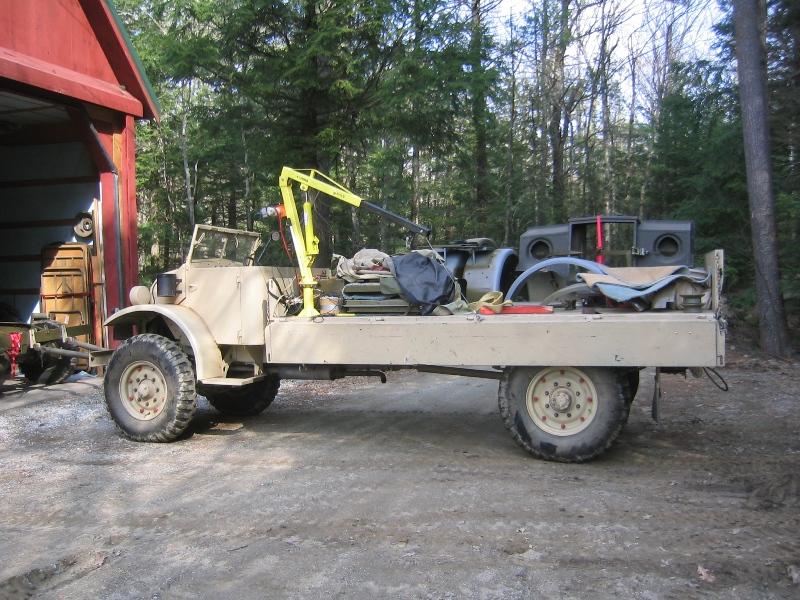
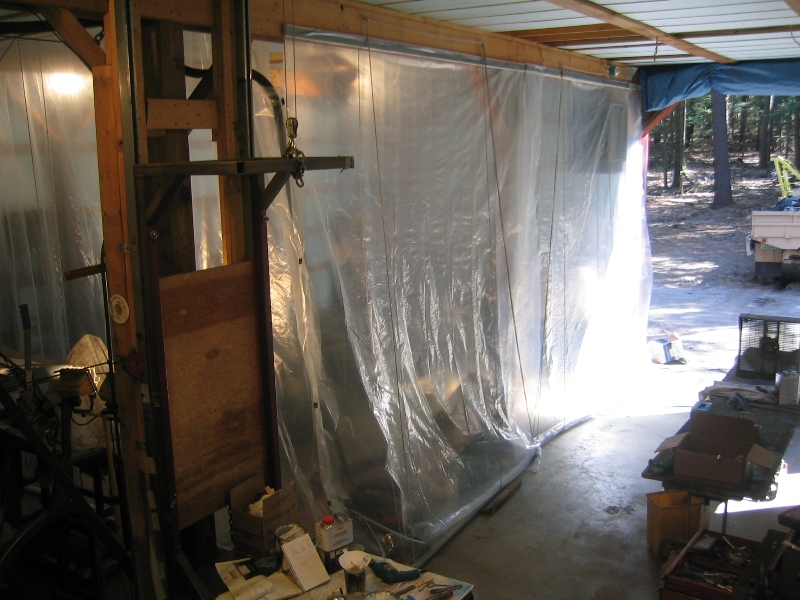
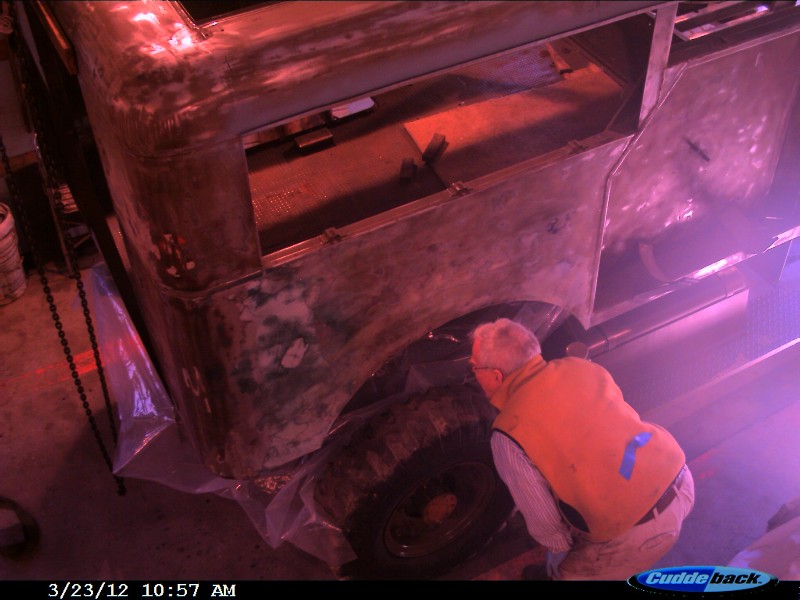
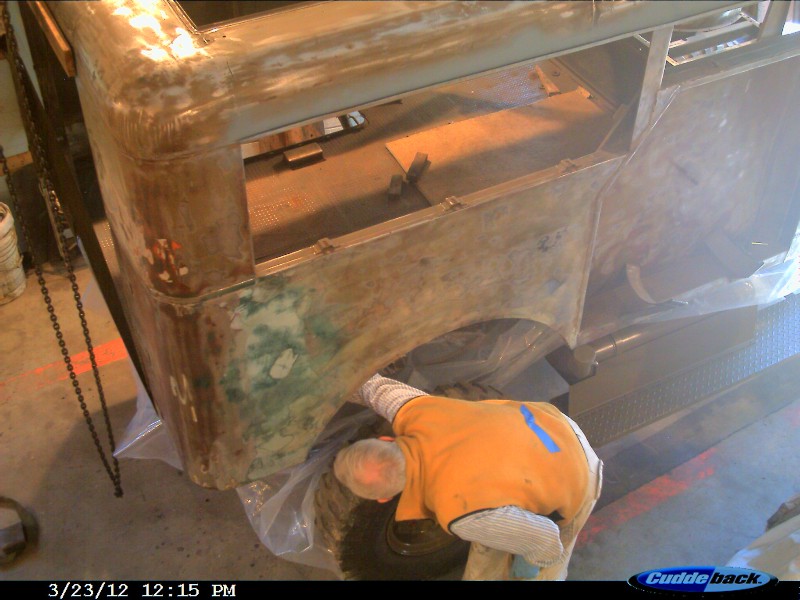
Off with the wheels and a little cleaning and it was ready for the flat coat of OD which I sprayed on the next day. To keep from getting over spray or paint dust all over the shop I enclosed one bay of the shop with plastic sheeting. The sheets are setup so that they can be rolled down or up. The large squirecage blower draws the shop through the booth quite nicely. What is not shown in these picture is that I have a supply air mask system which provides fresh air outside air to my face mask.
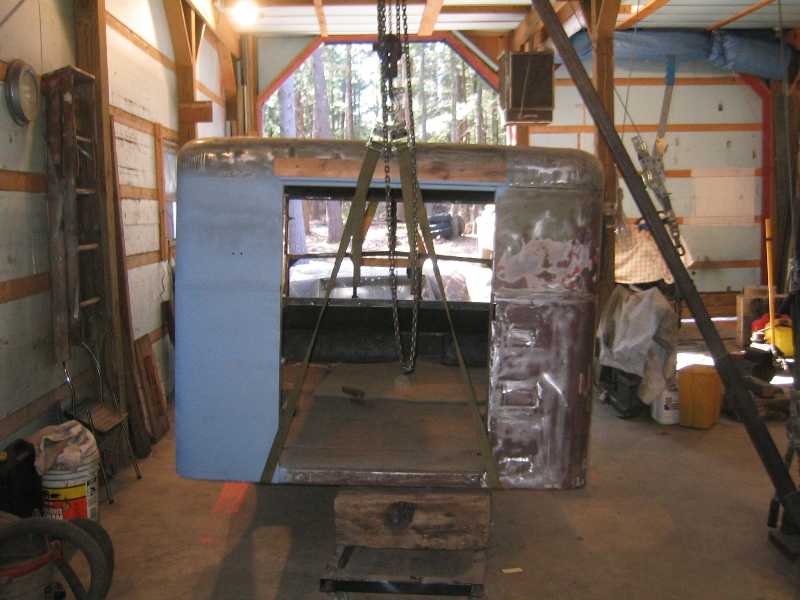
With the wheels back on and lowering the body back on was next. Then
the really serious reassembly can begin again. 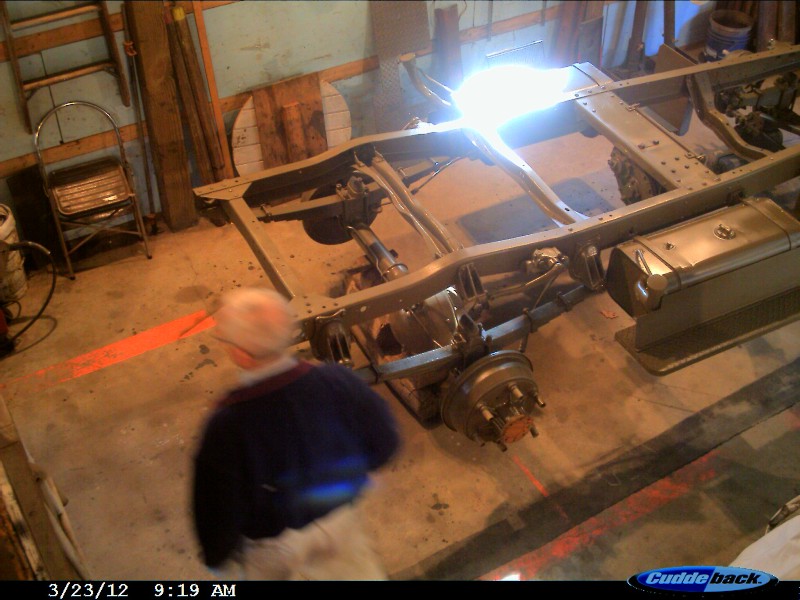
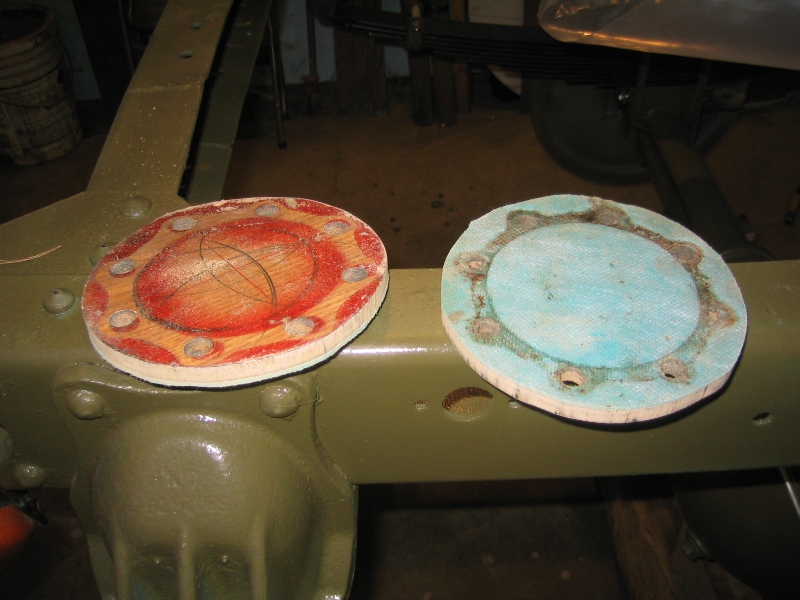
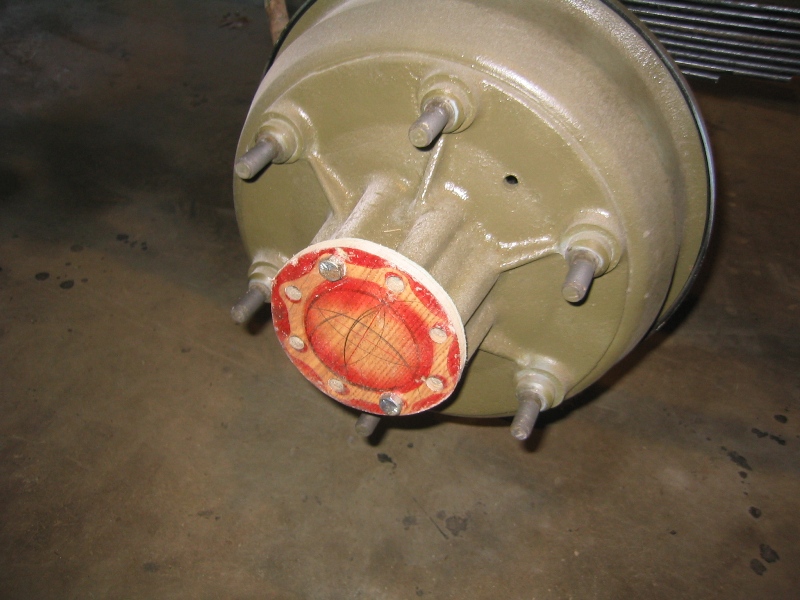
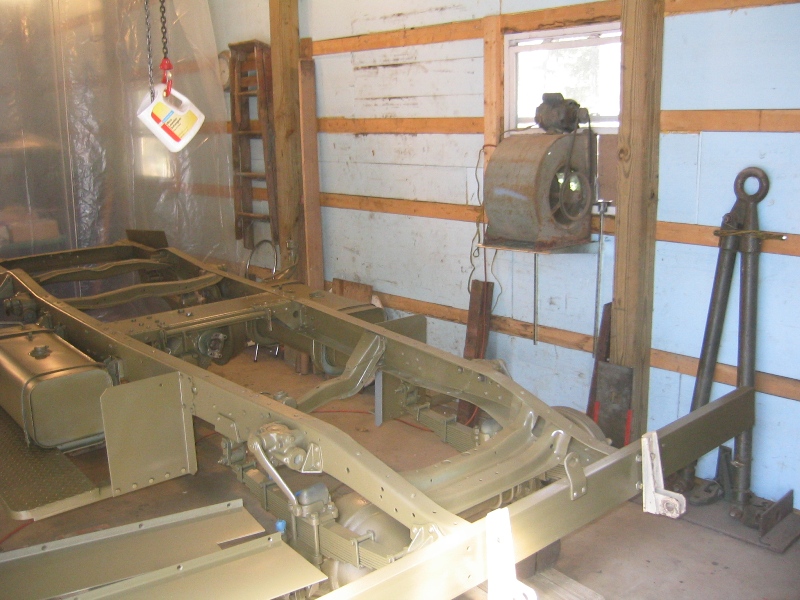
One tip if you are going to leave the axles out while working on any truck with a full floating axle make up some covers to keep dirt and critters from getting into the axle housing.
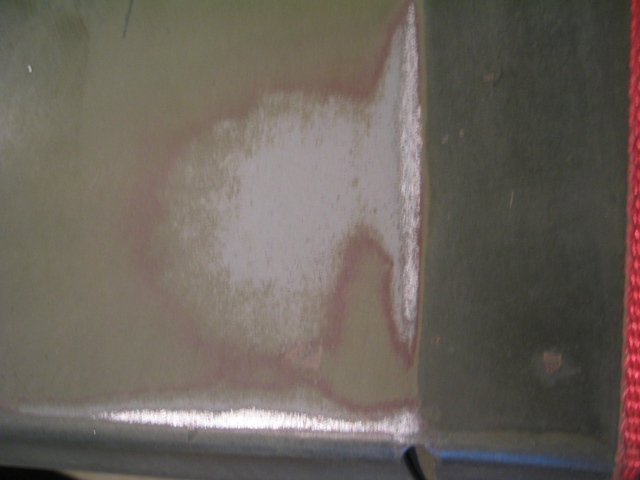
Layers of paint here on the hood can be seen the layers that have been on the hood in the following order starting at bare metal:
1.Gray primer, 2. OD green these first two are original the rest I have put on over the years, 3. Red primer, 4. OD green to olive, 5. OD dark green.
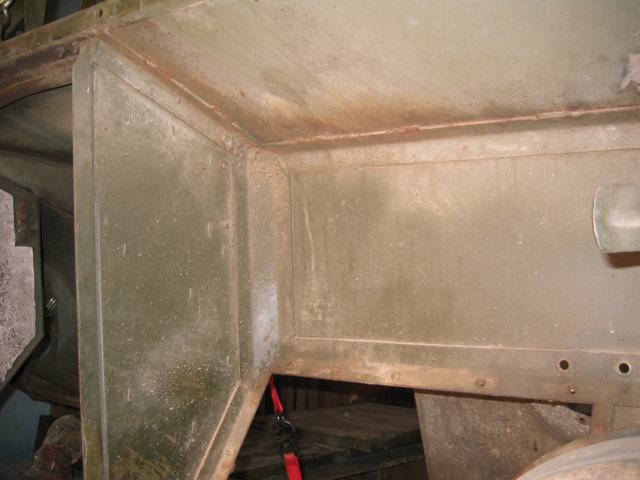
The underside or inside of the hood unit is shown here.
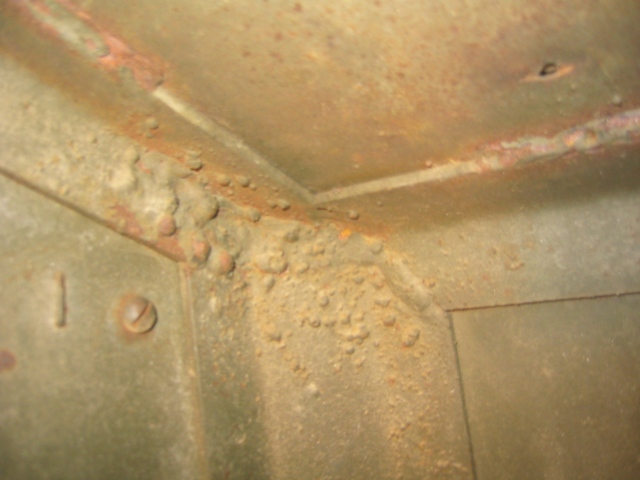
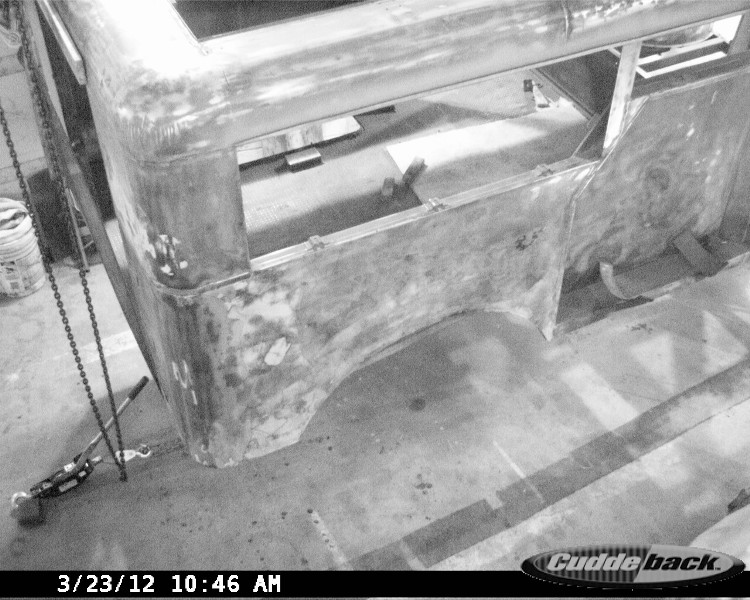
The welding on the nose in places where it would not be seen was not necessarily what you would call smooth, this is fairly common on all three of my CMPs.
|
Go To HUP OVERHAUL 2011- Page 1 After 66 years The BEAST is being completely disassembled and overhaul New January 30th - updated April 1st |
January and February 2012- Page 10 Been a slow period with weather to cold to paint and progress really at the point of needing to finish painting the chassis and body so that other parts can be assembled. Engine testing continues. Update 3/10/12 |
|
| Go To HUP OVERHAUL 2011- Page 2 |
March 2012 - Page 11 Lots of minor work with little visible progress until the body and chassis are reunited. Then painting progress starts again. Updated 3/28/12 |
|
| April Work - Page 3 was centered around the Transmission, Spring Shackles, Cleaning and Painting of the bottom of the body, Engine Testing then disassembly. Updated 12/11/11 | April
2012 - Page 12 The month of April saw work on the following:
|
|
| May Work - Page 4 included finding a replacement cylinder head, finding and installing spring shackle bushings and pins. Cleaning and painting the frame, Updated 12/11/11 |
May 2012
|
|
| June Work - Page 5 painting and body work begins and trying to match the original color of the HUP, brake work, reassembly of the axle assembly. Updated 12/11/11 | June 2012 | |
| July Work - Page 6 handling painting and body how do you pick up and turn a HUP body on its side by yourself. Machining the hardened steel spring shackles. Pictures of the wooden blocks used as frame inserts at the attachment locations. Brake line installation. Updated 12/11/11 |
July 2012 - HUP and two other CMPS off to the Merrimack Valley Military Vehicle Collectors Club 25th Anniversary Summer Rally - Come and join us. |
|
| August & September Work - Page 7 engine comes back from the machine shop almost ready for reassembly before the problems start. Body lowered on to the body for fitting and further body work, which included replacing some rusted damaged areas. Updated 12/10/11 | ||
| October & November Work - Page 8 body work continues, repairing the fatigue cracks in the front door where the hinges attach, a common CMP problem, installation of chassis parts like shocks. Problems with assembly of the engine but in the end everything is fitted in place. Updated 12/10/11 | ||
| December Work - Page 9 engine assembly completed and run in started on the test stand. Hidden design surprises in the CMP adaptation of the Stovebolt 6. Work on the chassis nearing completion with only a little painting and the installation of the wiring harness to be done. Body is ready to be primed and painted. Updated 12/10/11 | ||
| BACK TO HOME PAGE | ||