The month of April saw work on the following:
-
Steering box
-
Fixing oil and coolant leaks on the engine
-
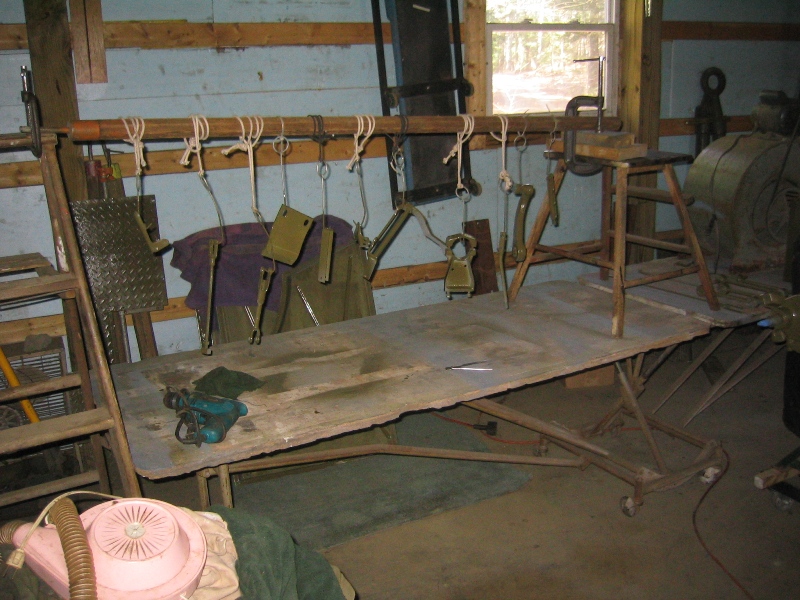
Priming and paint various parts
-
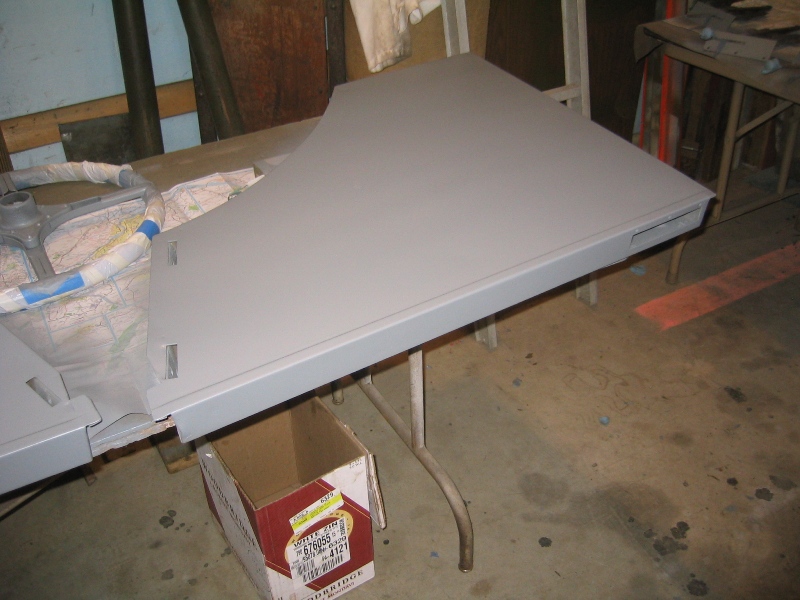
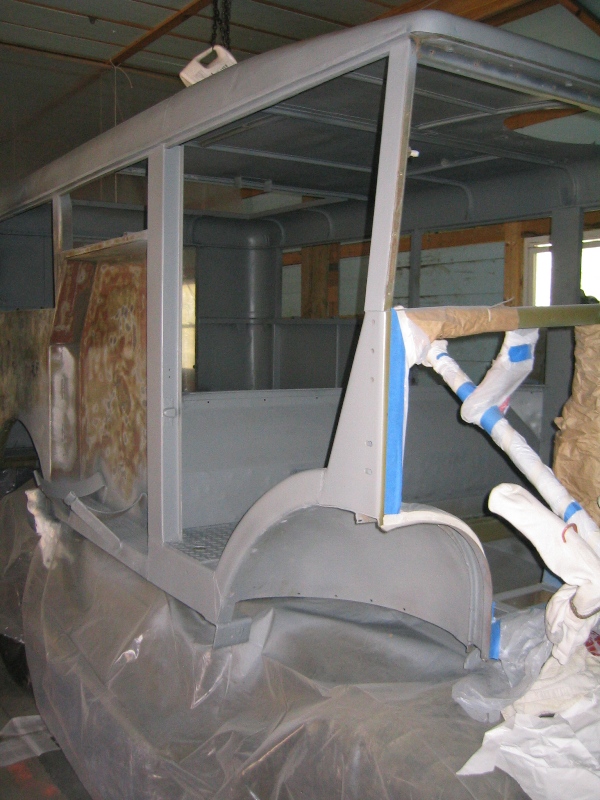
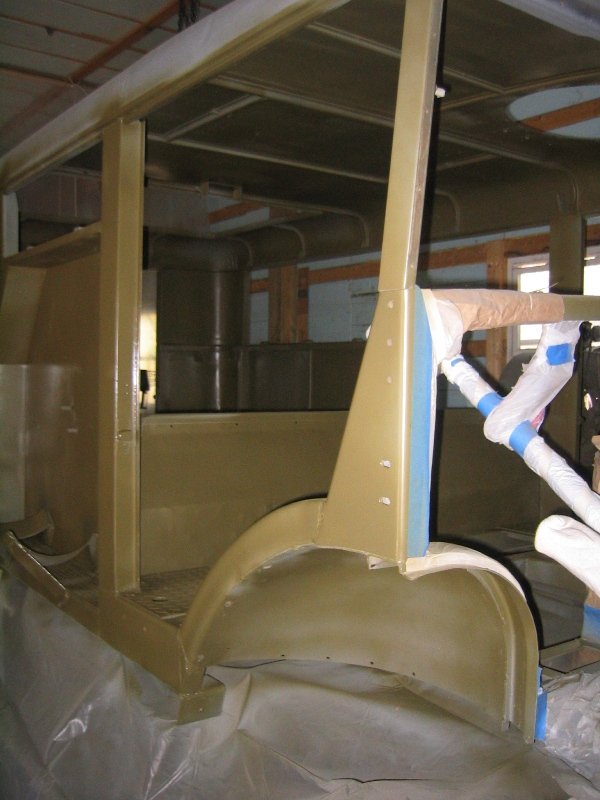
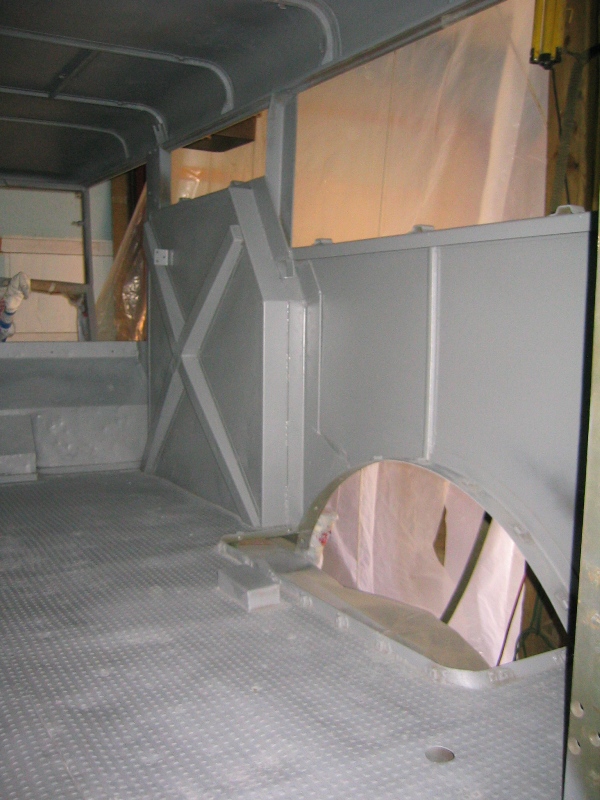
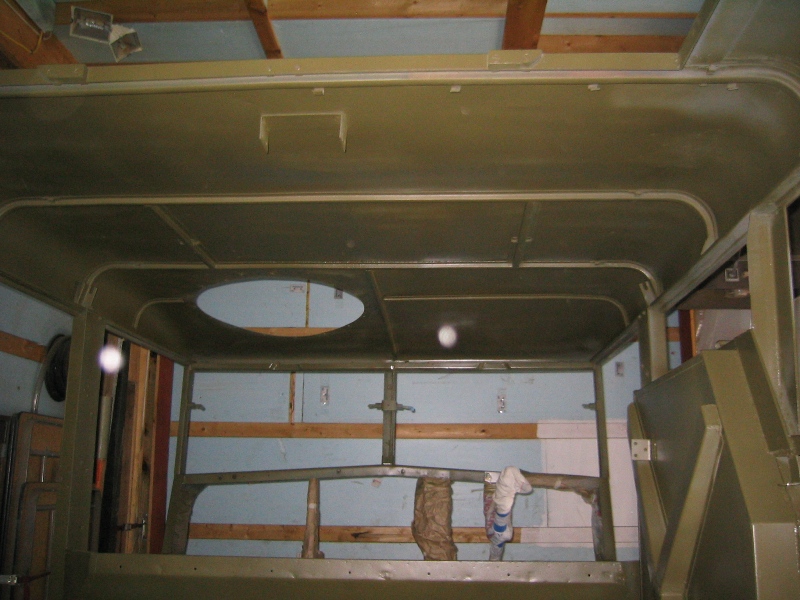
Priming and painting the body
April also ansewering questions: From freinds around the world about restoration of HUPs. I never mind questions and trying to answer them for two reasons:
First, it is paying forward the debt I owe to those who people who ansered my questions over the years.
Second, I am often amazed at what I learn in the process of trying to help find information for other people.
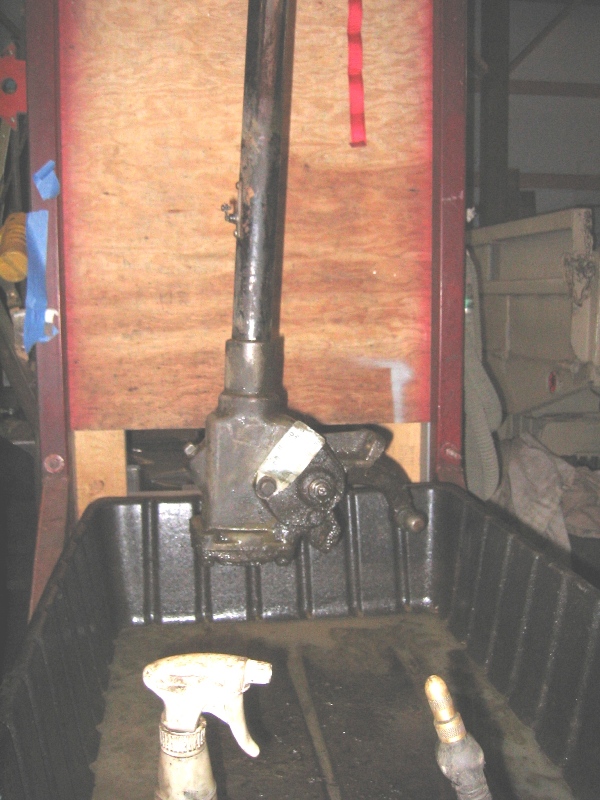
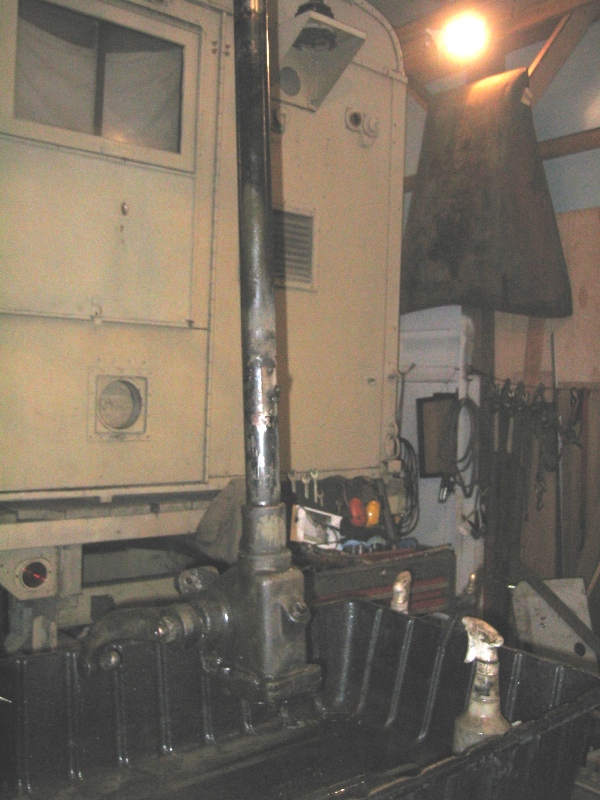
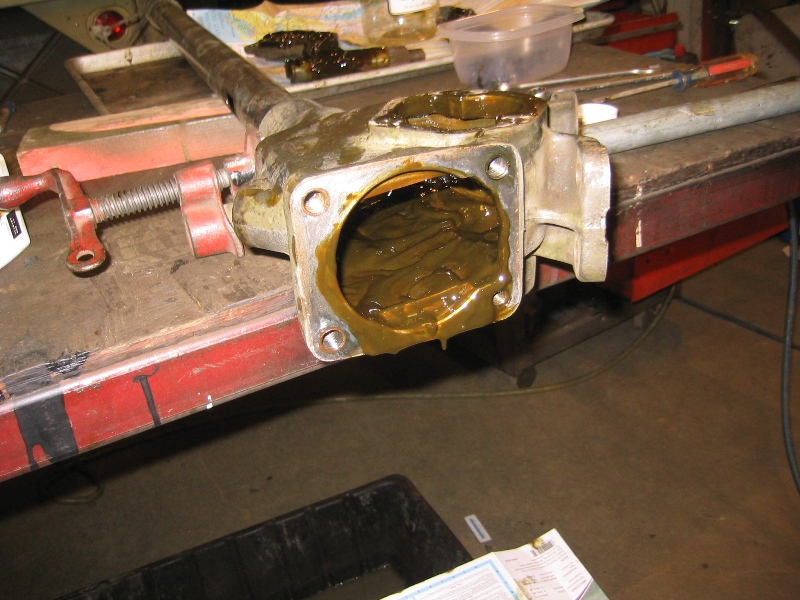
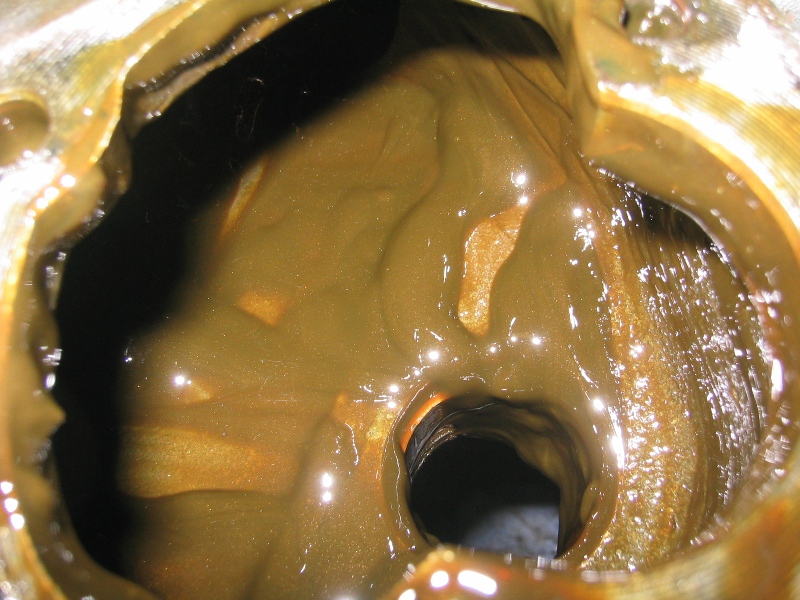
Though the steering box had no known problems I disassembled it to clean and inspect it and to try to solve a growing leak of lub. Though the manual calls for "gear oil" or "Hypoid 90" I have never found a modern gear lub that was as thick as what seems to be inside the steering box. I've tried 90 Weight Gear Lub and it litterally runs out of the box not only around the Steering Pitman Arm shaft but also leaking from both the side and bottom adjustments.
The solution seems to be a 50/50 mix of grease and gear lub.
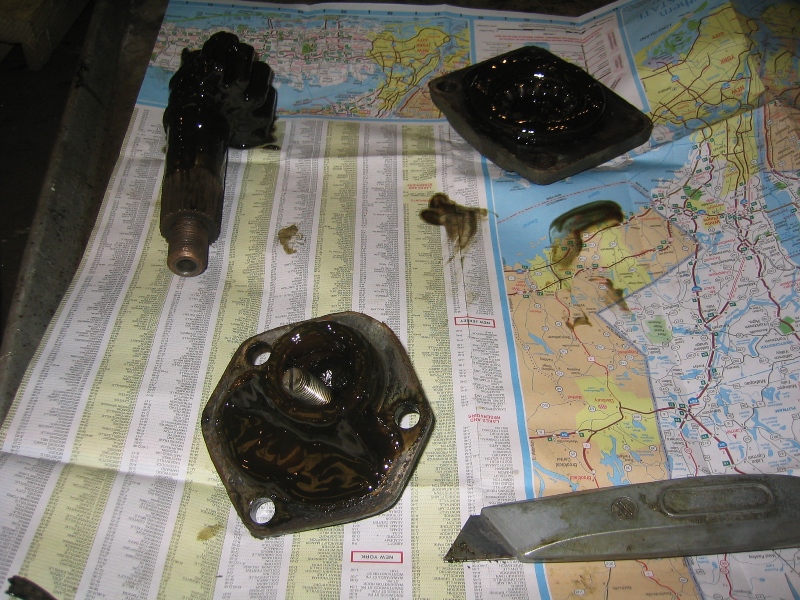
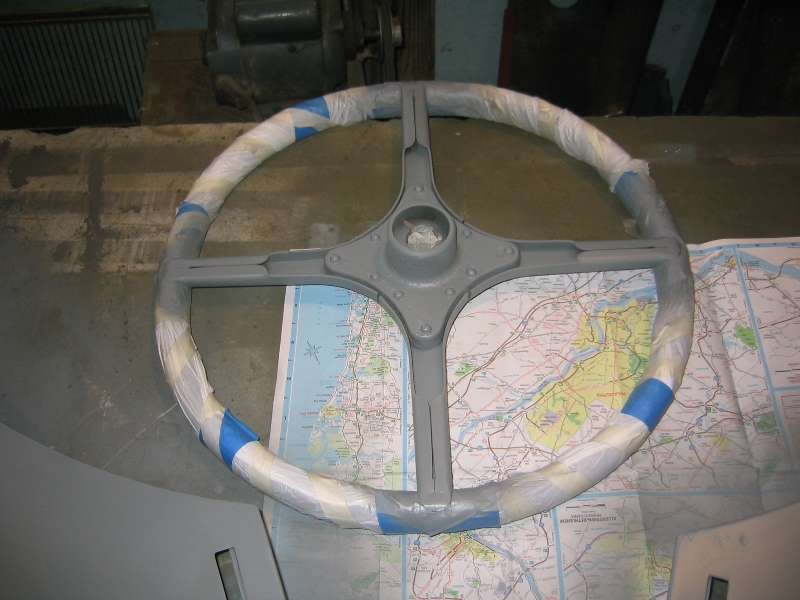
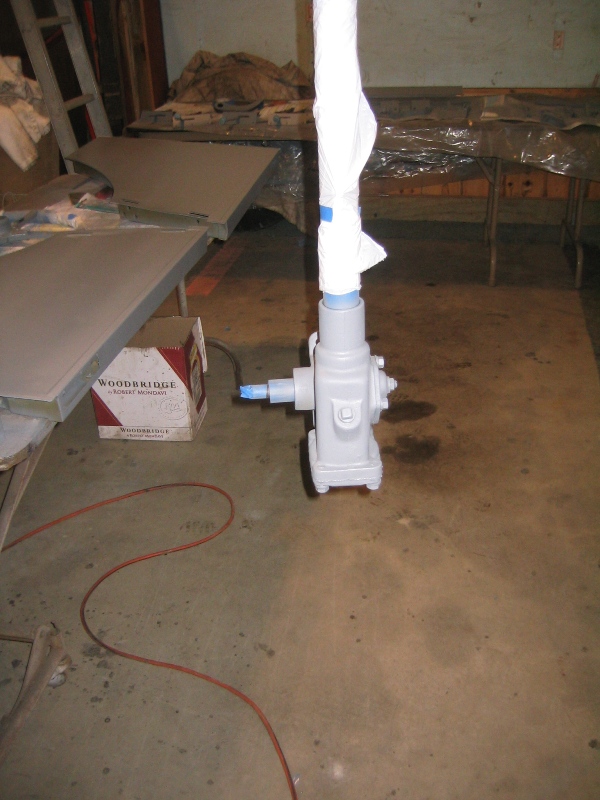
Priming and painting of componets that contain oil, grease, lube etc is best done before the lubricant is introduced. I've discovered that the layers of paint are help in sealing and that if the metal is truely clean the paint will stick much better.
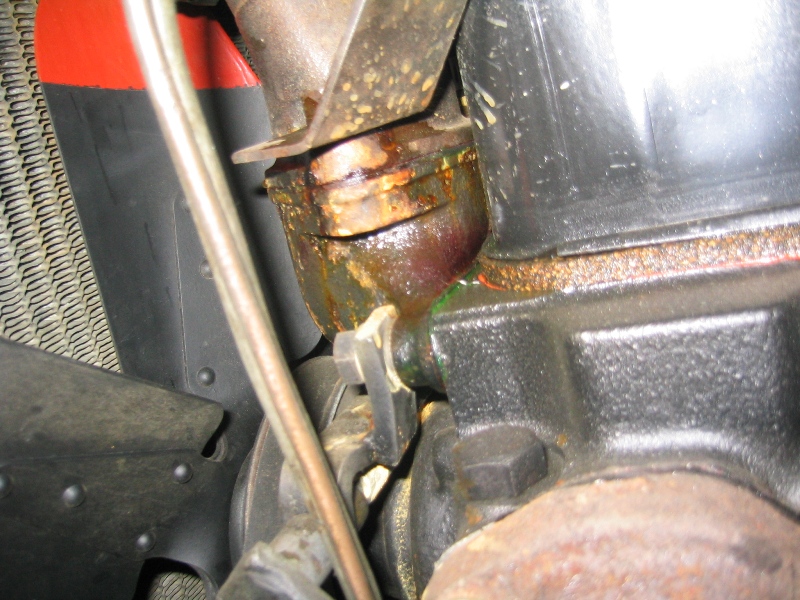
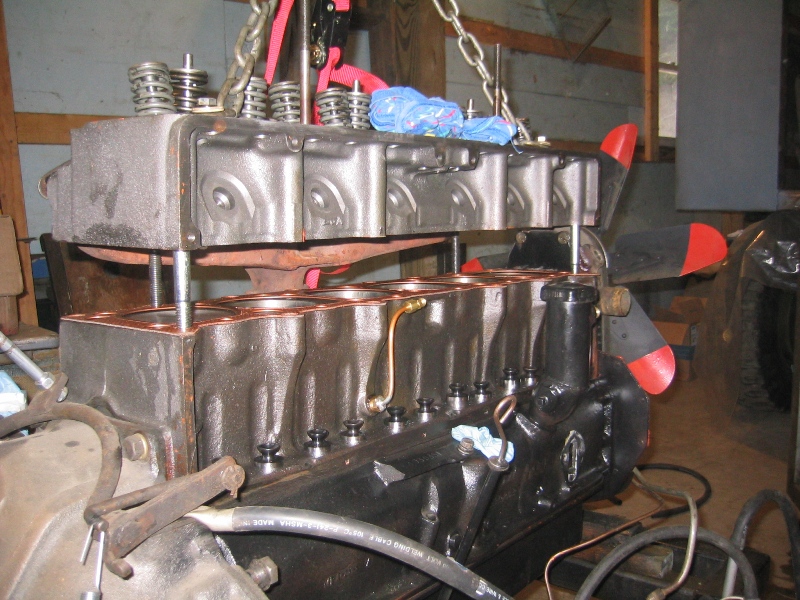
While testing the engine it was clear that a number of gaskets leaked. Which is one of the reasons that running the engine in on a test stand is good idea. Because it makes it so much easier to fix such leaks.
Above and you see a coolant leak at the thermostat housing. I thought that this was a failure of the gasket cement. But on disassembling the gasket came apart in the middle and the gasket was soaked. When the gasket was scrapped off it was clear that it was the gasket not the cement or the housing that were to fault.

 The
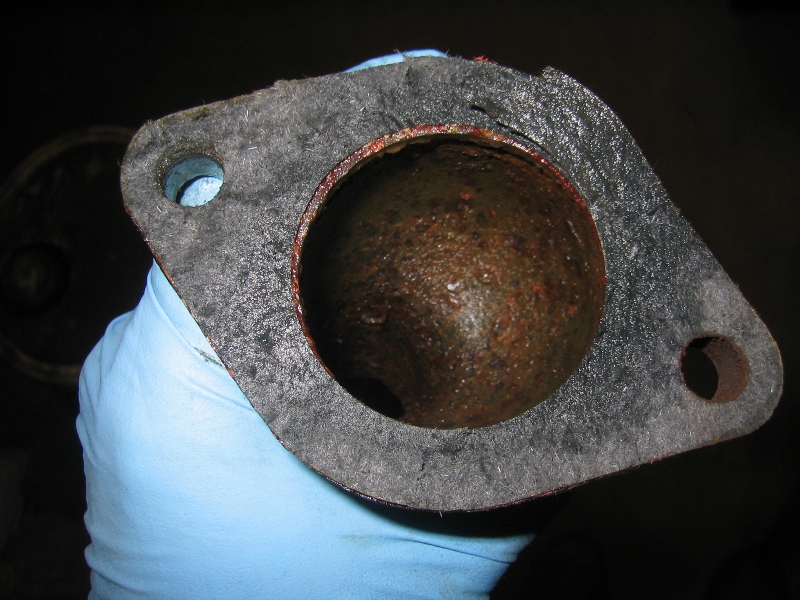
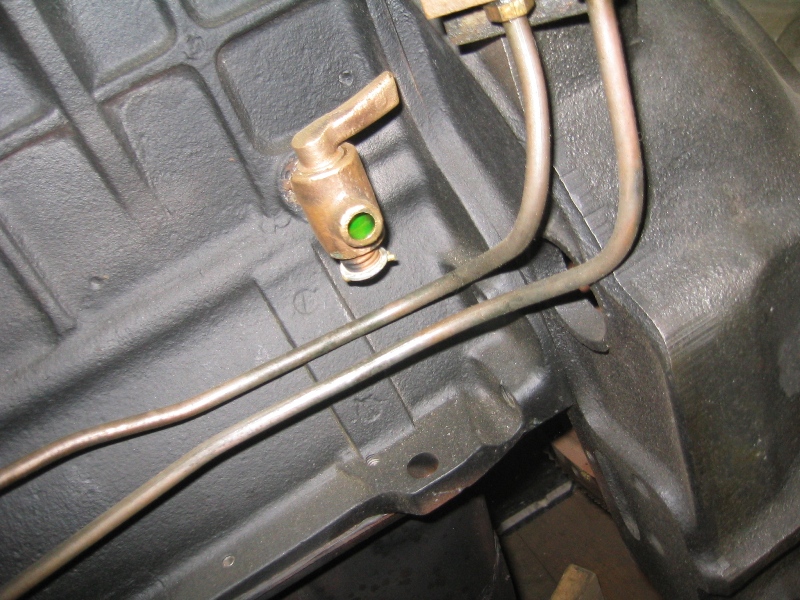
other leak was not as easy to fix the orginal drain cock at the rear of
the block had developed a leak. Even after cleaning it was not possible
to get the tappered body and valve stem to fully reseat.
The
other leak was not as easy to fix the orginal drain cock at the rear of
the block had developed a leak. Even after cleaning it was not possible
to get the tappered body and valve stem to fully reseat.
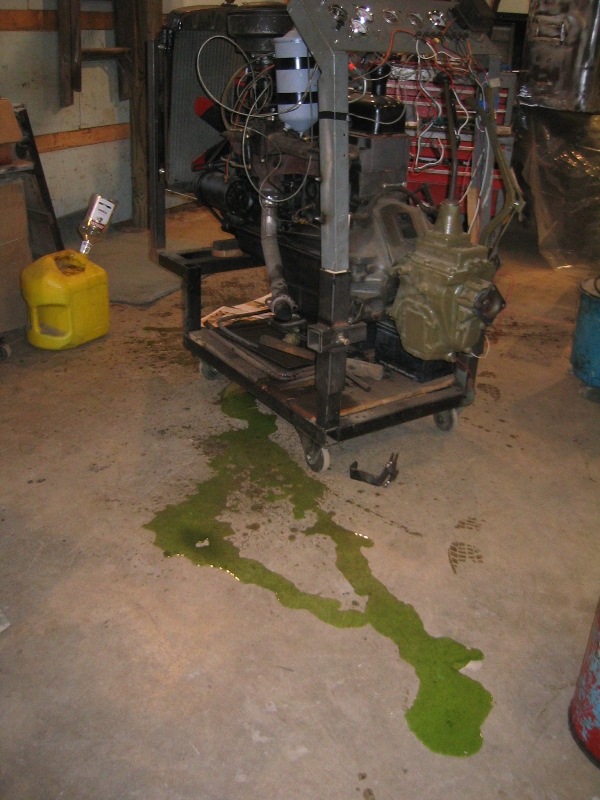
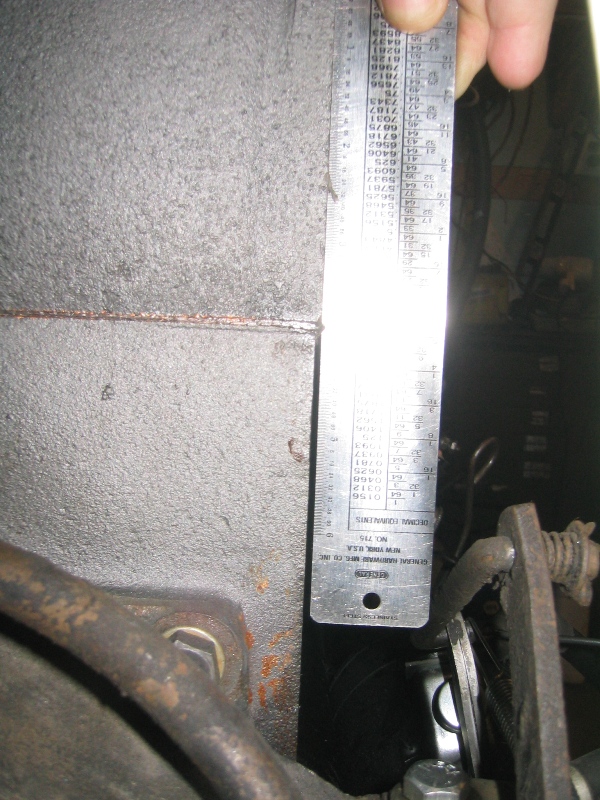
Disassembly of an engine that has had coolant in it has always been a problem. It seems that draining it is never quite enough, the picture above shows how much dumped out on the floor when the front lower radiator hose was removed. As an experiment after removing the radiator and the thermostat housing used the shop vacuum to try and suck any remaining coolant out of the engine block this seems to help. Another step was to pour several ounces of oil into each cylinder to keep any coolant that does leakout from getting past the pistons into the engine.
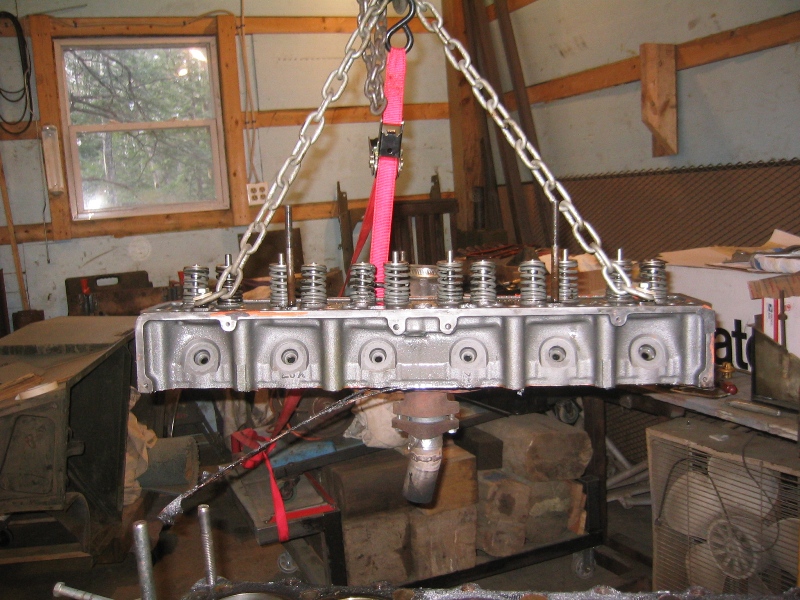
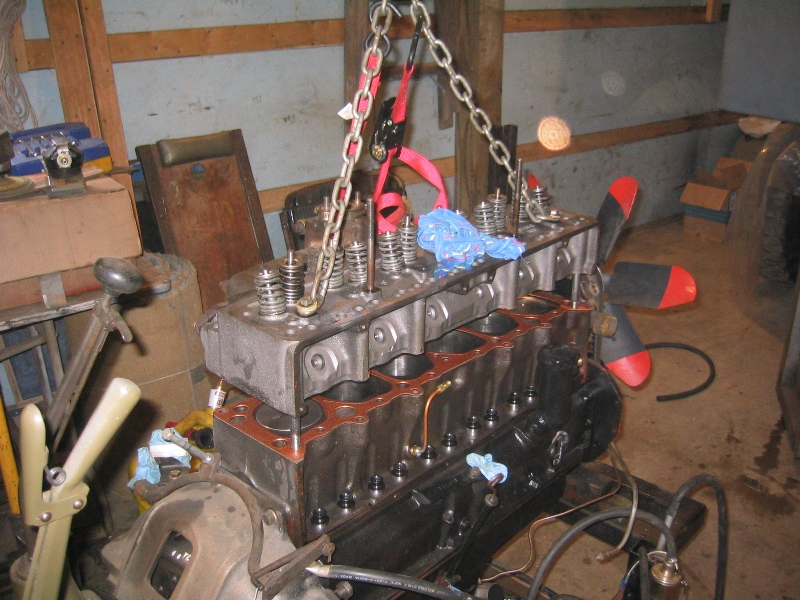
As the photo below shows the no coolant has leakout into the engine. Another important thing is not pulling or lifting the head by the manifolds as this is likly to cause leaks in the intake or exhaust manifold. Using alignment dowels is good practice in both removing and installing the head.
The reason for removing the head was that when I orginally installed it I did not get the head perfectly aligned for the valveside cover causing a minor oil leak. So removing and reinstalling the head with a new gasket was necessary.

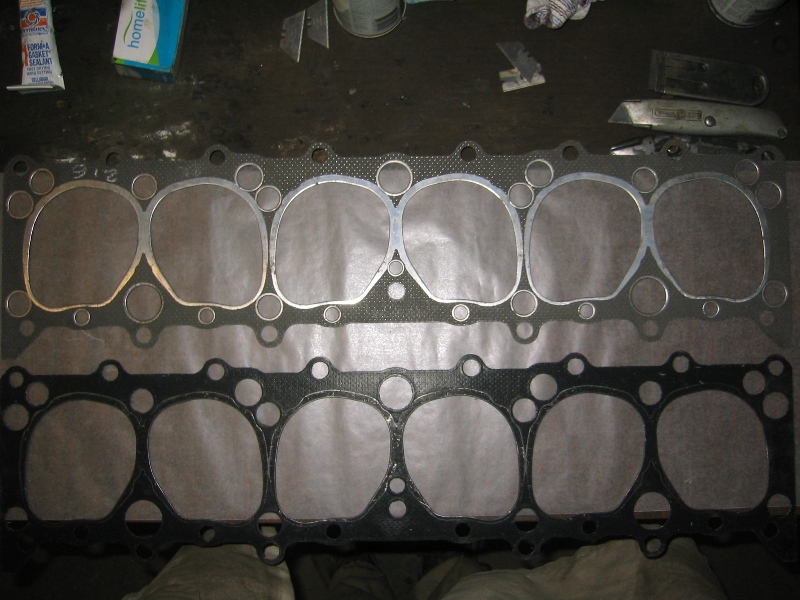
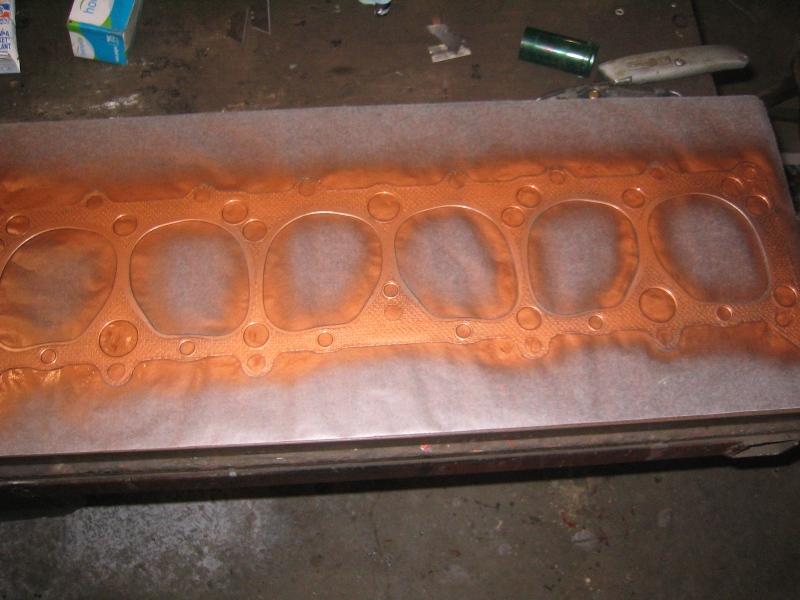
Below are two different cylinder head gaskets note the difference the top one has metal edging around each cylinder and each water passage these (suppositly) help prevent leaks but in this case with the top of the block and the cylinder head having been lightly planed to insure flatness. In addition the gasket was coated with Permatex cylinder head gasket on both sides and the cylinder head was also coated.
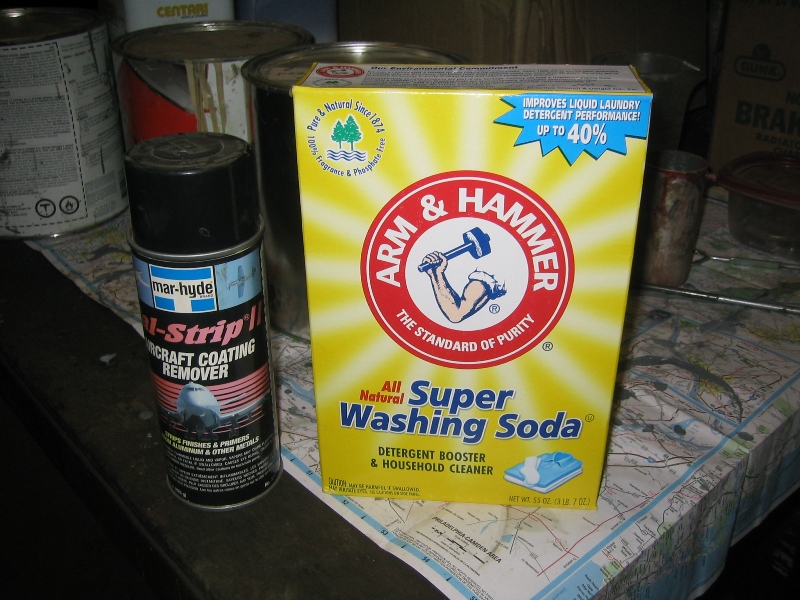
They both remove paint and strangely the one on the right seems to actually
work better, is cheaper, environmentally more friendly. Washing soda has
come up over the years many times on MLU for various reasons such as Restoration
Tip: Electrolysis Derusting, degreaser etc.
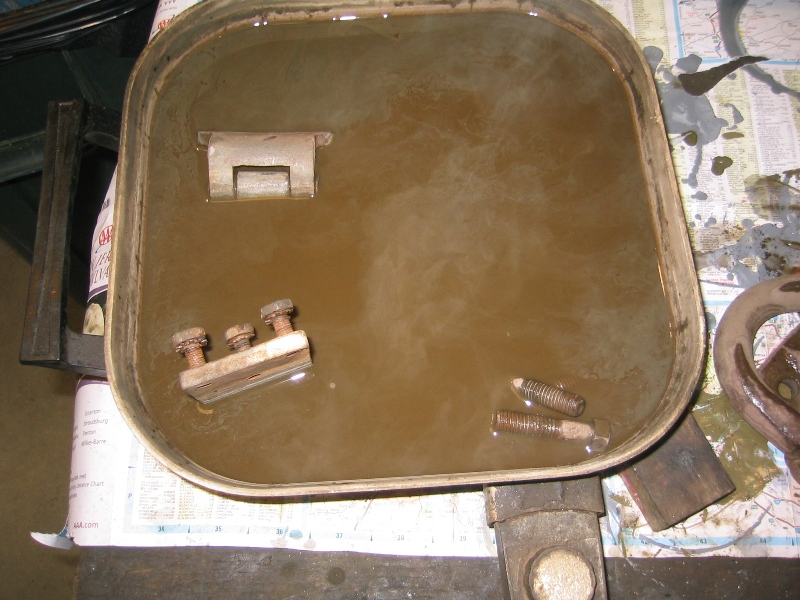
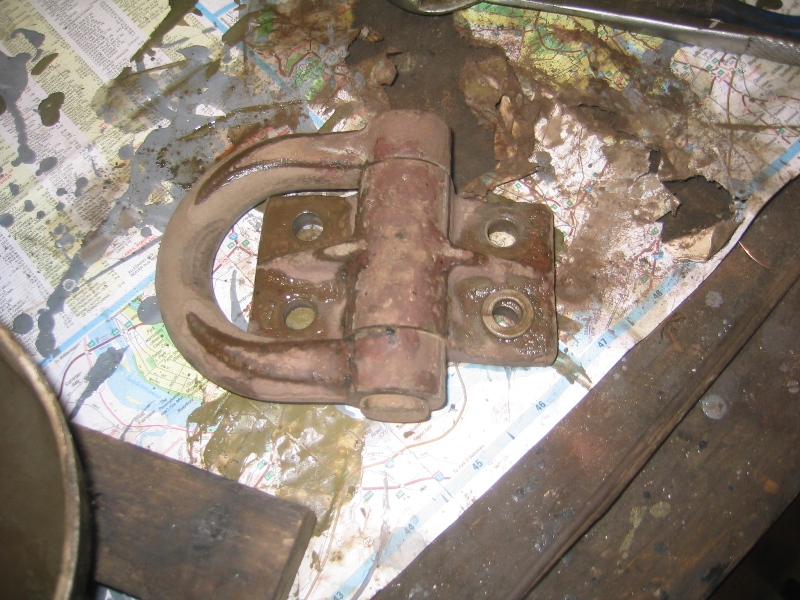
Well it was in the process of using it as a degreaser that its paint removing characteristics came out. Like with any degreaser they work better if the the part, grease and liquid are hot. So one day I throw bunch of grease small parts into an old electric fry pan with 1/2 cup of washing soda and gallon of water and left the whole thing to simmer for awhile while I did something else. The parts had a thick layer of grease on top of many layers of paint. When I pulled a part out of the simmering stew and when at it with a small wire brush not only did the grease come off but the paint as well.
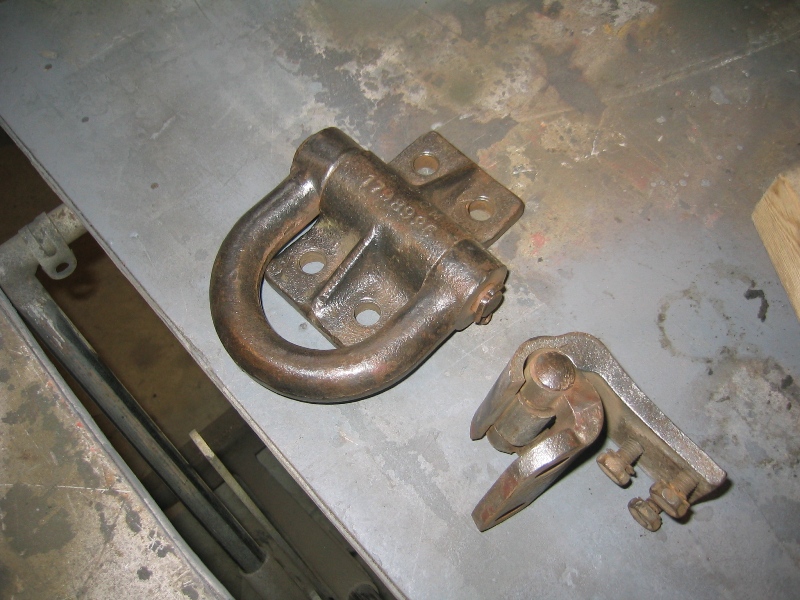
The pictures below show parts simmering, what they look like as removed and after a few minutes with a wire brush.
Then spraying the parts with a good water based degreaser and washing the parts with hot water leaves them ready to paint.
Tomorrow I'm going to try hitting them with hot water pressure spray see if that will clean small parts which are hard to wire brush.
If that works got to find a bigger boiling tank.
As to the Aircraft Coating Remover, found that this tends to only remove one layer of paint at a time.
Painting progresses, now the interior of the body and critical areas of the exteior have been painted with the first coat of color, next come assembly of the rest of the parts then a finial coat of flattened top coat.

|
Go To HUP OVERHAUL 2011- Page 1 After 66 years The BEAST is being completely disassembled and overhaul New January 30th - updated April 1st |
January and February 2012- Page 10 Been a slow period with weather to cold to paint and progress really at the point of needing to finish painting the chassis and body so that other parts can be assembled. Engine testing continues. Update 3/10/12 |
|
| Go To HUP OVERHAUL 2011- Page 2 |
March 2012 - Page 11 Lots of minor work with little visible progress until the body and chassis are reunited. Then painting progress starts again. Updated 3/28/12 |
|
| April Work - Page 3 was centered around the Transmission, Spring Shackles, Cleaning and Painting of the bottom of the body, Engine Testing then disassembly. Updated 12/11/11 | April
2012 - Page 12 The month of April saw work on the following:
|
|
| May Work - Page 4 included finding a replacement cylinder head, finding and installing spring shackle bushings and pins. Cleaning and painting the frame, Updated 12/11/11 |
May 2012
|
|
| June Work - Page 5 painting and body work begins and trying to match the original color of the HUP, brake work, reassembly of the axle assembly. Updated 12/11/11 | June 2012 | |
| July Work - Page 6 handling painting and body how do you pick up and turn a HUP body on its side by yourself. Machining the hardened steel spring shackles. Pictures of the wooden blocks used as frame inserts at the attachment locations. Brake line installation. Updated 12/11/11 |
July 2012 - HUP and two other CMPS off to the Merrimack Valley Military Vehicle Collectors Club 25th Anniversary Summer Rally - Come and join us. |
|
| August & September Work - Page 7 engine comes back from the machine shop almost ready for reassembly before the problems start. Body lowered on to the body for fitting and further body work, which included replacing some rusted damaged areas. Updated 12/10/11 | ||
| October & November Work - Page 8 body work continues, repairing the fatigue cracks in the front door where the hinges attach, a common CMP problem, installation of chassis parts like shocks. Problems with assembly of the engine but in the end everything is fitted in place. Updated 12/10/11 | ||
| December Work - Page 9 engine assembly completed and run in started on the test stand. Hidden design surprises in the CMP adaptation of the Stovebolt 6. Work on the chassis nearing completion with only a little painting and the installation of the wiring harness to be done. Body is ready to be primed and painted. Updated 12/10/11 | ||
| BACK TO HOME PAGE | ||